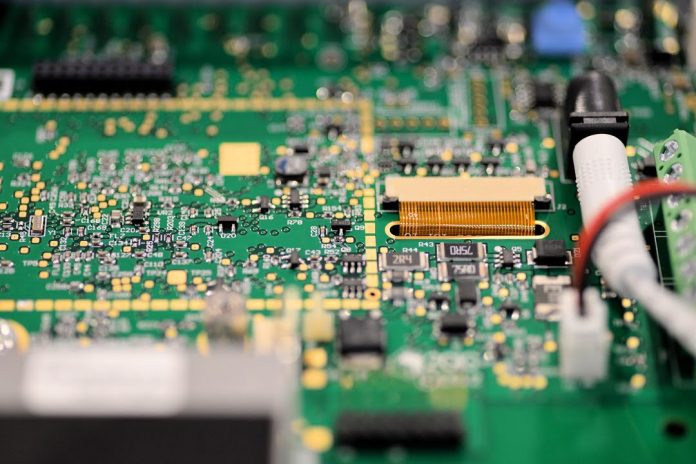
2GIG Go!Control, distributed locally by QSS, is America’s biggest selling alarm and automation panel, so it’s no surprise I was keen to get a look at this system.
THROUGH the power and flexibility of 2GIG Go!Control panel Vivint became a giant, with 7000 employees, around one million customers and a turnover of more than half a billion a year. 2GIG Go!Control was also the hardware portal through which Alarm.com went from a provider of services to monitoring stations to a household name.
Given its impact on the North American market, when QSS’ Rob Lucas offered to walk me through the panel, I jumped at the opportunity. In terms of the basics, Go!Control is an integrated controller with a colour touch screen display that can be wall-mounted or located on desk stand. It offers 48 wireless zones, 2 wired zones and the potential for 232 Z-wave automation devices via an integrated Z-wave radio. The panel supports 8 wireless key fobs, 4 remote wireless keypads, 32 user codes, downloading of firmware upgrades down wireless comms paths and voice response.
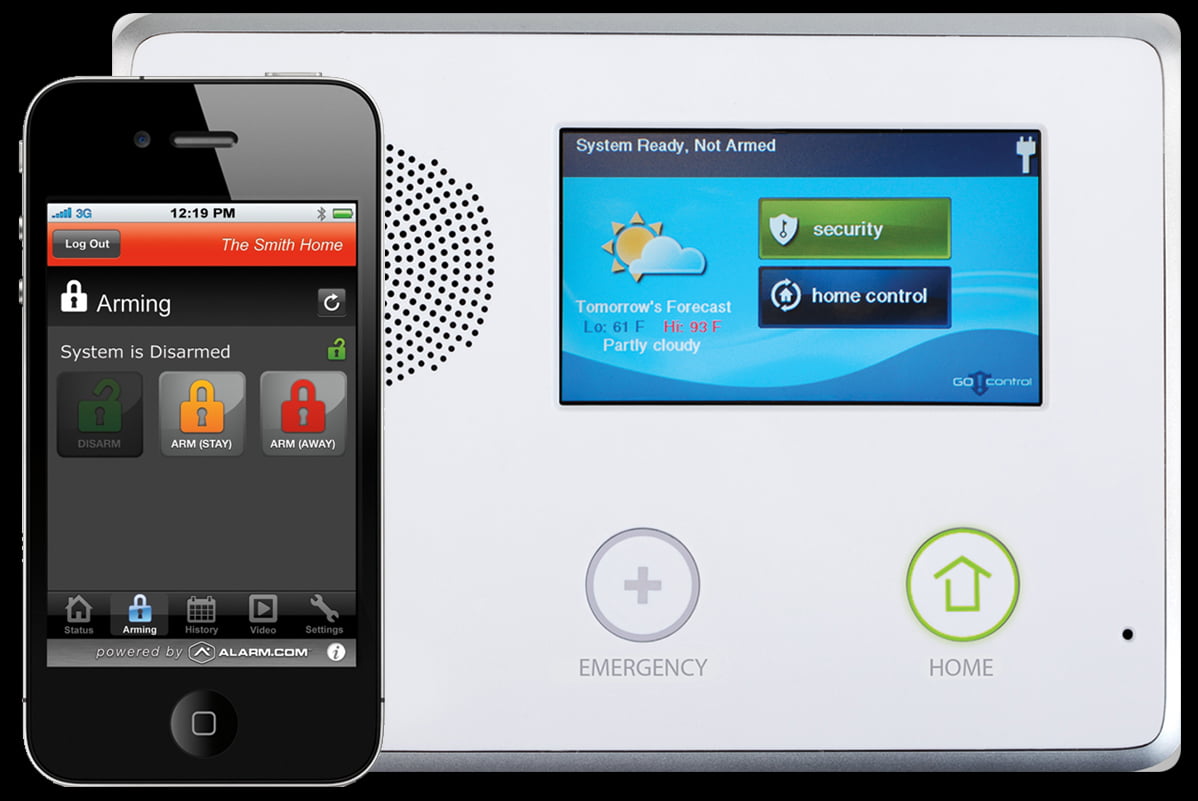
The panel has a snap-in GSM radio, remote control of panel settings, 2-way voice-over-cellular, customer-messaging capability, weather information display, 24 or 48-hour backup battery (2000 mA @ 7.2V Ni-MH battery pack is included and 2400 mAH @ 7.2 Ni-MH battery pack is optional) and quick arm on exit.
The unboxing ceremony
Digging the hardware out of the box, the first impression is the integrated controller with touchscreen. Getting access to the controller to install the battery is a simple process – there’s a single grub screw at the back to undo to get the controller housing open. The unit has a desk mount as well, so you don’t have to use the back plate and install it on a wall.
There’s also a neat ‘third hand’, so the controller can be hung on the wall while you are working on it. There are a 2 battery options – the standard issue offers about 16 hours with the GSM communicator on, according to QSS’ Rob Lucas.
“The controller also has an input and an output board so you can have 2 hardwired zones and connect a siren,” explains Lucas, as we rummage through the boxes. “And here’s the little side compartment where you can put in your GSM antenna. There’s a 3G comms module that you use to connect to alarm.com (Vodafone global) – it links to this bridge – and there’s also POTS line communicator if you don’t want to use 3G.”
As soon as we power the system up, the panel announces “System disarmed, ready to arm”. This voice prompting is a feature of Go!Control. While Go!Control can be used with Alarm.com it’s also perfectly capable of being used in a more traditional way and linking to monitoring station receivers via PSTN/POTS or 3G linked.
Using it as an ordinary panel, Go!Control offers 48 security zones, as well as the potential for 232 Z-wave devices. That big Z-wave capacity means the system has expands considerably, should you want it to. When it comes to Z-wave, 2 devices or a controller and a device typically have a 90m range between them and every 240V switch is a repeater.

Rob Lucas, QSS
“The Go!Control system is divided on 2 sides with security and services on one side and automation on the other, which makes things easier to manage,” explains Lucas. “And something else that’s neat is ability to upgrade the physical capabilities of the systems with firmware updates. For instance, the software on this 48-zone unit is version 1.3 but with version 1.4 you get 64 zones. What this means is that to get a hardware upgrade you don’t have to replace a panel. It’s a firmware upgrade via Alarm.com or a direct cable.”
Next we poke round in the menu. It’s straightforward stuff and intuitive as a modest-sized touchscreen can be. The menu allows all the typical functions, including arming and disarming, as well as an installer’s toolbox (installer code is 1561), which can be tweaked with slider or touch adjustments. There’s everything you’d expect – user management (master code is 1111), system history is stored on the unit, system test, bypasses.
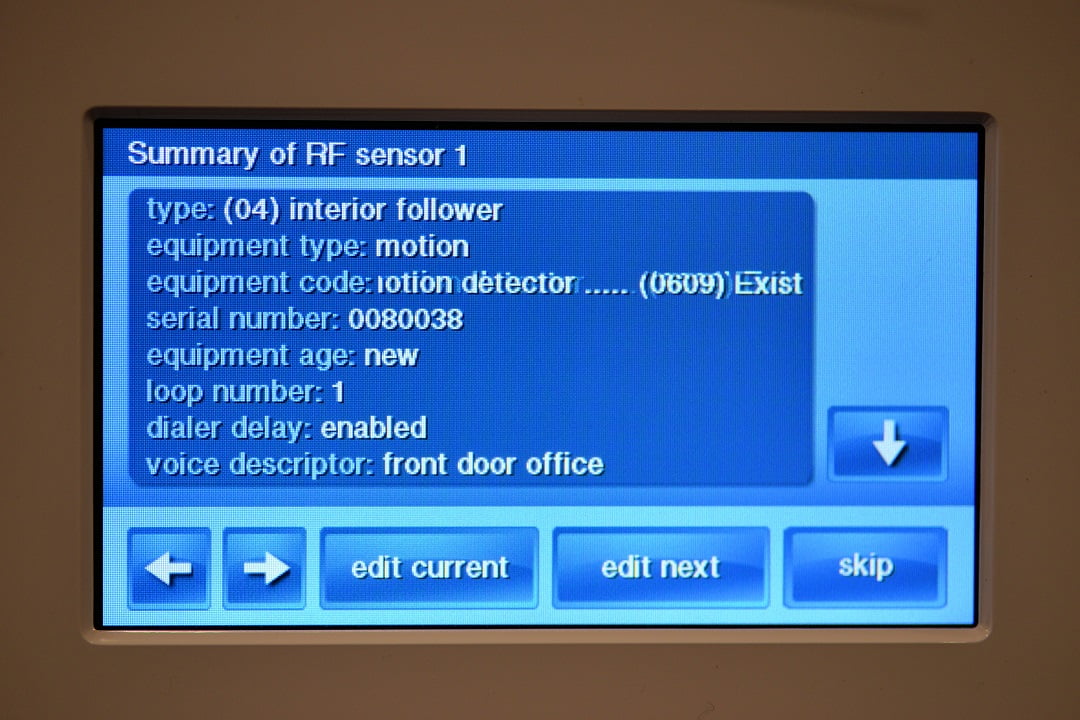
Next, we take a look at services – this is the Z-wave component. Once again this is easy to do. Once you are inside installer programming, you go to system configuration and programming from here is staged as a cascade of questions – how you answer them defines the nature of system setup. You put in the zone number then use shift and arrow keys to add sensor names, which are programmed by code from a key of options.
Setting up an alarm panel is harder than it looks – it’s the designation of zone details using keypads with basic alphanumeric codepads that’s a fiddle. Comparatively, Go!Control is much simpler than traditional panels – the system requests responses and you select the response that suits the application – pretty simple stuff.
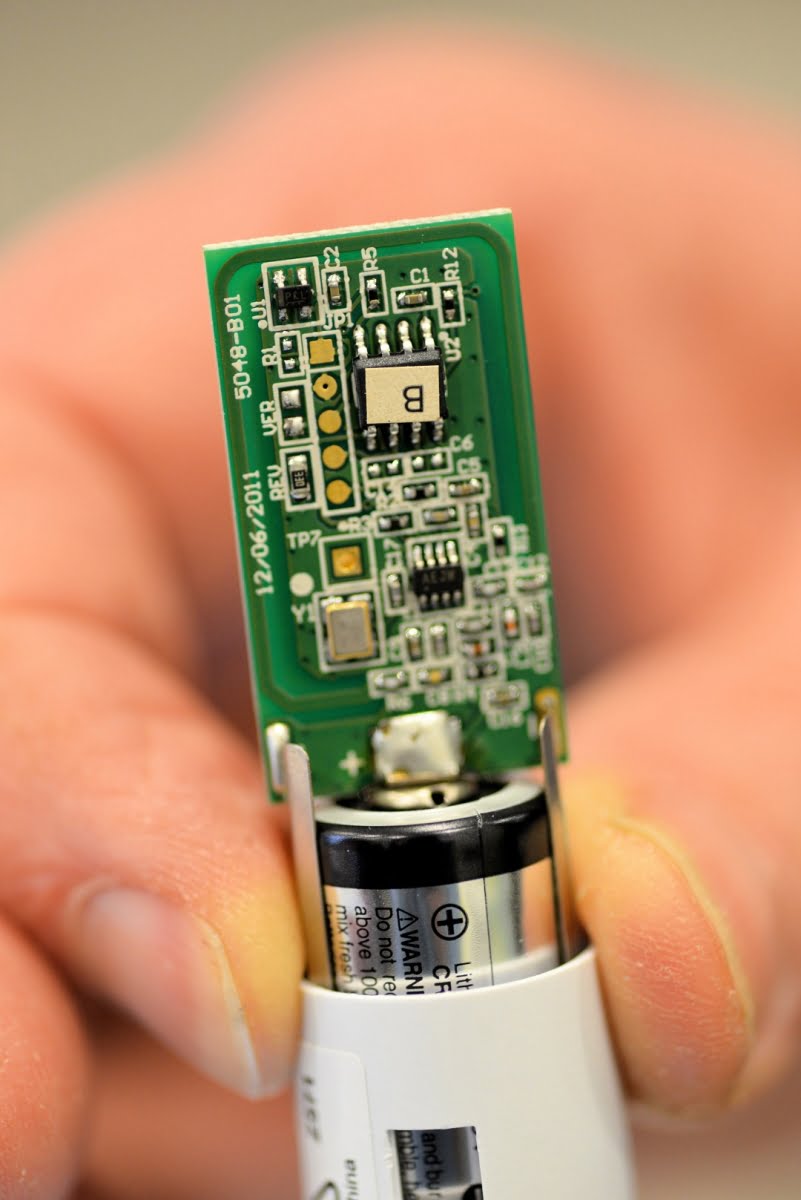
Next, we power up a PIR and link it to the panel. First comes adding the battery and to do this, you enter the serial number or place the panel into learning mode. The panel sends a signal through and finds the sensor, displays the serial number on the screen for verification and you can then make a voice description. You can also select a 3-number code which represents say, Front Bedroom, or Kitchen or Back Door, etc, and once the zone is set up, setup details are displayed for you or any other technicians who accesses Toolbox.
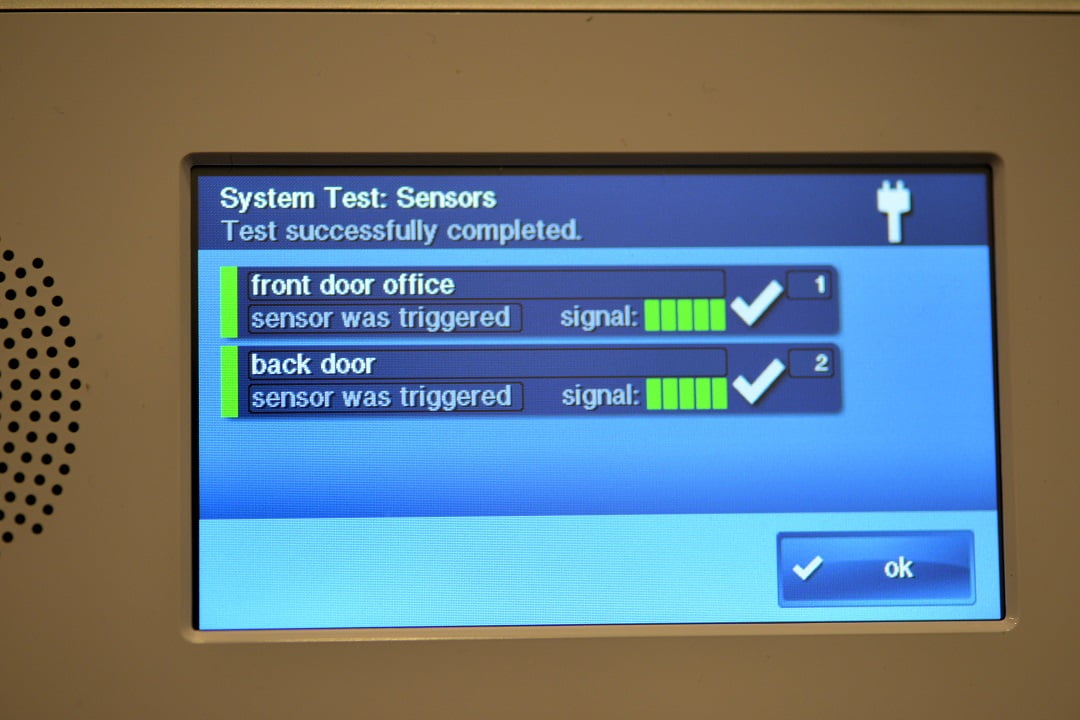
Adding additional zones is just a repeat of this process. You simply press Edit Next, note that Zone 2 is available, and in our case, we link a reed switch. We power it up, the panel finds the signal from the device, displays the serial number for clarification and we designate the zone description and on it goes.
After we’ve linked a couple of zones, we go into the services area and set up a Z-wave switch that I have plugged into a convenient power socket. This process is even easier than setting up a zone. The system does not care what sort of device the power point Z-wave switch is powering – that’s something that you add in during setup. Frankly, I’m surprised by how easy this part of the process is.
The simplicity of programming Go!Control locally makes it a very easy business to set up security and automation for use as a traditional solution with considerable additional power. And if users want to go to the next level, Alarm.com’s app and all the features surrounding it are readily available.♦
By John Adams
Features of 2GIG Go!Control
* Colour Touch Screen Display
* Fully Self Contained
* Snap-in GSM Radio
* Remotely Control Panel Settings
* Two-way Voice Over cellular
* Over-the-air Update Functionality
* Built-in Z-Wave Home Control
* Customer Messaging Capable
* 48 Wireless Zones
* 2 Hardwire Zones
* Weather Information Display
* 24-hour Backup Battery
* 32 Usercodes
* Quick Arm/Exit.


