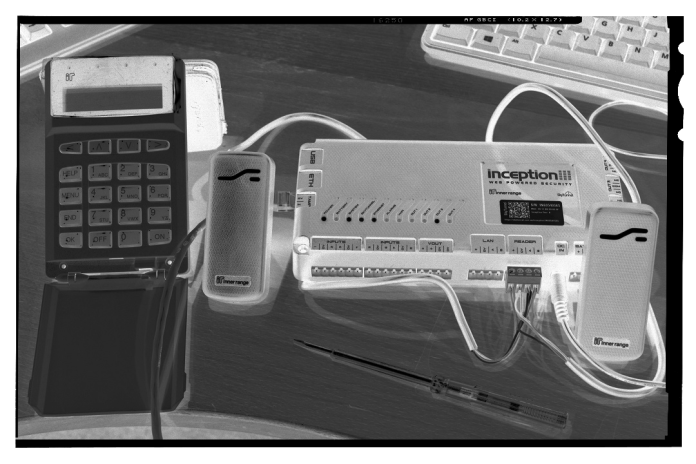
Inner Range Inception is an integrated access control and security alarm system that allows installers unfamiliar with Inner Range programming to leverage the company’s engineering expertise in the most intuitive possible manner.
WE’VE been following Inner Range’s development of the entry level Inception access control and security alarm system for a couple of years and were thrilled to get our hands on the hardware ahead of the official May 2 release date. It’s been a while coming, but Inner Range Inception has been well worth the wait and rounds out the Inner Range offering perfectly. Hardware and software are thoughtfully designed and beautifully executed.
In a nutshell Inception offers 4 doors onboard with LAN expansion to 32, 8 SIFER readers onboard with expansion to 64, expansion for 32/64 Wiegand readers, 32 areas, 8 alarm inputs (LAN expansion to 512), 4 outputs (LAN expansion to 512), 2000 users and a 50,000 event log. The system is supported by the Inner Range–Paradox RF module and RF devices, and local control is via the compact Elite LCD keypad. The scope of the Inception solution represents a new market segment for Inner Range, which despite the Concept 2000 solution of the past, has not specifically targeted the SME market before.
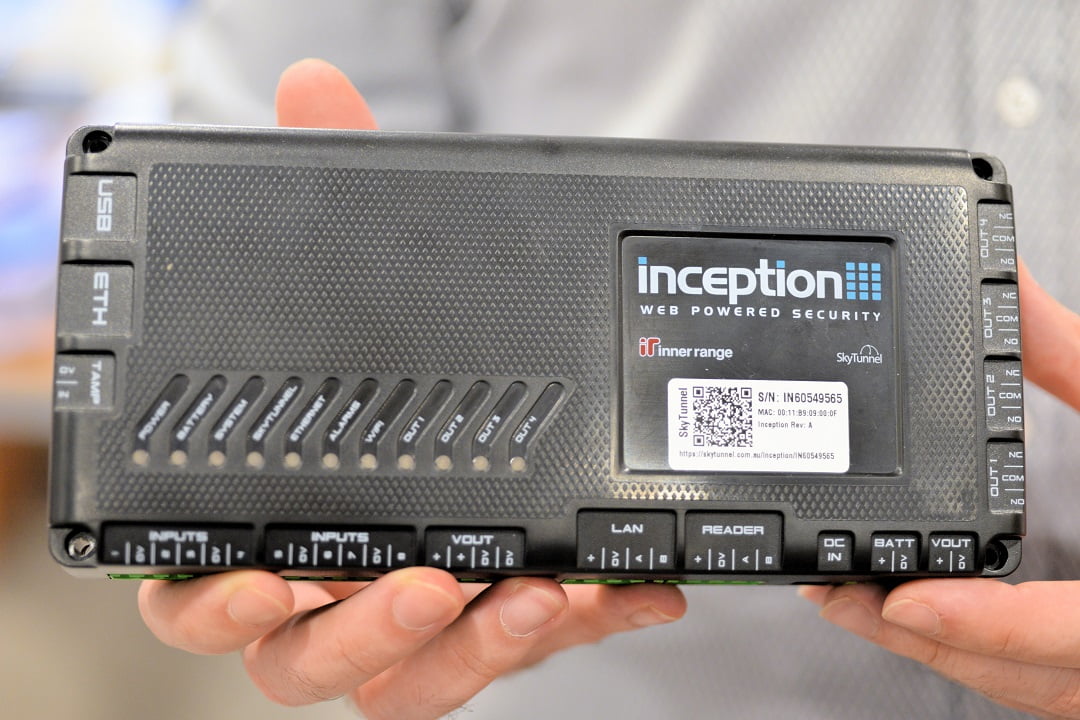
Inner Range sent along an Inception kit in advance for the demo and as we unbox the system – an Inception panel, a keypad, 2 readers, and power pack along with ancillaries – I can see it’s pretty much the sort of solution an installer might buy at CSD minus motion sensors, reeds, REX buttons and strikes. During unboxing, my first impression is of compact size, which Inner Range's Inception team leader, Steve Mitchell, tells me was very much the name of the game.
System setup
Inception is set up to DHCP by default. To fire the system up, I plug cable the panel into a spare port on my PoE switch (you can use an optional Wi-Fi dongle and your own mobile device), insert a USB key and download the Inception Discovery Tool. Once this is installed, I double click and the tool scans for all Inceptions on a network and shows them in a window. I click the one Inception the tool finds and we go straight into Inception’s browser. As I quickly discover, this interface is a deceptively simple window into the functionality of Inception.
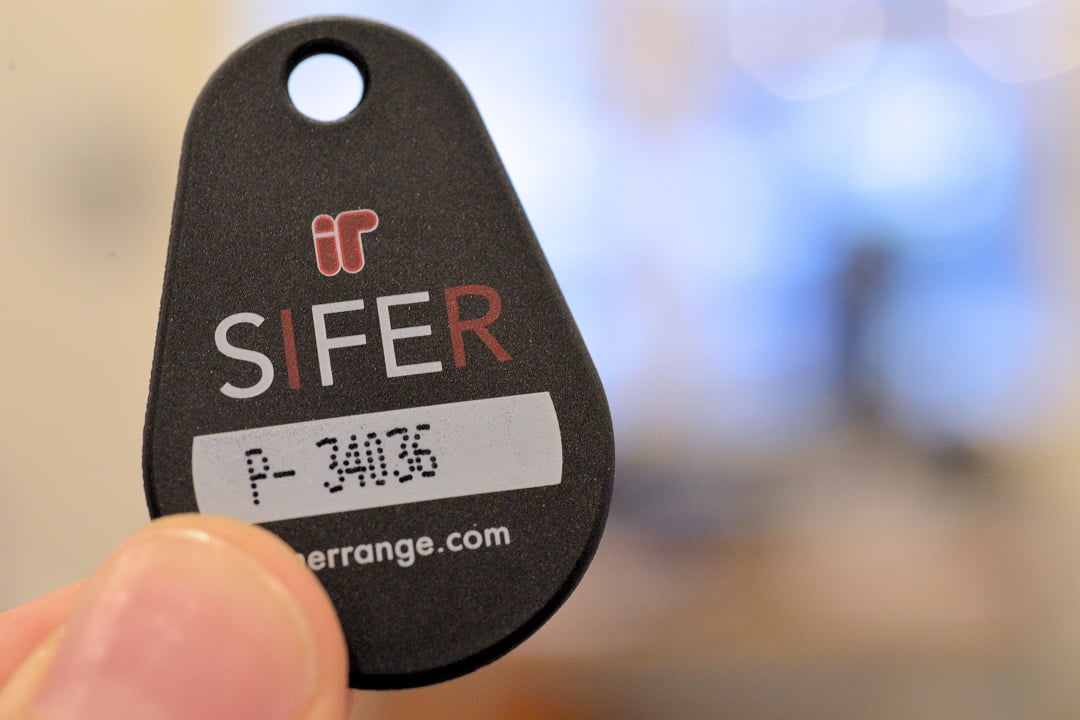
Next, I wire in the 2 SIFER DESFire readers. When it comes to setting up readers, you can daisy chain readers into the same reader port thanks to Inception’s OSD bus interface. This supports 8 readers, giving read-in and read-out on all 4 door inputs. The hardest thing about multiplexing the readers is wrangling 2 sets of 4 wires with one hand while wielding a screwdriver with the other. As part of our install, Mitchell upgrades Inception’s firmware and this is a simple automated process.
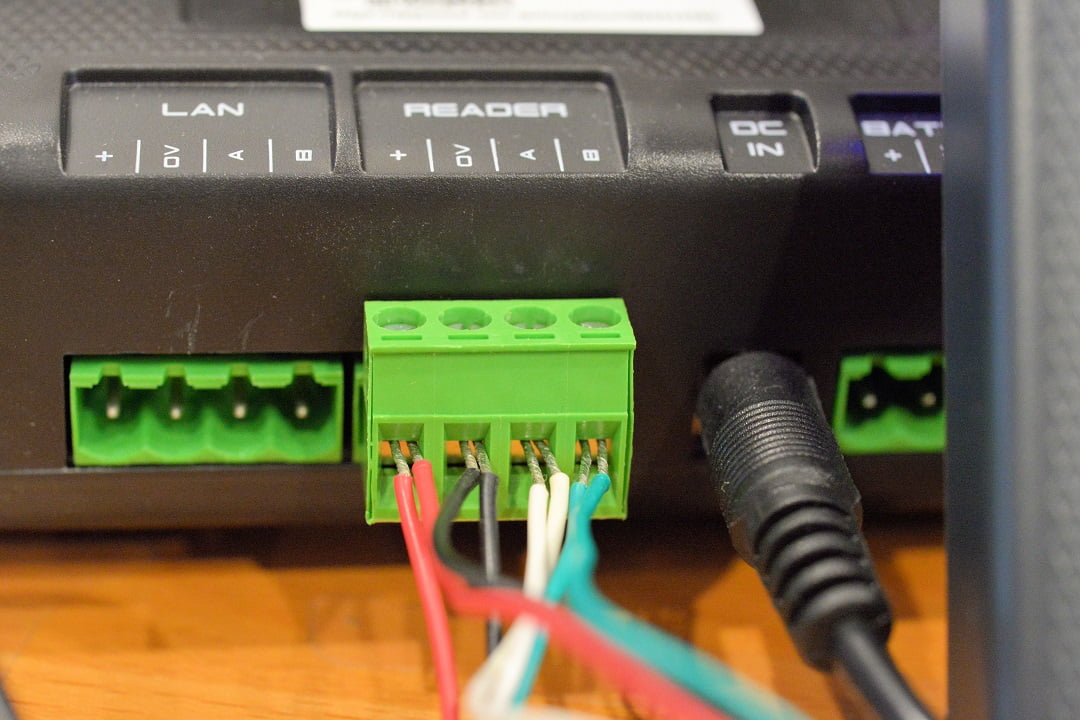
With the readers wired in and powered up, the first thing to do is run Inception’s resident wizard to find the 2 SIFER readers now connected. From this wizard you can undertake options, including setting the colour of the LED displays. But the real heart of the system isn’t this wizard, it’s the browser. You interact with Inception via a standard onboard web page interface using any connected browser and any connected device. Browsers might not be as fashionable as the slimmer app trend but they are robust, secure, highly functional, present fewer shortcuts and comprises and as Mitchell points out, they are much easier to develop and tweak.
“The aim of development has been to simplify the application of intruder and access control, to be an introduction for non-Inner Range users,” Mitchell tells me. “Inception is the product that any tech can pick up within a couple of hours and is designed to draw competitor users towards the Inner Range family. The Concept and Integrity solutions have always been a little more complicated – they are very flexible and powerful products. But for systems of 4, 8 and even 32 doors installers don’t need a lot of complex processing and logic. Recognising this, we try to use common terminology alongside Inner Range terminology and programming structures so as to make the system easier to approach.”

Inner Range Inception team leader, Steve Mitchell
According to Mitchell, there’s no licensing – you simply buy the product and install it. The fact there’s no software because there’s a web interface contributes to the simplicity. There’s not the same requirement for training but we are thinking of a 6 to 8-hour self-paced course as a process of familiarisation but the Commissioning Checklist, which leads the installer through the process of system setup, does make installation very simple. Importantly, Inception uses a lot of integriti modules – an 8-zone expander and the 2-door access module. If you want more doors you buy more SLAMS, in you want more inputs you buy more 8-zone expanders. You can choose from different housings to suit the number of expanders you need.
Inception’s Commissioning Checklist is the ringmaster of the system. You start at the top and are directed around functionality of the browser site as part of the process of setting up a system. It begins with configuring network settings, date and time, network settings, moves on to configuring system settings like EOLs, and then you get into the setup of the application, including setup of site areas. Here, you create and name up to 32 areas so later you can set up hardware and assign it to the correct areas.
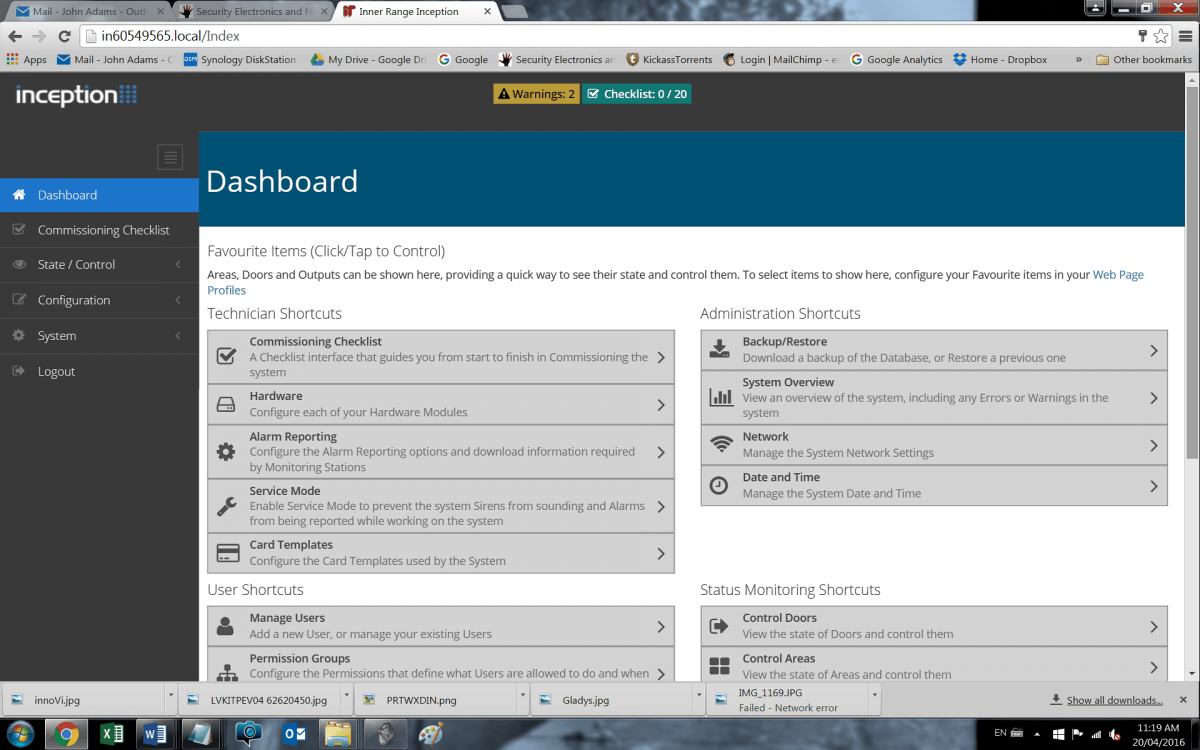
“Areas are the most complex part of setup because they tie into security and access control and access events will disarm the alarm system at programmed times,” Mitchell explains. “Areas are set up primarily so one area can remain armed while another is disarmed. It’s here that you set exit and entry delays and set your time periods, which might be default with explicit exceptions, or there’s an integrated calendar that allows you to browse into the future to set and later check the programmed schedule. When you’ve set up your areas you can test them to make sure all devices assigned to them are functioning properly.
As we go through the process, I can see everything is laid out and to hand – it’s impossible to overlook a key aspect of your job. There are also entry and exit paths, which is especially neat. These are key features of a quality access control and security solution and to find them part of Commissioning Checklist reflects the thought that’s gone into Inception. With areas named, we get into hardware and intruder detection device enrolment, configuration of intrusion detection, time periods and schedules, door and areas schedules; permissions, cards and users.

Other key steps in the process include choosing outputs that are user controllable, configuration of permission groups and roles, configuration of access card templates, review and configure web profiles, create and configure users, configure alarm monitoring, configure automated actions, change default installer login, change the Web Interface password and PIN if web access has been enabled over Skytunnel, and if so, change the default Installer PIN, password and username. You then disable service mode, fix warnings and download the programming report, backup the database and commissioning is complete.
Obviously, the more devices there are to setup along the way and the more users there are to add to the system, the more complicated the process becomes but for smaller solutions the setup process is extremely easy. Readers are identified by the system and can then be defined by the installer. Parameters of entry points, including open times, can be defined – all this is managed by selecting drop-down options so it’s very simple stuff. I found myself customising door open times and times to exit to suit myself – though the system has sensible defaults that in most cases represent the best option.

You run through the on-board outputs and simply fill in the blanks. You select the relevant reader type. You can name the door and select the output. Is there a door attached to this output? Is the reader inside or outside? At each step, the system’s functionality is entirely available to the installer for selection and at all times there are functional descriptions that support installers not familiar with melding access control and intrusion detection. The detail is significant and goes into operational parameters, making it especially valuable for first time installers as it gives a sense of what the system is doing and why.
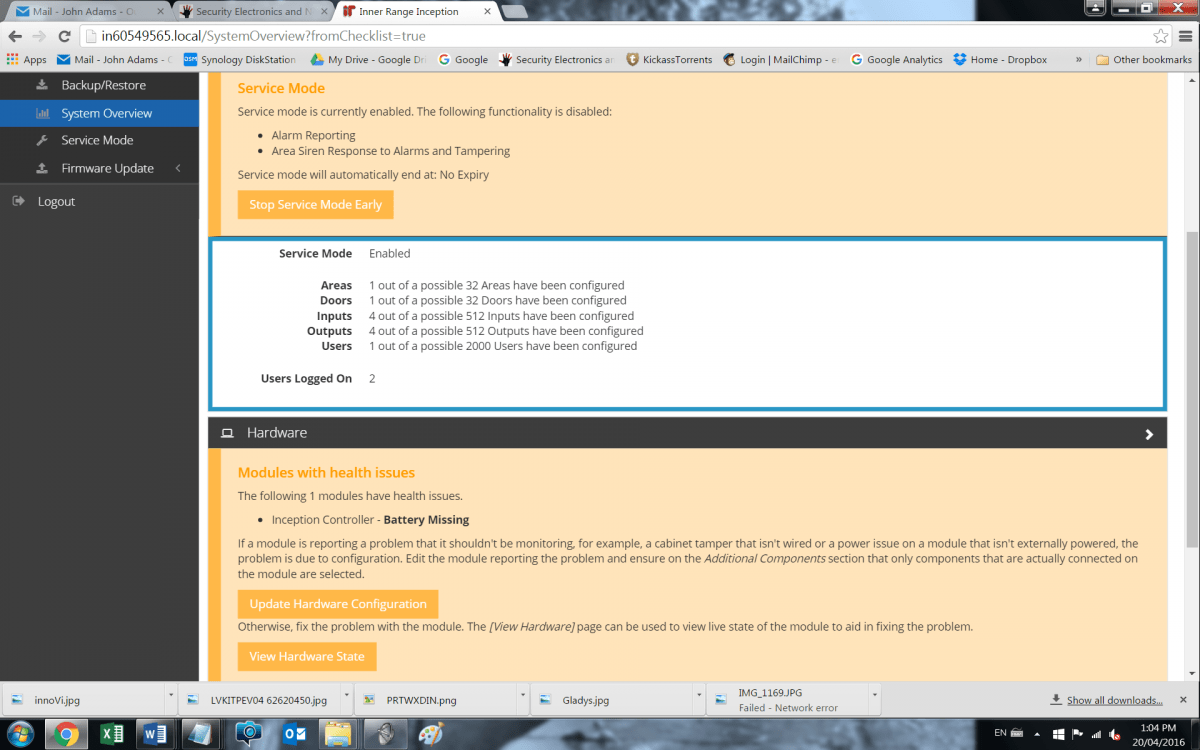
We work through inputs, which can be linked to doors – these can be any alarm input – a reed, a sensor, a request to exit button, emergency glass break on the door. While a system can employ all the available inputs, and add expanders to increase capacity for a given application, the process never changes within the framework of Commissioning Checklist, though installers familiar with system can take shortcuts in the menu, making installations faster as time goes by. When you’re getting near the end there’s an overall system health check that lets an installer know that a battery is connected, the network is connected and all the rest.

We take a look at the Review Events page, which by default loads the last 24 hours of events but a single click allows users to load more (another 500) or load all events. All system events are populated to this page, including opens, closes, arms and disarms, permissions granted and all the rest. For a smaller system, the Review Events page gives users the perfect daily snapshot of what’s been going on around their site and when. In the future there will be push notifications of events via mobile device using an app.
While I’m mucking about, Mitchell has plugged in a Wi-Fi dongle and connected his phone to the system. There’s a QR label on Inception that automates the process of setup on mobile devices and he scans this and almost immediately has access to the system on his phone. I can see that the display on mobile phone is the same materially as it is on a workstation when it comes to the Commissioning Checklist. This is a responsive interface and the page self-adjusts depending on the device you’re using. It’s fast, too, regardless of whether you are undertaking setup or viewing the live event stream. Latency is never intrusive. I like that.
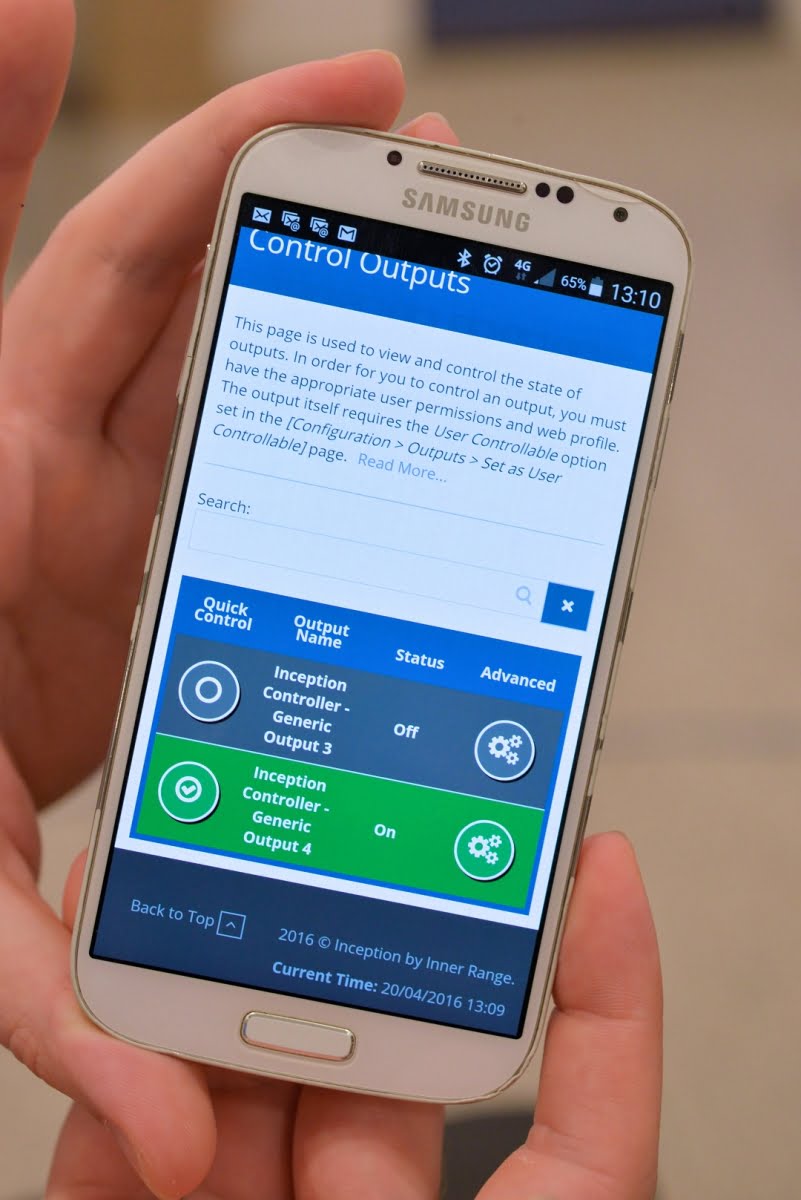
“The Wi-Fi dongle allows the unit to expose its own Wi-Fi hotspot which installers can use to access the system from a mobile device,” Mitchell explains. “This means there’s no need to connect the system to a wired network if that’s not required – no need to dangle a laptop from a controller hanging on the wall. All the functionality of the browser, including the Commissioning Checklist, is available via mobile device.”
Something that springs to mind is how end users can leverage the power of the browser interface in order to manage their own systems – including monitoring their event log in real time. According to Mitchell, this is very much the way he expects many Inception systems will be configured.
“This entire web interface can be accessed from any authorised interconnected device as long as Inception has internet access,” he explains. “And there’s a section of the checklist specifically devoted to establishing the parameters of use access to parts of the system for management and oversight.”
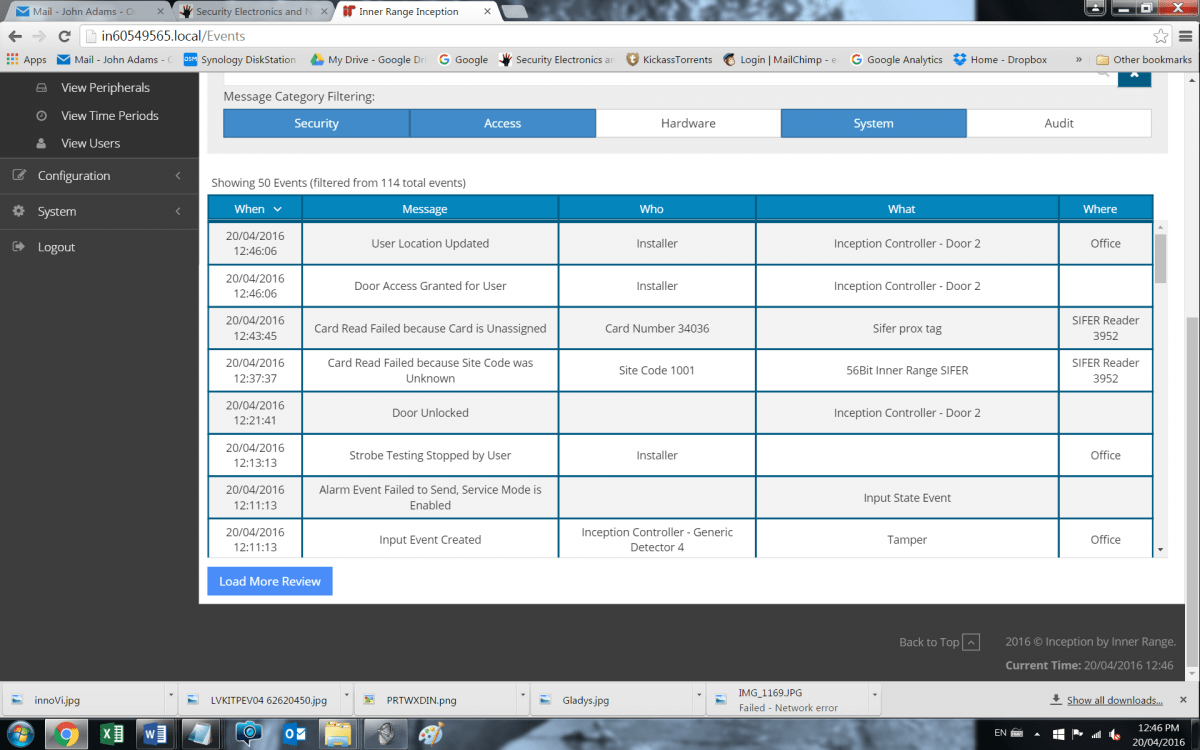
At all times, navigating through the Commissioning Checklist is very easy. When you’re concentrating on a task, it’s possible to get momentarily lost in the process of system setup and to forget where you are but there are multiple ways for beginners to return to the familiar Commissioning Checklist, which continues to lead them through the setup process. Making the process easier, each item on the list turns green after it has been set up correctly. When it’s all done, you can see the state of devices wired in, test the battery. Discounting the simplicity of the application, this system has a lot of capability and is able to handle remote maintenance, remote arming, remote view of events. We play with the system via SkyTunnel and it’s quick – I wasn’t expecting that. There’s virtually no delay at all.
Users is a key part of the system in terms of setup – it’s here that users are added and PINs, cards and tags can be assigned. It’s here that permissions are added – this can be undertaken via permission groups. Users can be granted permission to arm areas, disarm areas, access areas. Then there’s the when part – the who what and when. Someone may be able to control outputs always or only at specific times, or when a particular area is armed or disarmed.
“In the past, users would have to go into Insight or Integriti to get system management and event monitoring but with Inception, authorised users can access the system and look at functions like calendar programming through a browser page on any networked computer/s. Functionality is reduced compared to the bigger systems but it’s still more than enough for a small solution.”
There are default pages that can be assigned to be user accessible – like user admin for a standard user. The person can add a user, assign a card, control inputs and outputs and doors and view the event log. For many users that’s all that’s required. There’s a system administrator profile which can be assigned – this profile can see more of the state of areas and doors and the permissions. You can add favourites to the home page of the browser so security managers or system operators can more quickly access most-used functions from the top of the dashboard. This is easy to populate and easy to use to control outputs and arm or disarm parts of the system.
When it comes to specific user control of doors and subsystems, the installer can grant permission for users to control outputs during setup by clicking add to end user controllable and then saving the setting – including things like lighting, air conditioning. Users can see what they can control from their version of the web interface, which is not as comprehensive as the installer version. Assigning prox tags is easy, too. We badge the new tag, hop into event history and see the site code of the tag, run through the template in the dropdown, entering the site code, a tag name/number and save.
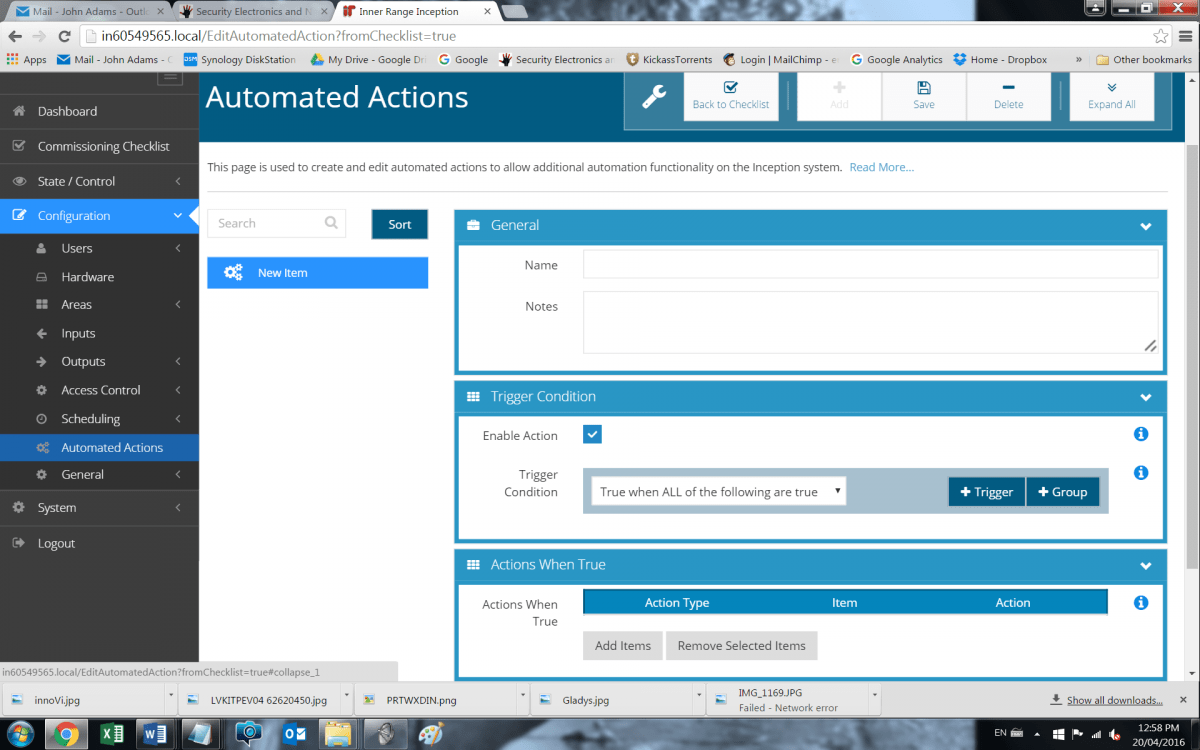
We also take a look at the Automation segment of the Commissioning Checklist. As well as managing access and alarms, Inception can also handle automation – for instance, when an area is disarmed at a particular time of day, turn off the lights. The capability of this automation is actually very comprehensive but best of all it’s very simple to set up more complex automation events using and/or logic. As Mitchell gives me a taste of the functionality, it’s obvious there’s a lot flexibility here.
There’s plenty more behind the scenes with Inception, including IP monitoring via SkyTunnel using Contact ID. Once the system is installed, the tech tells the monitoring station they are enrolling an Inception, gives the serial number and they chose the SkyTunnel plan and the system is immediately being monitored. Monitoring can also be handled by the t4000 communications module which links via a serial port to Inception’s USB port. The t4000 has dual SIM cards as the ability to report via Ethernet.
Conclusion
Inner Range’s design team balanced system capability and installation and operational simplicity on the edge of a knife as they worked through the 2-year process of taking this system from conception to inception. Giving a system capability and simplicity is not an easy thing to do. And designing a highly functional browser interface is no easy task, either. Mitchell is the perfect guide for this demo. He was handed oversight of the development of Inception at the age of 28 and lives and breathes this solution – not just its technical specification but its entire reason for being.
Inception is revealed as profoundly comprehensive in its simplicity. By the end of the process you really do have a new sense of the steps required to set up an access control solution and you know with surety that your system is functioning and reporting as it should. The integrated checklist offers an inbuilt installation quality control – you really are commissioning the system every step of the way. Just playing with Inception creates an urge to install the system – it’s that sort of solution.
But it’s the web interface programming, commissioning, maintenance and programmable user access that’s the biggest deal with Inception. The configuration of Commissioning Checklist is like having a senior installer at your elbow. The Commissioning Checklist is not only highly intuitive but highly instructive. It’s not just that following the Commissioning Checklist guarantees a perfect installation – the process itself, which incorporates context-based help tiles – increases installer knowledge by explaining each step as you go. For instance, the Inception Discovery Tool comes with soft copies of all the manuals and brochures.
Inner Range has a winner with Inception. The company has distilled all its ingenuity into a solution that’s capable of allowing installers unfamiliar with Inner Range solutions to handle large domestic and small and medium commercial applications. The functionality shaken out by the interactive remotely accessible Commissioning Checklist web interface is wide and deep and the system’s support for t4000 comms, Inner Range SkyTunnel and optional Wi-Fi for direct local connection positions Inception firmly in the world of networked security solutions. See Inception at SecTech Sydney, this Monday, May 16, at Australian Technology Park – click here to register and for details. ♦
By John Adams
Fact File:
* 4 doors onboard with LAN expansion to 32
* 8 SIFER readers onboard with expansion to 64
* Expansion for 32/64 Wiegand readers
* 32 areas
* 8 alarm inputs (LAN expansion to 512)
* 4 outputs (LAN expansion to 512)
* 2000 users and a 50,000 event log
* Supported by Inner Range modules and devices.


