Drilling Metal 101 Can Be A Tricky Business.
Drilling Metal 101 – Drilling metal can be a tricky business and it’s likely to be the most common interaction installers have with this robust structural material.
For a start, your tool kit should include a centre punch and hammer to create a dimple to ensure your bit doesn’t go walkabout in the first moments. This is especially important when you’re drilling into very hard metal, round poles, working at awkward angles, in situations where you can’t use both hands, or where your elbow is over-extended and you’re relying on wrist and finger strength.
Bits are important when it comes to metal. A standard HSS drill bit can handle steel, but it blunts much faster than a hardened bit of titanium nitride, black oxide or cobalt steel.
If you’re only installing a few fixings this may not be a huge issue. But if you’re drilling repeatedly, you’ll find yourself replacing HSS bits often, as well as relying on arm strength to get the job done. Using too much force when drilling risks snapping the bit inside the hole, ruining your work and possibly your best placement option.

While horizontal and vertical angles are important when it comes to professional drilling, getting this right is all about practise. We’ve seen a tech bond a small spirit level onto the side of a drill body to help with bit angle but over time you’ll be able to feel what’s right – even if your eyeline is not directly behind the drill you’ll do a good job, even at unsympathetic angles.
Another important technique when drilling alone is the extensive use of clamps to allow use of both hands to steady the drill, as well as letting you move around behind to ensure bit angle is not straying. Losing focus on angle can cause the bit to snap off, while an angled hole in metal can also expose fixings to moisture.
Drilling Metal 101 Can Be A Tricky Business
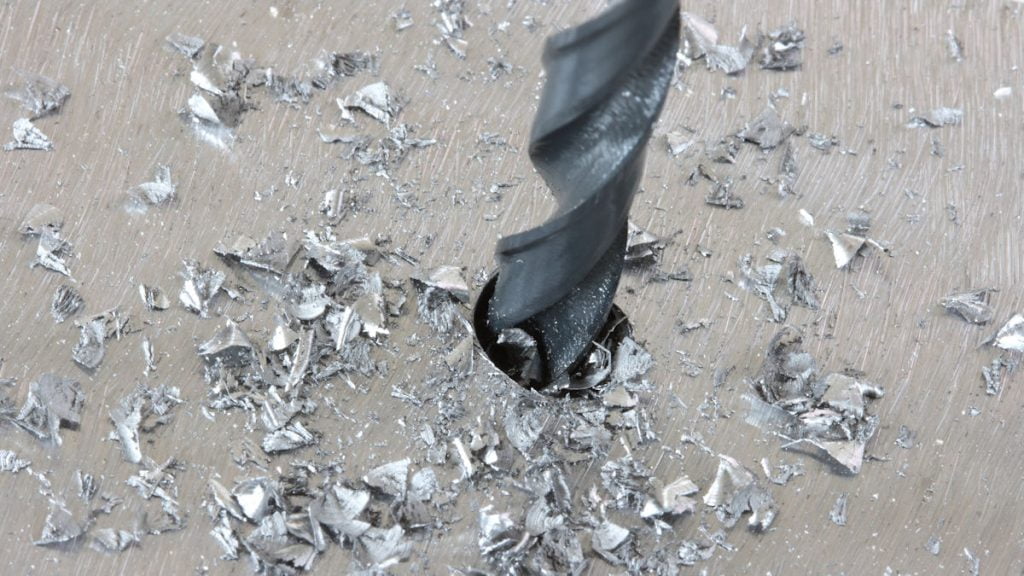
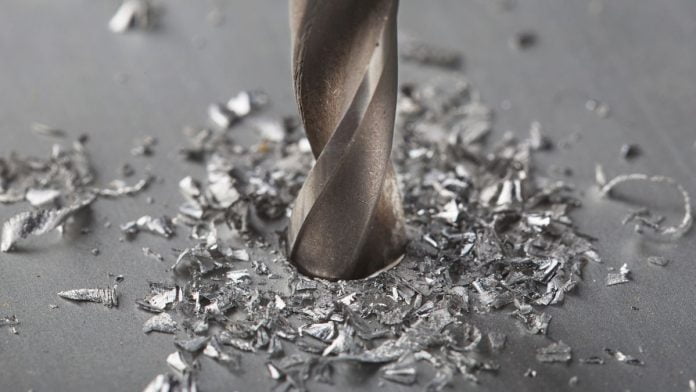
Drill speed is another key consideration with metal. The faster your bit spins, the hotter it gets, which dulls the bit and will throw fragments of hot metal about. Try to drill using the slowest possible rpm and the best quality drill bit. This rule applies even more when you’re drilling into hardened steel or using larger drill bits.
As the work gets harder, always ease up on the accelerator. Using 1.6 to 5mm twist bits you will easily get through most metals at 3000rpm, while with larger twists of 17.5 to 25.4mm you’d go no faster than 1000rpm and you might even drop revolutions down as low as 350rpm.
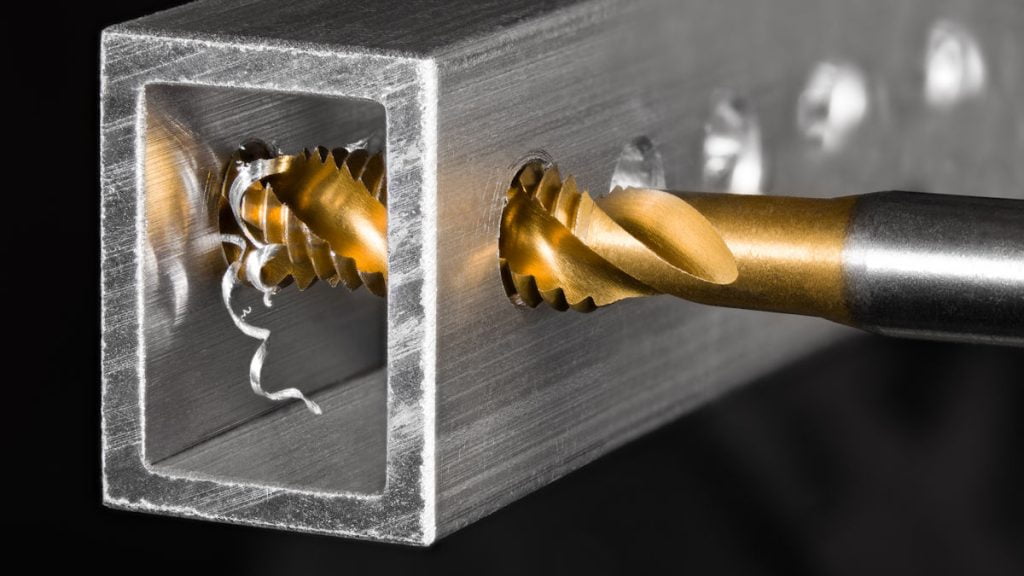
When you’re cutting larger holes, you might start with a small bit and work your way up. There are also drill heads like the Bormax and Rotabroach that give good results. Remember when drilling holes in metal thicker than 3mm, it pays to use a cutting fluid or multipurpose oil for lubrication.
Regardless of how good you are with a hand drill, there’s a point at which you are going to need to take your work out of the field and get it to a drill press. You might go to a local machine shop, but cost may be an issue.
Alternatively, you could buy your own benchtop drill press – these are not hugely expensive and are fitted with clamps and adjustors that allow them to make very precise holes in metal components large and small.
Another useful piece of kit for electronic techs is a step drill bit, which allows easy drilling of holes in sheet metal. These are perfect for clean, custom holes in junction or control boxes, which may have been designed to allow cable access through the rear when your application needs it through the side.
When it comes to AC or 18V drills with metal, we’d happily use 18V for lighter stuff, but we’d turn to the torque of a corded drill when the going got tough. You can rig your cordless drill up with a hexagon or socket driver to make light work of whatever fixings you’re putting in.
When using a power drill for fixings remember to ease the brake right off. When fixing lightweight materials it’s better practise to use a hand tool for that final half turn of tension than to risk spinning the fixing and over-sizing the hole.
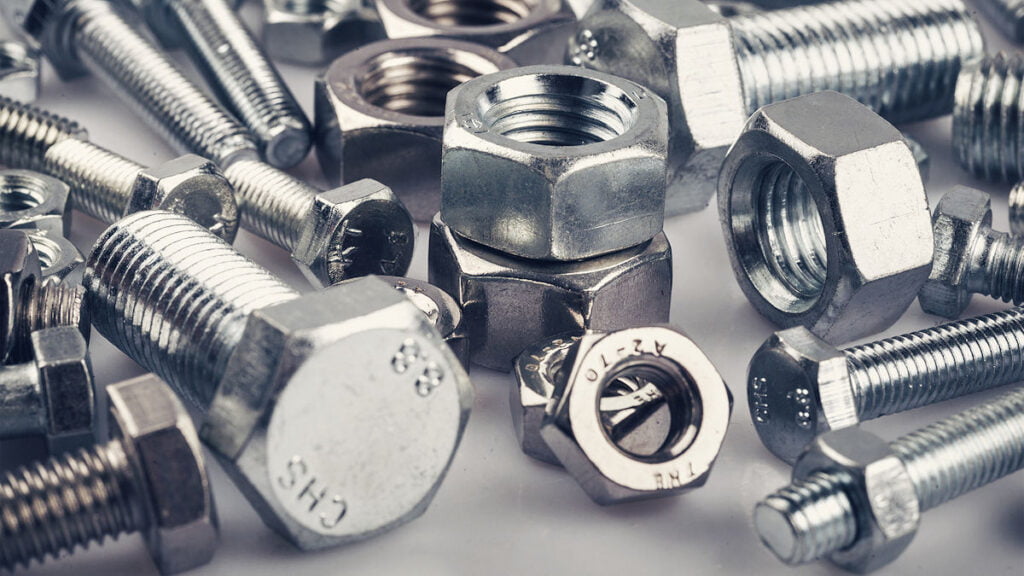
On the topic of fixings, you need to decide at the start what will work best. If you’re using screws to go through into material behind, you’re making a screw clearance hole, which is a simple hole with a slightly bigger diameter than the screw thread. The same rule applies for through bolts.
If you want screws to bite into light metals to hold components, then the hole needs to be just right – that means very slightly smaller than the thread. We’re not the biggest fans of screwing through metal unless you’ve got attachment on the other side, even though it is quicker than bolting small fixings.
If you mess up and the hole gets oversized you’ll have to drill again, and if the drilling is successful there will be a sharp screw tip inside the control box. You can nip this off, but who knows where it will end up.
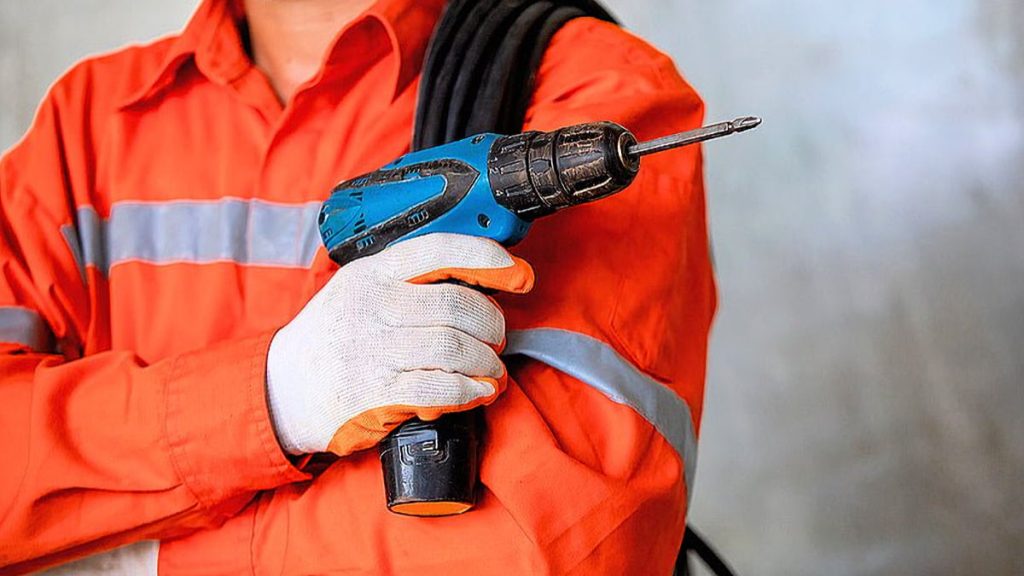
A deburr trick when you’ve finished drilling is to slowly hand turn a slightly oversized twist bit in the hole entry. And always remember your protective eyewear and clothing when drilling metal.
You can learn more about hand-held power drills and drilling metal 101 click here or read more SEN news here.
“Drilling Metal 101 Can Be A Tricky Business.”
