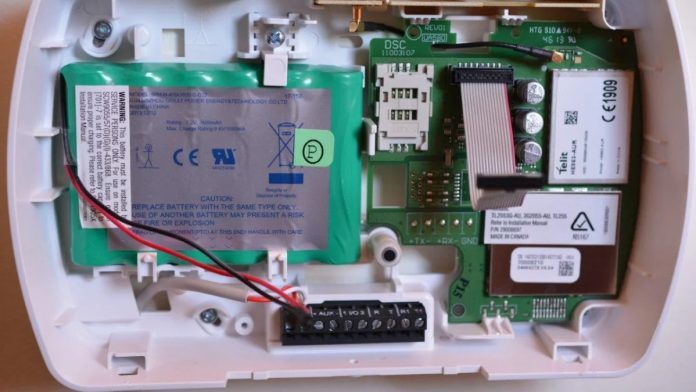
Installing DSC IMPASSA Alarm Panel
DSC IMPASSA, distributed locally by Q Security Systems is an all-wireless security solution that leverages DSC’s monster range of devices to offer great flexibility in the real world. But simplicity of installation is IMPASSA’s greatest strength.
WHEN I got an opportunity to install a DSC IMPASSA alarm panel recently I was both eager and apprehensive at once. DSC has been one of my favourite alarm manufacturers since the 1990s, when it released solutions offering cool stuff like remote intercom via telephone and onboard relays for control of remote devices.
IMPASSA reflects the lateral thinking of DSC’s engineering but while the system is deep in some ways, in other ways it’s actually quite traditional. That’s no bad thing. For many installers and many home owners, a security solution is a security solution and what they require is more security capability, not a bunch of automation options that are unlikely to be used.
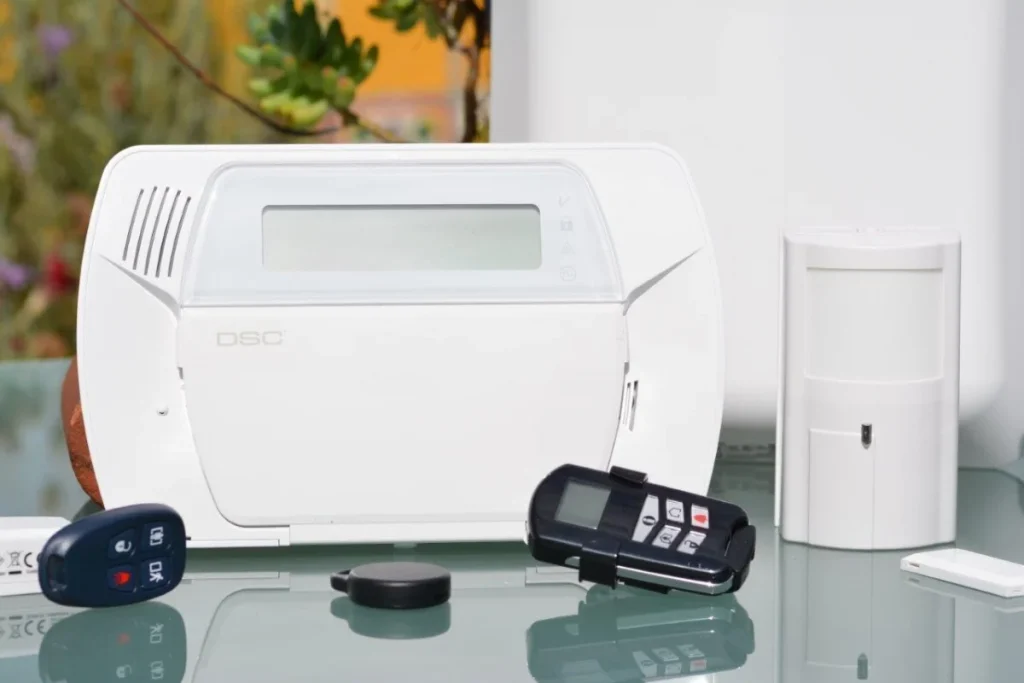
When IMPASSA arrives and I’m unboxing, the things that strike me include the fundamental simplicity of the system’s architecture and the enormity of the sensor and user interface options. The heart of IMPASSA is the SCW9055 wireless controller. It’s a user interface and control panel in a single housing. Dimensions are 227 x 140 x 42mm and it’s nice to look at, large enough for easy use and organic enough not to draw the eye unnecessarily. Current draw is 425-750mA, which is very little for a device of this type. The onboard battery will support the system for around 24 hours.
Key to understanding the system is the nature of its comms and power supply. On the detection side IMPASSA supports up to 64 of DSC’s 433Mhz wireless devices, as well as 16 wireless keys (without use of a zone slot) and 17 user access codes. When it comes to reporting, there’s a single 3G SIM bay in the TL2553 controller (mine came installed), there’s support for PSTN if you need it.
Something that’s neat is that IMPASSA displays the communicator’s cellular signal strength to help determine the optimal mounting position within the home. And the real time clock updates the time and date via the cellular communicator, too. Another display on the keypad is external temperature, which I assume comes to the controller from the external siren.
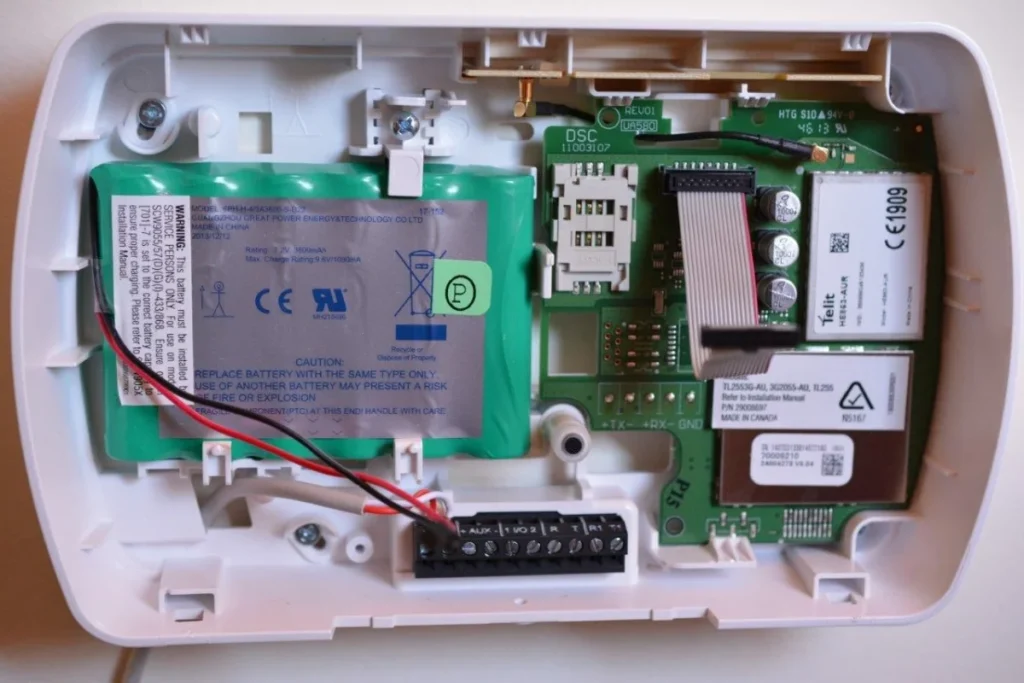
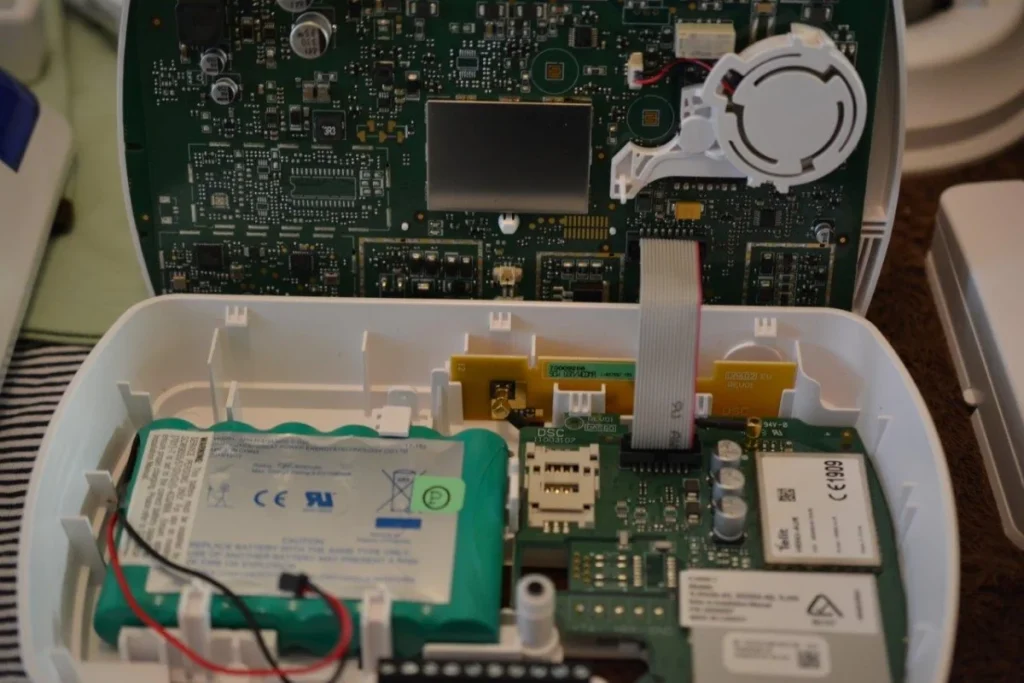
When it comes to power, there’s a plug in transformer and cable with positive and negative terminations and you slide these into the AC termination block (there’s no polarity to worry about) and that’s your power done. Backup power is a 1500Ma Ni-Mh pack that can be upgraded to 3600Ma if you are supporting another communicator.
Something quite neat about IMPASSA is that it offers 2-way audio alarm communication with central monitoring stations during alarm events. This is facilitated via a built-in VOX only or VOX and push-to-talk function. The ability to talk to CMS operators remotely is bread and butter in the medi-alarm market and it’s nice to see the same capability available here. And on the topic of events, 500 events are stored in the event buffer.
That’s pretty much the whole of the controller. From here we start talking about IMPASSA’s device catalogue. It’s comprehensive. Options include the WT5500 (P) 2-way wireless keypad, the WT4901 2-way wireless indoor siren, the WT4911 2-way wireless outdoor siren, or a combination of both. Then there are WT4989 2-way wireless keys for remote control, and there’s the WS4920 1-way wireless repeater if you need longer ranges.
Along with this hardware, installers can select from all DSC 433 MHz wireless devices and there’s plenty to choose from. There are 2 door contact options, 1 volumetric motion sensors, a smoke sensor, a carbon monoxide sensor, a flood detector, a glass break detector, a shock detector, 2 models of wireless key, 2 models of panic pendant, a holdup switch and a 2-way wireless integration model.
In this installation of IMPASSA I’m going to be using a good cross-section of the user interface and sensor range. To that end, I’m putting in the WT5500-433 keypad, 2 door contacts, a motion sensor, a smoke sensor, a flood sensor, a glass break sensor, a shock sensor, an internal siren and an external siren. As well as a couple of prox pendant I can use on key rings to operate the system with one touch, I also have a couple of remotes.
Installing DSC IMPASSA – Hanging The Hardware
Aside from the process of hanging the gear onto the wall, the key thing with any wireless alarm panel is enrolling the devices and registering them into the controller. Adding wireless devices involves hopping through a process of registering Electronic Serial Numbers compatible wireless devices and assigning or confirming zone numbers and zone types. Part of this process is undertaken before the physical installation with some instruction from Ben from QSS, some of it I do later at home.
This enrolment part involves fun things like installer codes and zone definitions and there are 89 of these so you do need the manual in your lap. But it’s a fundamentally simple process involving no more than a couple of keystrokes to enrol each device. To enrol wireless devices you hit *8 to get into the installer menu, enter your installer code, then 898 to get into wireless enrolment mode, then the controller waits to get a tamper from a device (or a single on power up) and displays a device’s electronic serial number, which you check by sight to ensure its correct, then you hit * to confirm.
You then select a zone type for the device. The zone types have different properties – if it’s a reed on the front door you select zone type 01, which assigns a delay. But as this is a PIR in the house, I assign it 04 for interior. This means there’s no delay assigned to the zone, though delays can be manually configured. The next step is to activate the device using the tamper, and the controller then tells you in plain English if the location is good or bad.
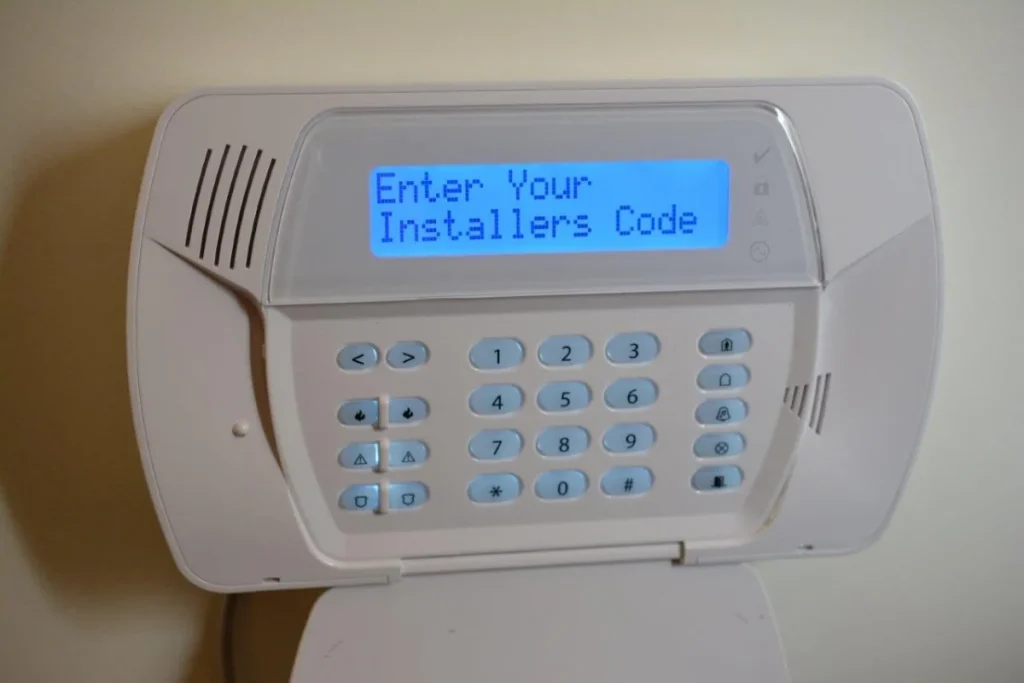
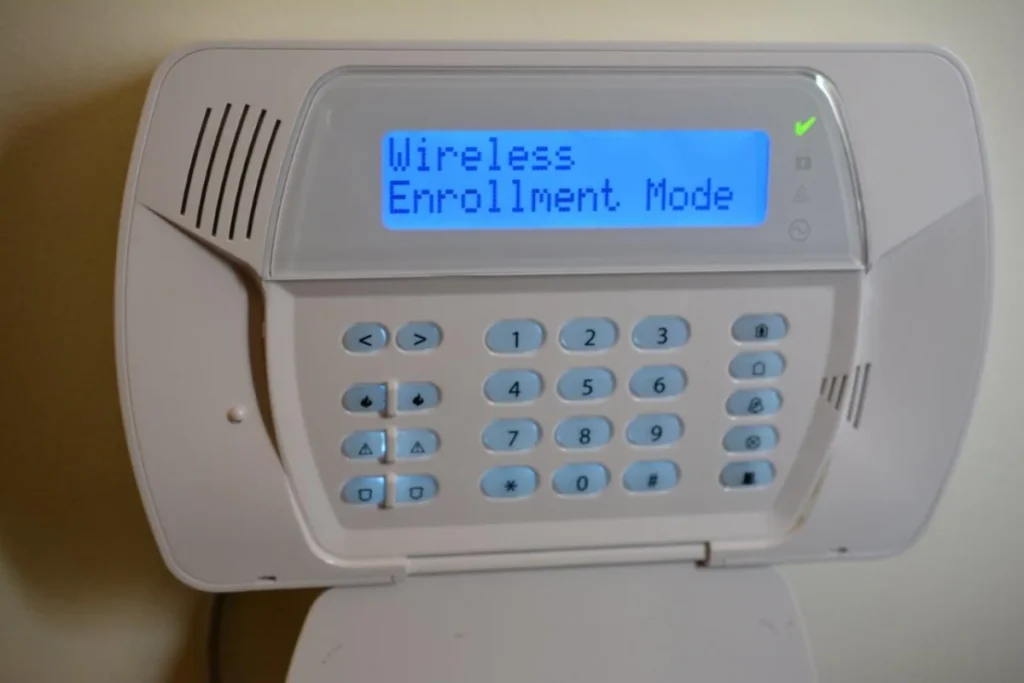
The next thing that gets enrolled is an indoor siren. The controller picks up the device as soon as the batteries are installed. Is the ESN correct? Yep, so select Siren 1, then hit * to confirm and you’re done with that device. If you’re wondering, yes, this process is very easy and systematic. If you’ve done it once, you can do it for all the devices. It’s just a matter of going through the process step by step.
Next up is the external siren. The siren’s battery passivation process needs to be undertaken first and that takes a couple of minutes once the battery has been installed. Once it’s complete, you hit the device tamper and it’s ready to be enrolled. I check the device number -it’s designated as Siren 2. There are programming options for sirens. You can disable door chimes, bell squawks, trouble beeps and the like.
A wireless key fob with a wee LCD screen is next for enrolment. The clever fob can communicate system status to the resident. The panel displays the device number, it’s checked, Key 1 is selected, * is pressed and it’s done. Then comes another key fob, this one has no screen but still handles the fundamentals of arm, disarm, put in stay and away mode, there’s a panic.
Next comes a glass break sensor – power up, check the device number, select Zone 4, press * and that one is done. Then it’s the flood sensor (you have to wire this up to a reed switch to enrol it), then comes a shock sensor that beeps every time it’s accelerometer detects movement during installation.
While enrolling this, I scratch my head thinking about where to put this device. It goes into the panel as Zone 2, zone type instant. Very neatly, the shock sensor also has a reed switch and this reed is assigned zone 3. The idea is that the shock sensor detects an attack on a door and will squawk to warn off an intruder, as well as generating an alarm, while the reed confirms breach of the entry.
Next comes a reed switch. I enter *8, the installer code, key 898 to get into wireless enrolment mode, pull the tag to activate the battery, the keypad screen displays the number, I check it, and call that reed Zone 5, designating it as Type 01 – delay – and slated for installation on the main entry.
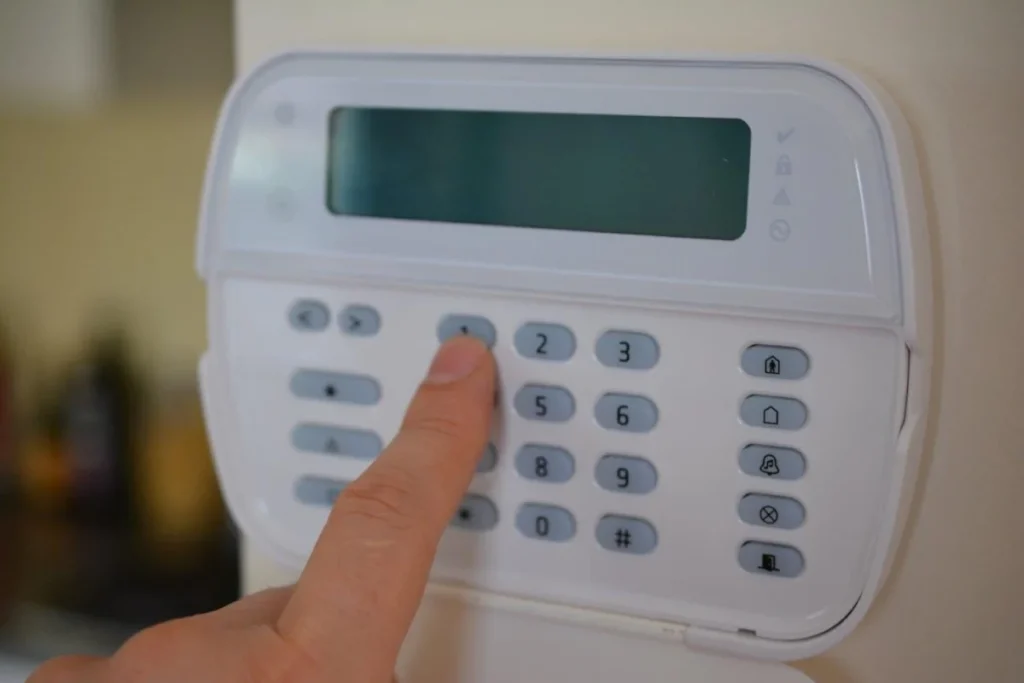
Given the location of my main controller, I’m pretty happy to have this interface where all the work is taking place. It’s a nice unit that displays the same information as the main controller. The outside temp, the time and the signal strength of the 3G communications channel. In design, this keypad is traditional, with an LCD screen and
Installing DSC IMPASSA
With the system enrolled, the most time consuming part comes – the physical installation. The first thing to think about is where to locate the controller. Because this unit has a 3G SIM inside it, the best place is going to be a higher and in a location where there is a good signal. Once you install a SIM, the 3G signal is displayed in the window of the controller, so you can walk around and check to make sure the unit is located in the best spot for cellular coverage.
Going through the process of unpacking, I notice DSC ships heavier components including the main controller, the remote keypad, the internal siren, the external siren and the smoke sensor with more robust fastening and plugs. Given much of this gear is going onto plasterboard, I’ve decided to use plugs with almost all my fastenings.
First, I choose a location that’s elevated, remote from entry points and with existing power. It’s not a location I spend a lot of time so this means I’m hiding one of my keypads but that’s the nature of the system. Matters are simple enough. You use the mounting bracket as a template, mark the fixing points, and break out the drill. The wall is plasterboard so I’m slightly over drilling and tapping in plugs before half screwing in the mounting plate.
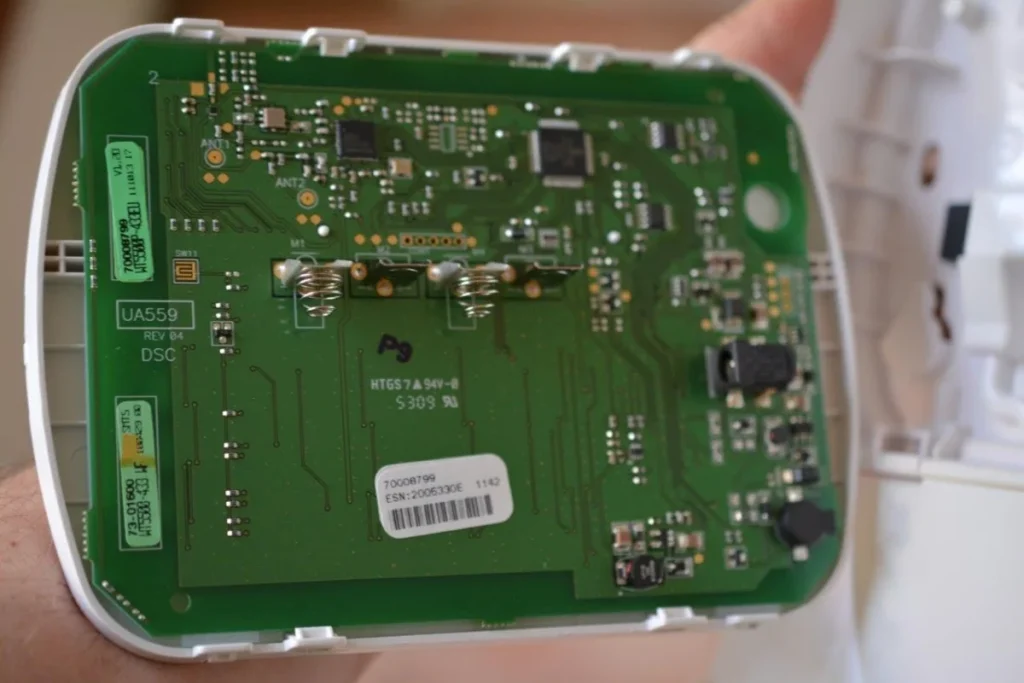
Before I tighten the screws I attach power, running the cable from the transformer through the cable opening on the rear of the mounting plate and slipping the power cable ends into the termination block. Then it’s just a matter of attaching the front part of the controller and turning power on at the wall. Because I’ve got all my sensors but the smokie programmed already, my work here is done. A quick tidy up and it’s back downstairs.
The primary entry points and key vulnerabilities of this property are all located towards the rear of the building. It’s an add-on to the original structure and happily for me, it’s lined with plasterboard, not the 1890s plaster and lathing that lines to older section of the house. Having had picture hooks turn into sink holes in the original building, I’m pleased about this.
Something that makes life easier is that the WT5500-433 remote keypad allows full control of the system, so I can muck about enrolling the smoke sensor from the ground floor. I kick off by installing the keypad. Again, it’s an easy business. I mark the wall, install the mounting plate and snap the keypad into place and apart from some plaster dust on the floor, that’s done.
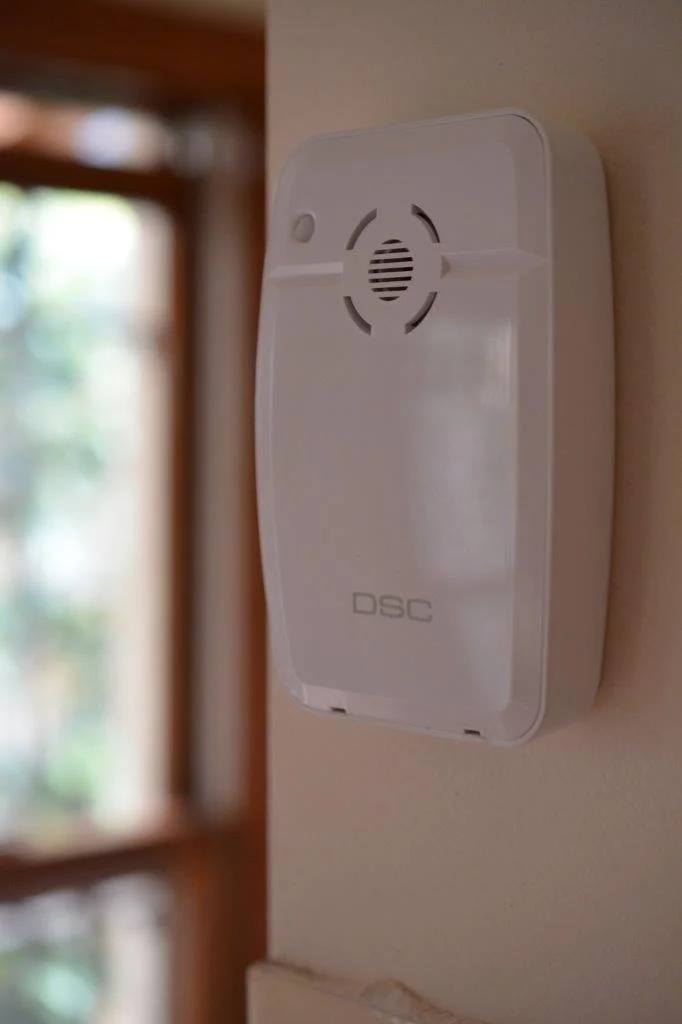
Next, I put in the internal siren, drilling, tapping in my plugs, screwing in the mounting plate and clipping in the siren body. It’s always a curious experience drilling into apparently homogenous surfaces. One hole is plaster the full length of the relatively long screw shaft, in the other holes I’m through into a void at about 1cm.
The random drilling experience repeats when installing the external siren in a rendered external wall. The first hole drills out like sand, the second third and fourth feel and look like besser block, the fifth and final hole on the bottom left hand corner of the install drills out as 19th century oxide-coloured brick dust. The joys of an old house.
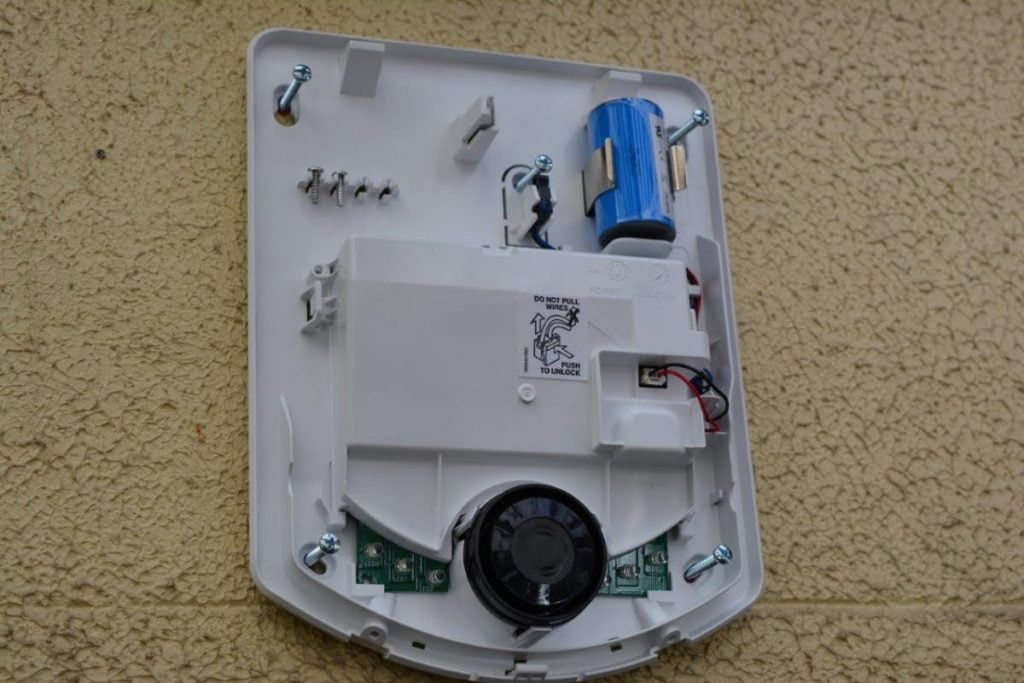
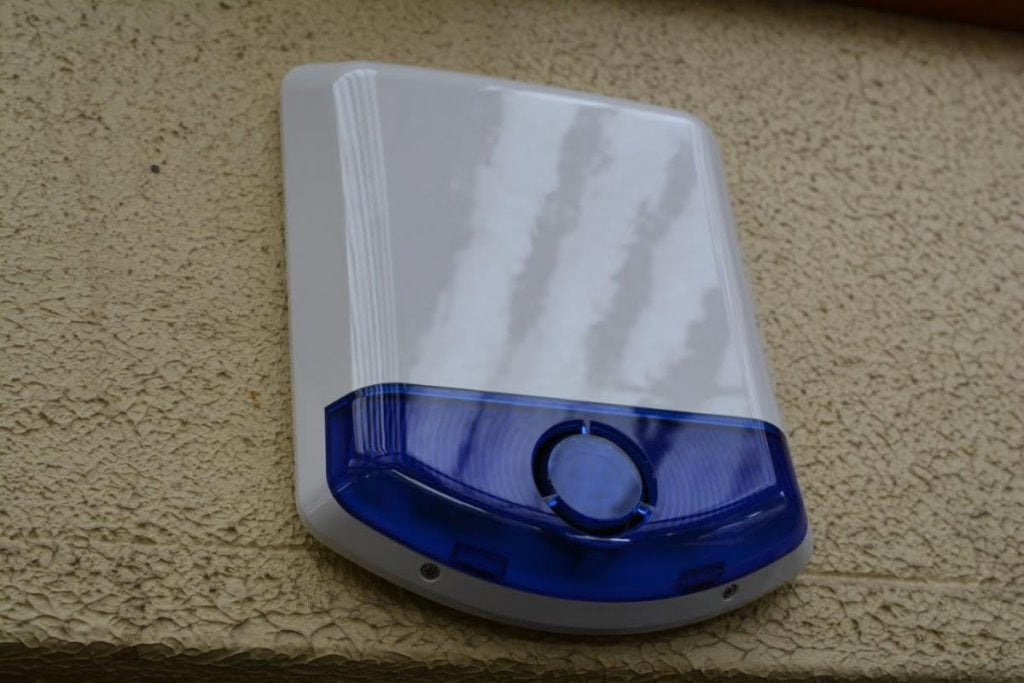
I put the external siren in a location above a rear window that lies between the back door and main entrance. At my place these are only a couple of metres apart separated by a wall. The spot is under a roofline but in view of anyone thinking of breaching either entry point. From outside the front gate, the distinctive siren cover is in view above the dividing wall.
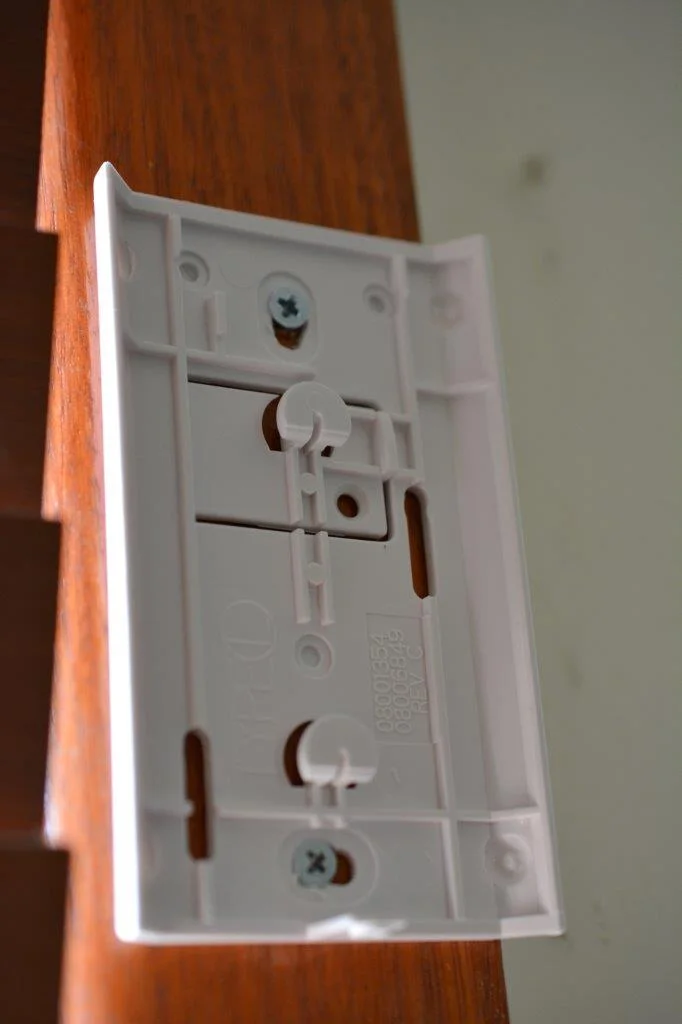
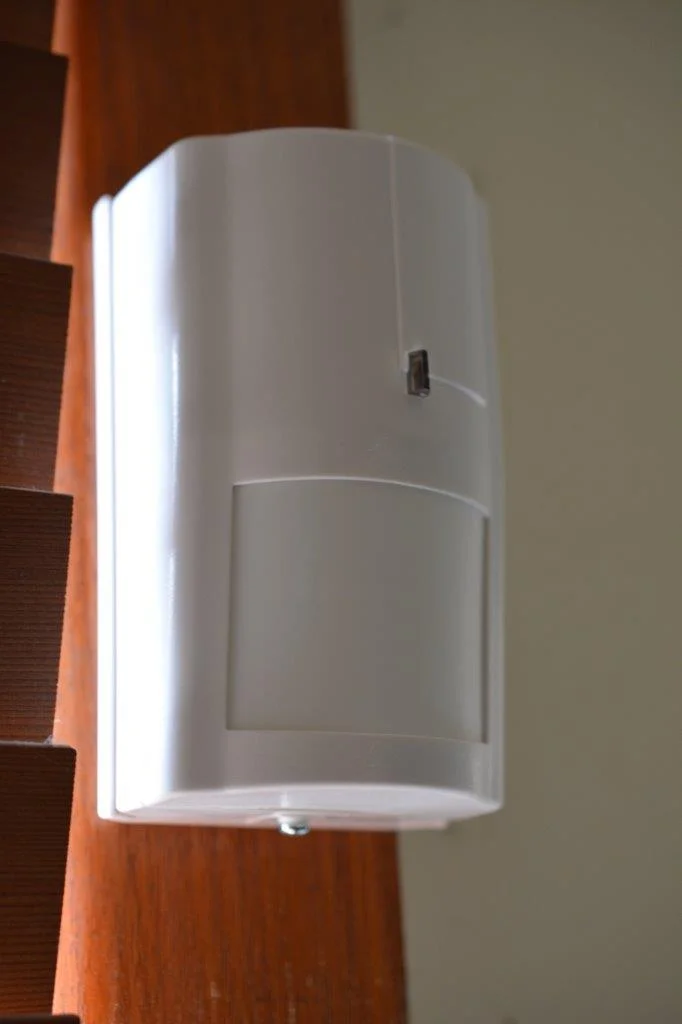
Heading back inside I install the PIR on a timber window frame where its detection field covers both the stairs and the main body of the house, including the rarely used front door. Again it’s a matter of marking up with the mounting plate, drilling, tapping in the plugs and winding in the fasteners. Once the mounting plate is on the wall – I choose a height of about 2 metres – I click in the sensor and do a bit of a walk test. The sensor is not located at right angles to the approaches, which is not ideal but my walk test shows the sensor is up to the task of detecting movement towards and away in this space.
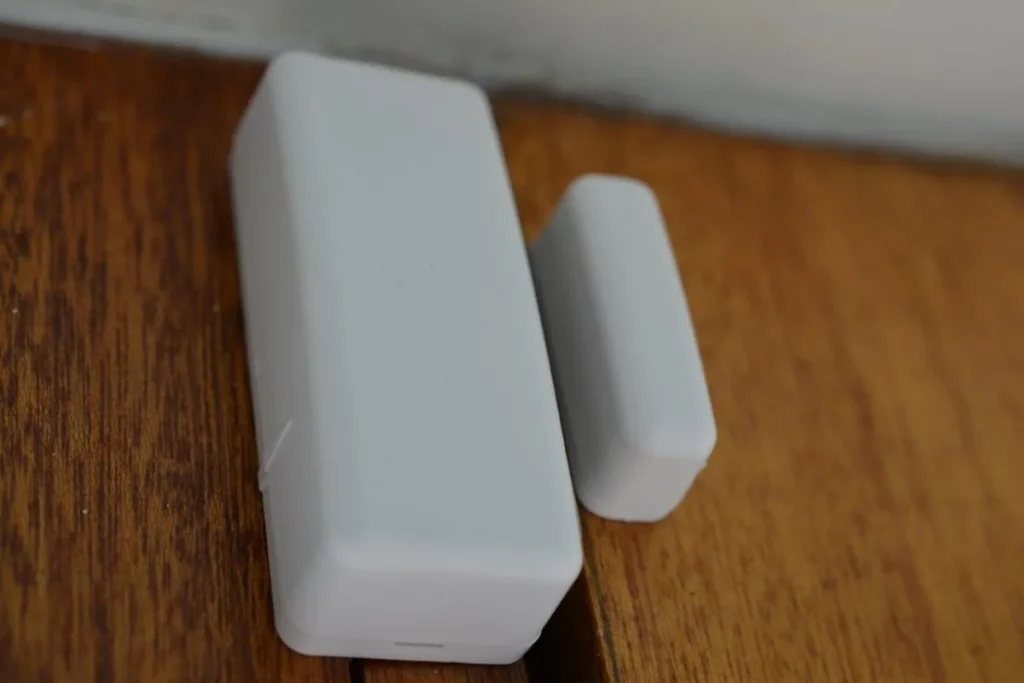
The next sensor goes on the main side entry – a reed switch. And on the back door into the courtyard I use that vibration detector incorporating the integrated reed switch. Both these are easy to install. You just mark up using the mounting plate, drill for fixings and then screw in the fastenings before clicking the sensor bodies into place. I use plugs for the vibration detector but with the reed switch and the magnets for the reed and the vibration sensor subsidiary zone, I dispense with plugs and use a drill bit slightly smaller than the screw shafts. Later I have a bit of trouble with the main entry reed and have to reposition the magnet to get a seal.
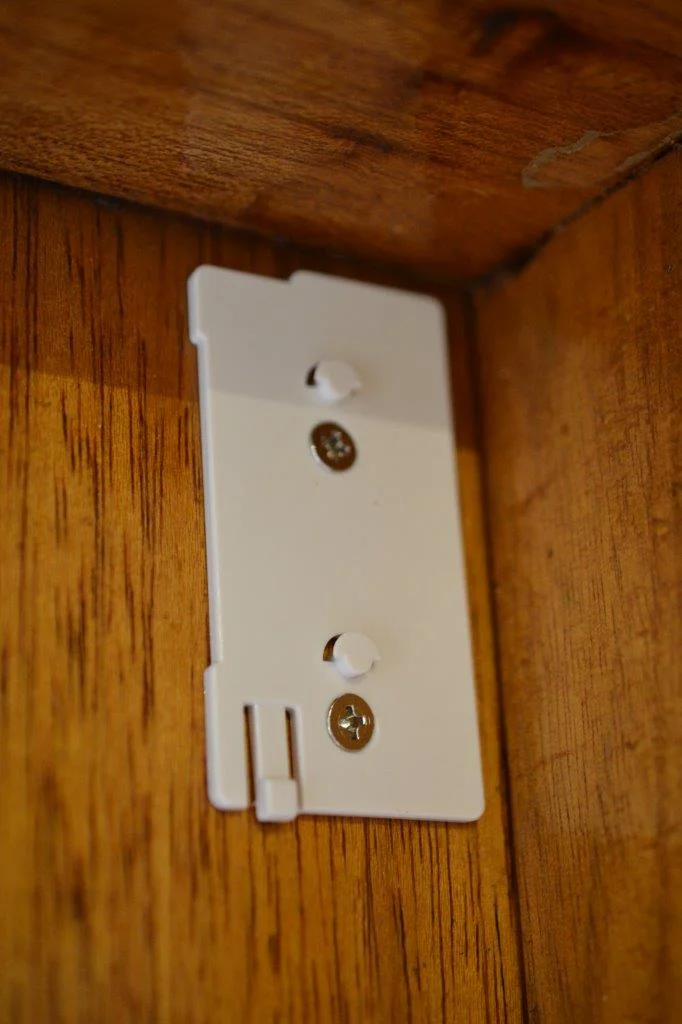
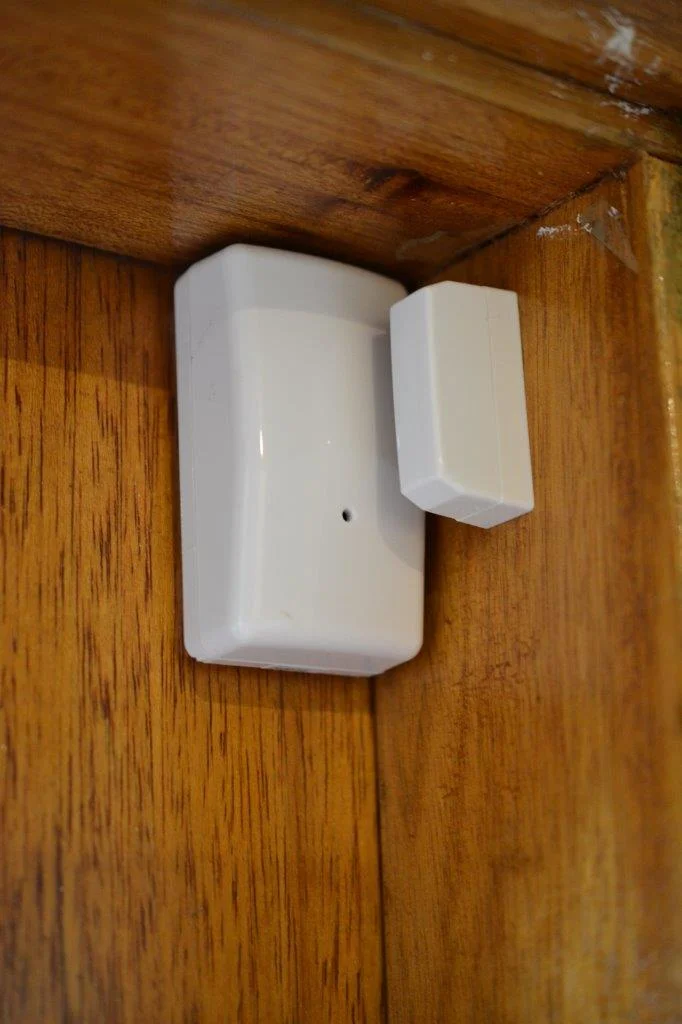
The smokie goes in next and I remove the ancient unit currently at the foot of the stairs between kitchen and living areas and use its screws and plug holes, as well as a couple of the screws and washers supplied with the new unit to fix it into place. It’s a nice looking unit, this DSC smoke sensor.
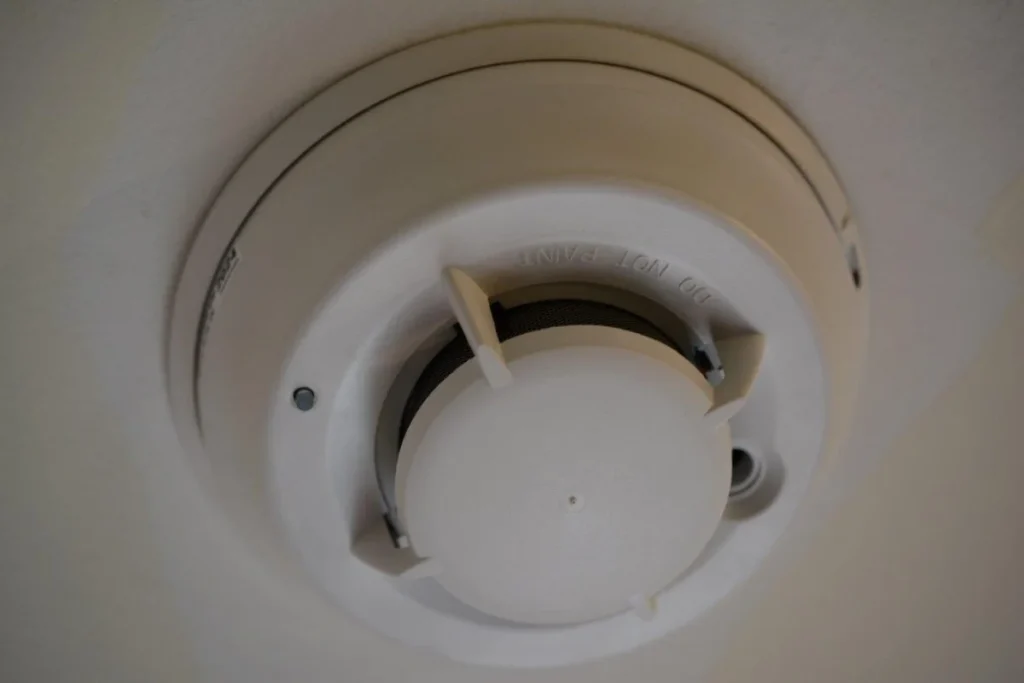
Finally, I come to the flood sensor. The most accessible place I might have a water problem is the laundry, which is tiled but has no waste drain in the floor. This means either drilling into tiles, which is a horribly uncertain business, or opting for double-sided tape. I decide to go with tape but I’m a bit disappointed I don’t have a more serious application for this sensor. An internal hot water tank, a water tank in the ceiling, a large fish tank with a mini reef filtration system – all these would be ideal applications for the flood sensor.
You need to build this sensor. The main sensor body is shaped so the unit can be fixed at floor level into floor and wall, the sensor contacts resting on the floor. There’s a flying lead out the back of the sensor and you terminate the ends of these leads into contacts in a reed switch body installed high up on the wall out of harm’s way. It’s a nice combination of technologies from DSC.
The defining characteristic of this process of installation was its simplicity. When you’re unfamiliar with programming a control panel there’s obviously a feeling of apprehension during the job. I was a bit worried about the fact most the devices where enrolled on the couch and I intended to install the controller as far away from them as possible. But in the event, this was a non-issue.
Programming via the keypad is the same as it always is for programming via a keypad. Keypad programming is not like a piece of software (yes, you can DLS program IMPASSA using PC Link) with all the options laid on a single screen, the checked boxes, the devices numbers, zone types and descriptions all accessible at a glance. Keypad programming is procedural. You need to jot things down on a piece of paper so you know where you are at.
Nor do things happen instantly with a wireless panel. You hit *8 and then wait a while for the system to give you a chance to key in your installer code and if you leave it too long, then the controller goes back to sleep and you have to start the process again. That’s just the nature of the thing.
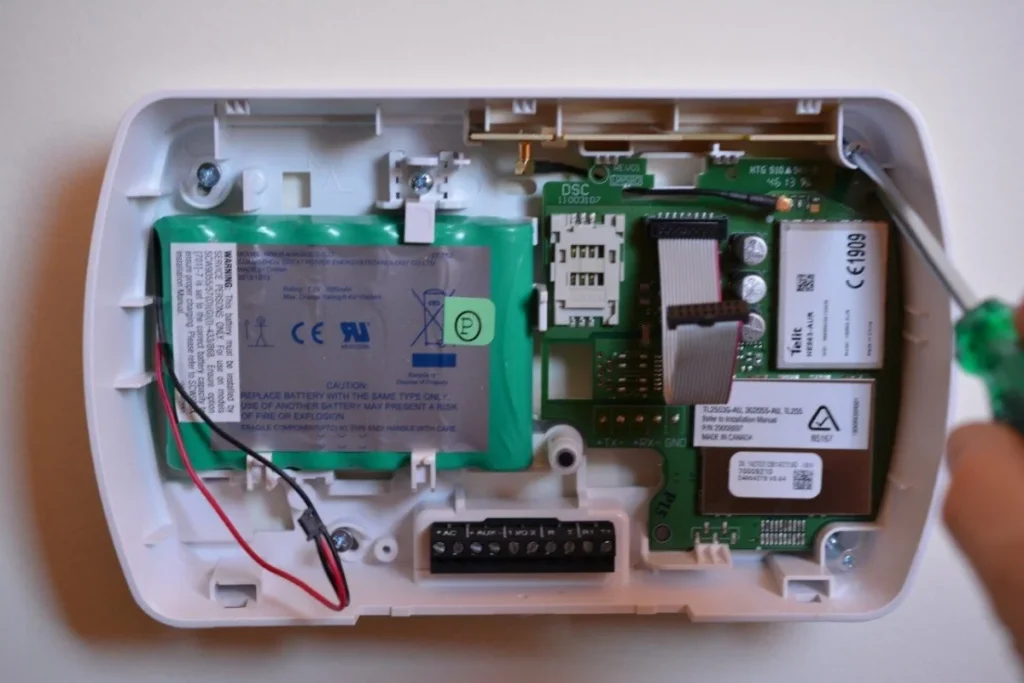
If there was a single standout challenge of this installation it was reading the small print of the installation sheets that came boxed with each device. I ended up calling these up on my laptop so I could make the English version page-sized. The actual A4 IMPASSA installation manual is great. It covers everything you can think of and supports keypad programming with comprehensive programming worksheets. If you fill these out as you go, it’s impossible to go wrong with this alarm system.
The only trouble I have with the physical installation is getting one of the reeds to seal on an inward opening door with a gap between door and frame and a steel beam above the door impacting on the magnetic field of the reed magnet. While I’m working out this problem (I end up using doubled sided tape to install the magnet on its edge), I have the panel in walk test mode. In walk test, each time I break the seal I get a brief squawk from the controller keypad, the internal keypad and the internal siren, one after another.
In the back of my head I hear another louder siren approaching but don’t think anything of it until a burly man in a bullet-proof vest jumps over the front wall and peers through my window. When I open the side entry, reed magnet in mouth and screwdriver in hand, I find another police officer standing at my gate.
“Do you live here, sir?” she asks. “We have reports of an attempted break-in”.
“I do live here,” I reply, unable to contain an enormous grin. “And this is an attempted alarm installation.” ♦
By John Adams
Integrating IMPASSA with Alarm.com here. More SEN News here.

Features of IMPASSA include:
* Supports 64 wireless zones and 16 wireless keys (without using a
zone slot)
* Integrated HSPA (3G) cellular communicator
* Cellular signal strength read-out to optimize placement
* 2-way wireless support for 4 keypads, 4 sirens, 16 wireless keys
* Real time clock update using cellular module
* Remote firmware upgrade via cellular
* Easy wireless device enrolment process
* Template programming
* Full 32-character programmable labels
* 5 programmable function keys
* Individual FAP keys
* 17 user access codes
* 500 event buffer
* Enlarged keypad buttons
* Outdoor temperature display.


