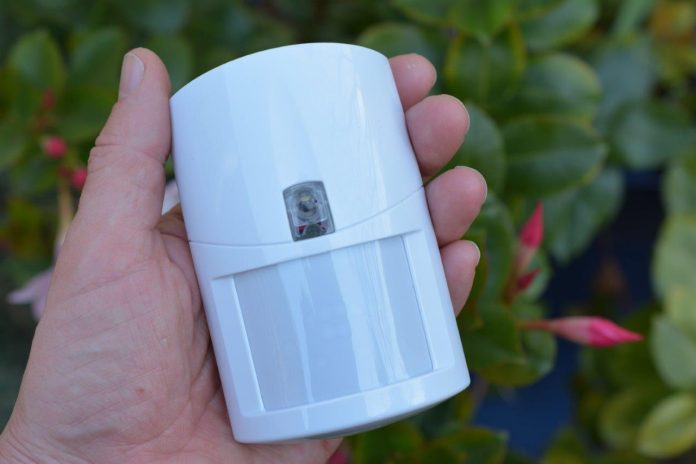
Ness Corporation’s Lux wireless PIR with integrated LED nightlight is designed to support Ness wireless panels and combines the company’s well-designed PIR capability with a surprisingly capable movement activated nightlight.
LUX from Ness Corporation is a wireless PIR that combines solid performance with something extra. Ness, which builds its equipment at its own factory in Australia, has long manufactured capable PIR sensors and Lux is no exception. Lux features a pyro sensor with 20 dual-element zones, a solid 15m x 15m detection area, a downward-looking creep zone, and strong white light, ESD and RF immunity.
When it comes to installer tweaking, Lux has adjustable range and pulse count, as well as adjustable sleep time, light level selection, night light activation and alarm LED. There’s a set of dipswitches located on the outside of the sensor capsule (but inside the housing) that allow adjustments to these settings. The idea of this sensor capsule is that the electronics of the unit are carefully buttoned up out of the way.
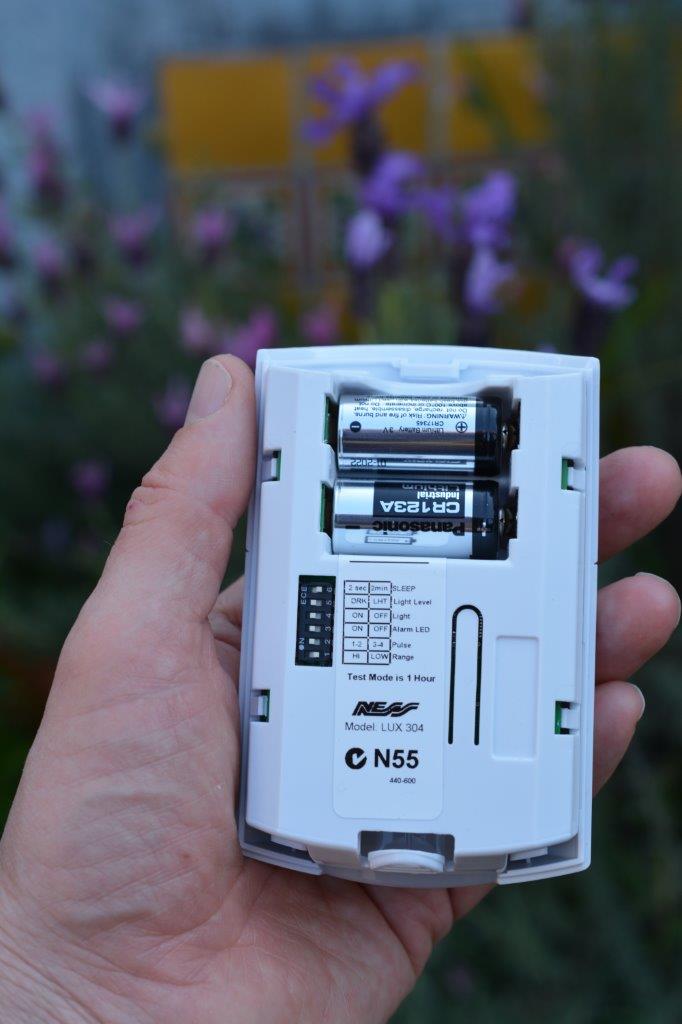
There’s no chance a wayward screwdriver is going to crashed into the pyroelectric element with Lux. When you remove the sensor lens you gain access to the integrated battery box and the dipswitch settings – that’s all. The batteries are 3V lithium types. One supports the LED nightlight, while the other handles the sensor itself. It’s a lot of power for a wireless sensor and the upside is very long battery life – typically around 10 years.
Unboxing Lux you find a sensor, a swivel mounting with usefully long screws, a blanking plug, a locking screw and a pair of CR123A batteries. There’s also a more than usually good set of installation notes. The sensor itself is a good looking white unit with a plastic Fresnel lens. The most visually noticeable thing about Lux is a combo white night light LED integrated with a blue alarm LED located behind a single lens on the front of the housing above the lens.
Popping the capsule off the housing, I take a look at the dipswitch settings which include Sleep (2 sec/2 min), Light level (light/dark), Light (on/off), Alarm LED (on/off), Pulse count (1-2/3-4) and Range
(high/low). The light level allows installers to regulate the ambient light in which the night light will start functioning. This is handled by an integrated light sensor located behind the sensor lens. I select 2 mins, dark, on, on, 1-2 and a range of low.

Installing the unit is simple enough. It’s wireless, so there’s no need to agonise over where the cabling is going to be arriving from. You simply drill a pair of vertical holes (I used the swivel base as a general template for my UNEO), install the base, then pop out the blanking plug and push the housing bracket back onto the swivel.
Once the housing bracket is resting on the base, there’s a locking disc that allows movement and provides friction to the hold the sensor in place. The swivel and locking disc form a ball and socket joint and a small screw allows installers to tighten or loosen this joint to allow more or less free movement of the attached sensor housing.
Movement across the swivel is probably less than 10 degrees throughout its 360-degree circumference but it’s more than sufficient to allow an installer to adjust the target area for best sensitivity and coverage.
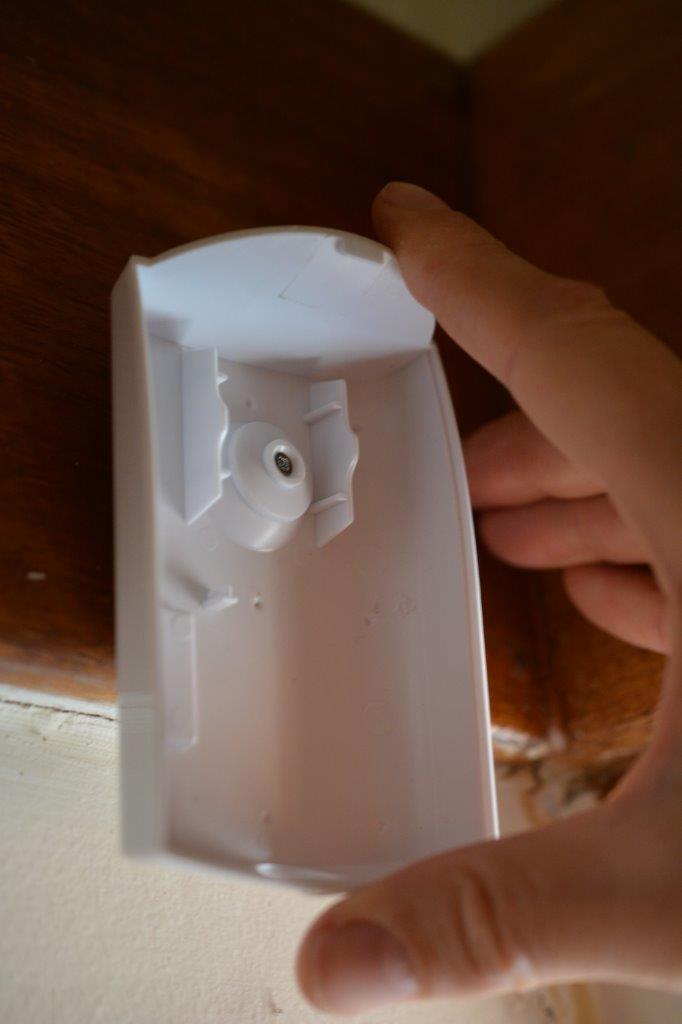
The next thing to do is set your Ness panel to be ready for a Learn signal from Lux PIR/s and once it’s listening out for this, you can slot the batteries into the battery bay of the sensor capsule. Lux
automatically sends a Learn signal to the panel on power-up and it remains in walk-test mode for an hour after power-up, giving plenty of time to faff around with sensitivity and any directional issues.
With the bracket installed, the sensor powered up and enrolled in the panel, all you do is pop the sensor capsule onto the bracket and click it into place. There’s a wee screw at the bottom of the sensor that locks the capsule to the housing once the installation process is complete. This screw doesn’t stop you from continuing to finetune directional adjustments.
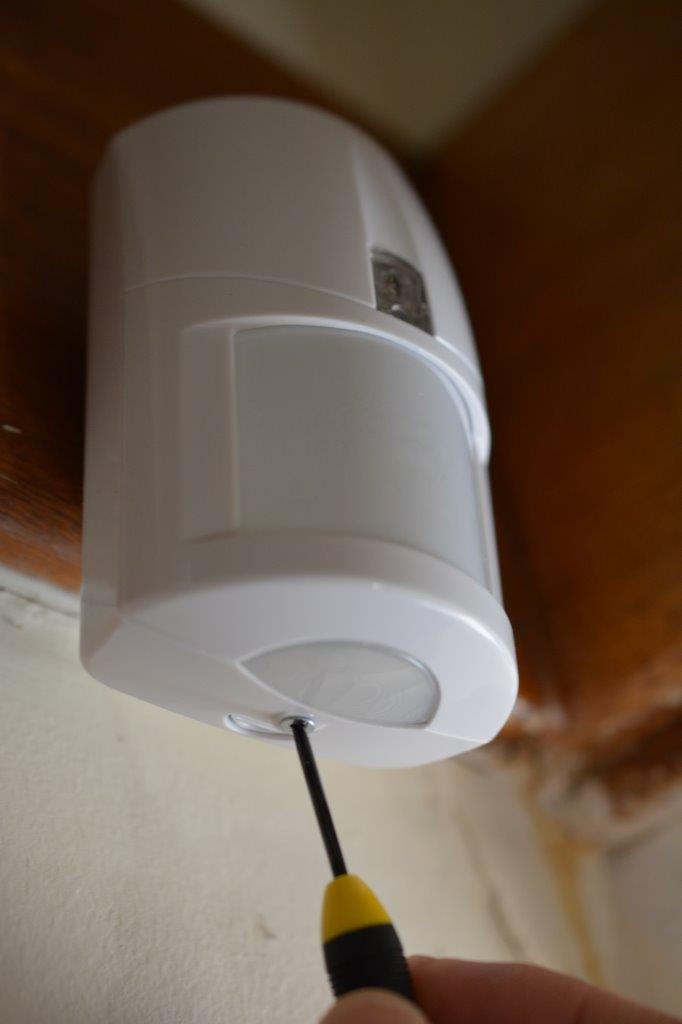
With the sensor on the wall you can get stuck into walk testing and it’s as simple as you’d expect it to be. After 30 seconds to adjust to the ambient scene you check sensitivity by walking across the detection zones at right angles, which is smack in Lux’s detection sweet spot. The blue alarm LED indicates detection and alarm event transmission – the night light also activates during this process – though you can disable it (I didn’t bother).
Recommended mounting height is between 2.1 and 2.4 metres and I’ve installed this one at 2.4m to cover a space around 4 x 4.5 metres, which is a not much of a challenge for this unit from the point of view of range. A key thing to take into account is getting the best possible signal at the alarm panel – you manage this by checking signal strength on the keypad of Ness wireless panels. Lux communicates with the panel at 304MHz which is less busy than the 433-35 spectrum beloved of garage remote controls.
Having spent time with the Ness Lux I’ve found it exceedingly sensitive to human movements at right angles to its detection zones in temperatures between 16-22C. If I stick my hand quickly out from behind a wall into the detection zone at a range of around 4m and around 1.25m above the floor, Lux always detects my movement instantly. As soon as I step out from doorways in either direction I’m detected – there’s no noticeable delay.
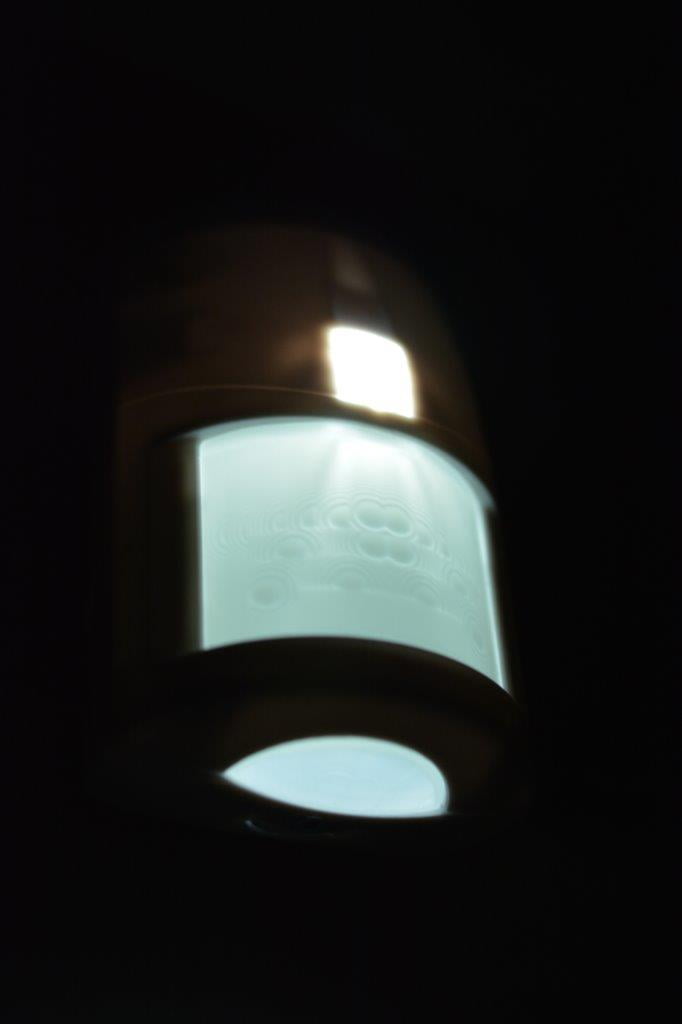
The creep zone disallows any ordinary attempt to approach the sensor from below from my 100kg bulk. As well as detecting me, the sensor had no trouble detecting my 12kg daughter. It activated multiple times as she moved across the zones, as well as towards and away from the sensor. Apparently there’s a pet immune version, which would be necessary, given sensitivity I observed with Lux.
While Lux shares its detection fundamentals with other Ness sensors, the LED nightlight is the standout feature of the unit. In domestic applications in traffic areas including living rooms, halls, upstairs landings between sleeping quarters and bathrooms, Lux is a gem. It would also be ideal in garages or entry ways, giving home or business owners plenty of light to move through a space without needing to fumble for wall switches or smart phone torches.
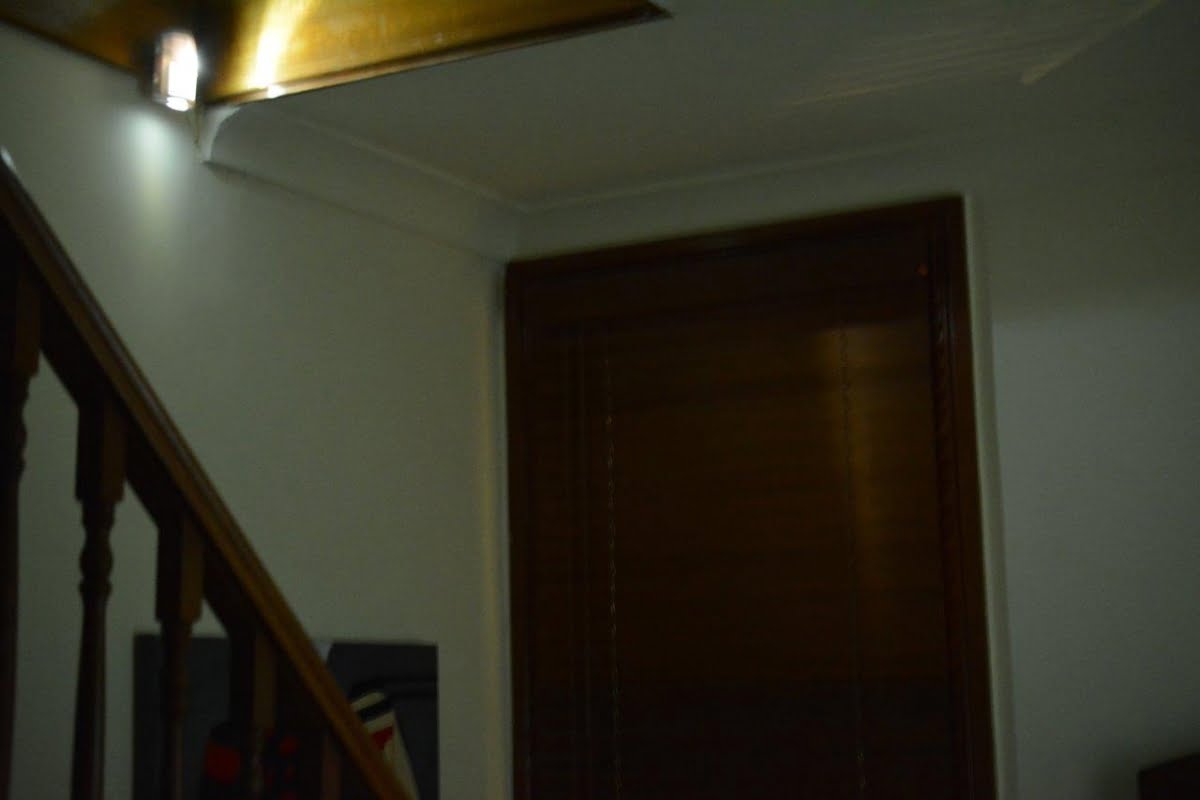
I measured the ambient light levels in the target area using my Sekonic with the meter dome slid open at 1.1EV – that’s around 5 lux. Because the night light has a lens there’s a focal point to the light beam and I measured this as 40 lux with the dome closed and the meter facing the sensor at a distance of about 2.5m. This means Lux generates plenty of light to see by, gives directional light that can be focused on a door handle and has the ability to give a good IP camera situational awareness in an alarm event. ♦
By John Adams


