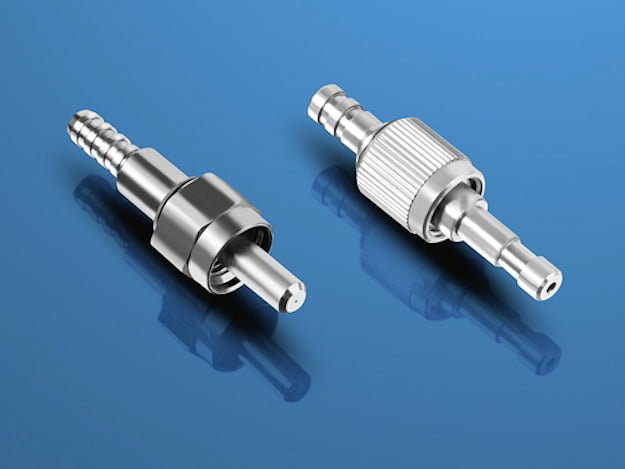
What’s the correct process for installing SMA connectors on CCTV fibre LANS?
A: When assembling SMA connectors for CCTV applications, slide the strain relief boot and crimp sleeve onto the cable (tape the relief boot out of the way during assembly). First strip the cable to the manufacturer’s requirements, then soak the exposed fibre in acetone for 30 seconds before wiping it dry with tissue paper. At this point it’s recommended the connector be slid onto the cable to assure a proper fit. Once this has been ascertained, remove the connector and proceed.
Screw the connector into the installation tool for ease of handling then mix the epoxy. You’ll need to fold back the cable’s Kevlar strains and dip the bare fibre into the epoxy to coat its surface. The fibre is then threaded through the connector till the outer jacket butts up against the connector backpost – just be careful not to force the fibre.
It’s also best to wick the epoxy by sliding the fibre in and out gently several times without completely removing the fibre from the connector. While holding the connector with the installation tool, slide the crimp sleeve over the Kevlar onto the knurled portion of the backpost until it butts.
Now crimp the sleeve using a crimping tool, remove the installation tool and apply a bead of epoxy to the front tip of the connector. When getting this together take care not to get epoxy into the barrel of the connector. If this happens, clean the connector with Isopropyl alcohol after the epoxy sets and prior to polishing.
Cure the epoxy for 5-10 minutes and then, using a scribing tool, score the fibre close to the epoxy bead and gently pull the fibre until it separates. Place lapping film with 14, 3 and 1-micron aluminium oxide grits on a smooth surface, preferably glass. When you do this, it’s a good idea to leave some of the film overhanging the glass allowing easy removal.
Now rub the fibre gently on dry 15-micron film in a circular motion until the fibre is flush with the epoxy bead and install the connector in the polishing tool. You carry out coarse polishing on 12-micron film by moving the polishing tool in a gentle fibre-8 motion while lubricating the film with water. Polish in this way for about one minute or until all the epoxy is removed.
Next, continue the process on the 3-micron film for another minute, then put in 25-30 figure-8 patterns on 1-micron film to give a mirror finish. If you want to get cleaner than this, finish off with a 5-micron film.
In order to maintain proper end separation, the connector needs to be polished so it’s flush with the tool. One way to make a fast check is to put the polishing tool with the connector attached onto a flat piece of glass. If any rocking action is present, you’ll need to carry out some more polishing with 1-micron film.
When cleaning, remove the connector from the polishing tool and rinse both items with water to get rid of any fine grit particles. Now trim the Kevlar close to the crimp sleeve and put the strain relief boot over the crimp sleeve. Till you’re experienced, the polished fibre should put under a 50x magnification for inspection before final installation.
When checking your work, the optimum result will see the fibre attain a mirror finish and be flush with the face of the connector. This fibre should be free from most pits, scratches and cracks. Always be sure to clean the connector with alcohol or lens cleaner. Take your time. If you’re a bit older, try working with an illuminated magnifier.
#sen.news


