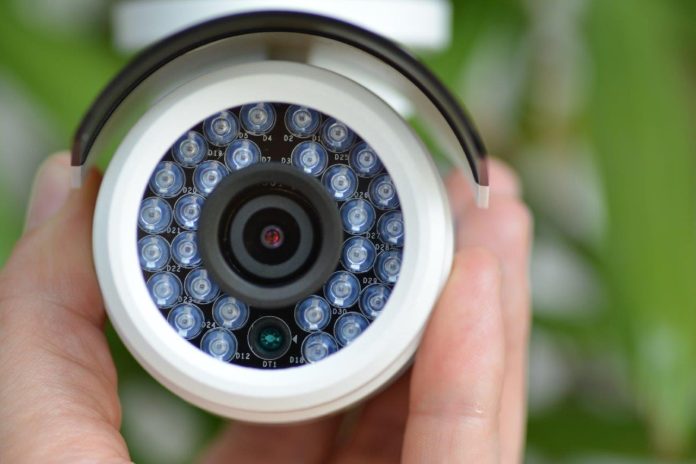
Hills IP CCTV range is built around an 8-input NVR with a 3TB hard drive and a selection of extremely capable IP66-rated, 3MP network cameras. It’s a solution designed to eliminate the thorny issues of networking entirely.
UNPACKING Hills’ new Professional IP series kit from the big box it arrived in, I come to a heart-stopping decision. This installation is going to undertaken entirely without the support of instructions. Hills’ product guru, Fei Lee has sent me some details of the system and I open that file long enough to find the password and turn back to my boxes.
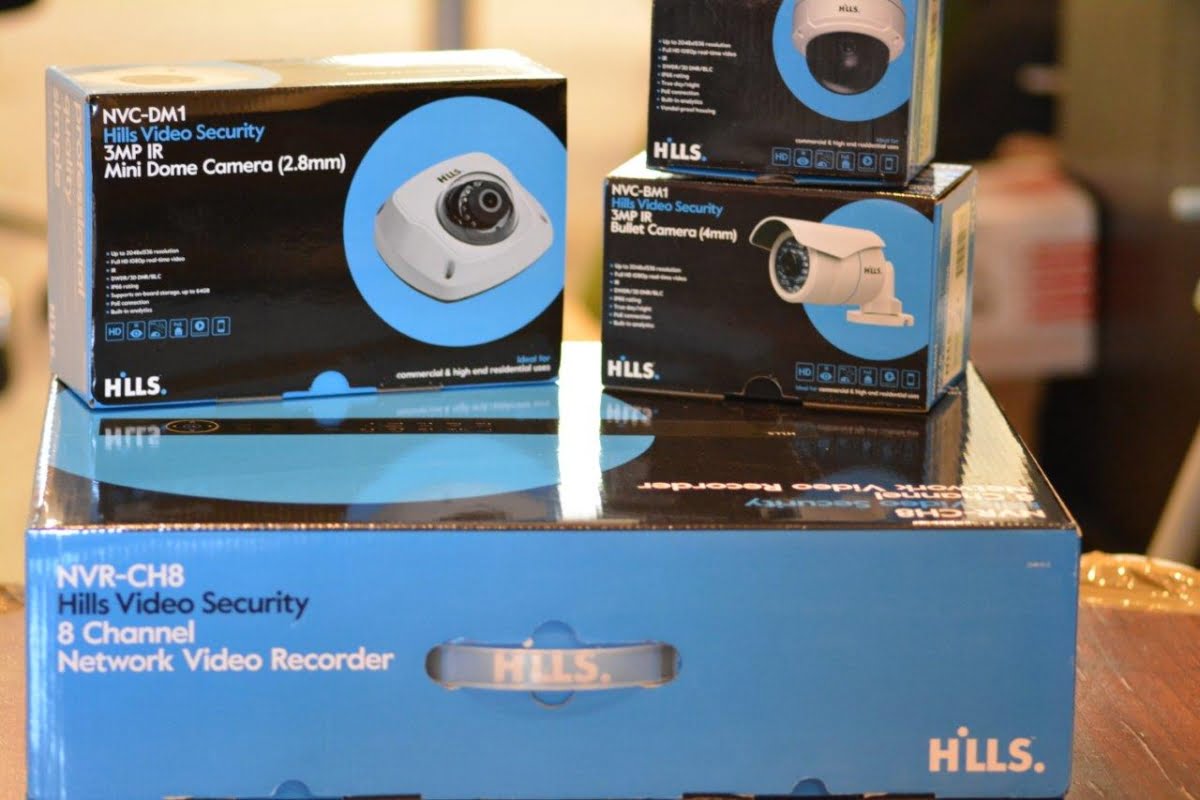
My initial impressions are just how light this stuff is. The shipping box was quite large but the Hills CH8 NVR and the Professional IP series cameras are as compact as can be. I pull out the NVR and open that first. It’s light – about the size of a second last-gen DVD player, though it’s considerably heavier thanks to the big drive. Inside the NVR box there’s a smaller cardboard box containing a bag of grub screws, a compact instruction manual, a mouse, a power cable, a Cat cable and a couple of other items. There’s no software to mess around with.
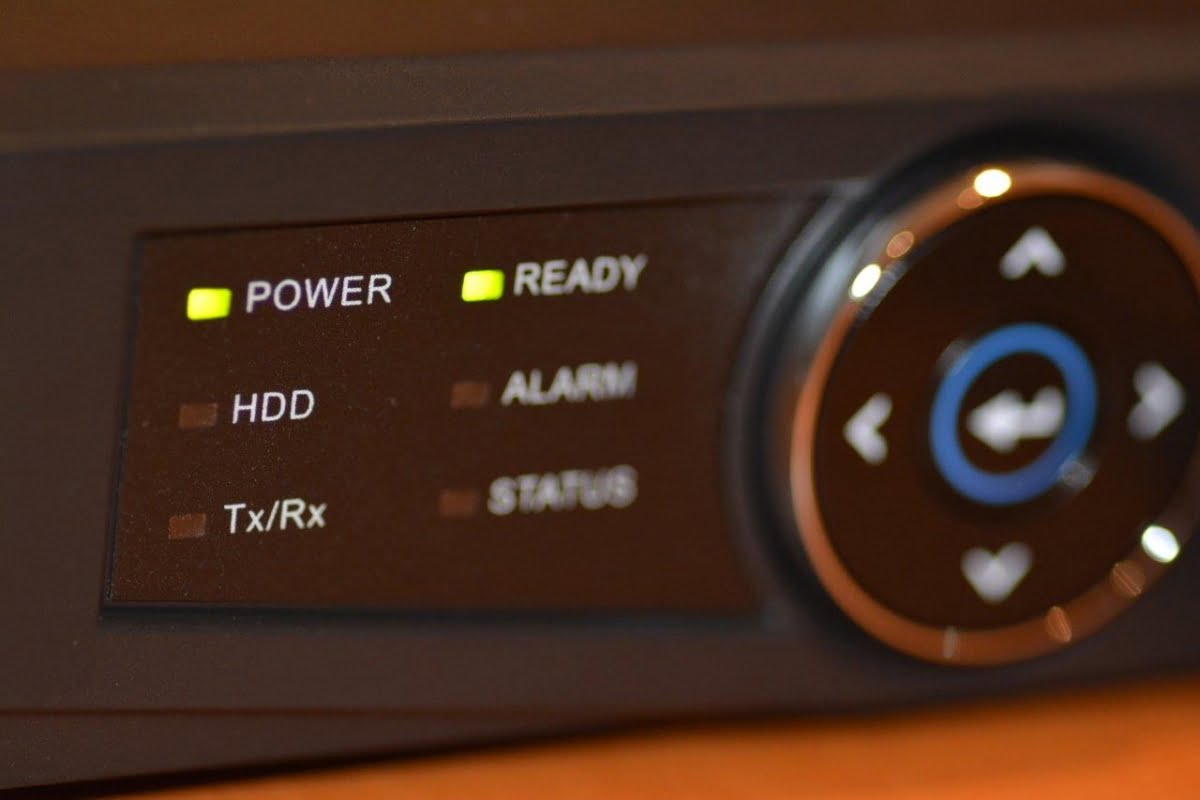
Without further ado I take the NVR over to my desk and put power and a monitor to the respective ports. Into the rear USB goes my mouse, leaving the front one free for downloading files. The front panel of the unit has some controls and a cluster of LEDs denoting status of key functions. Running my hands over the NVR case there are no jags or snags, no rough edges. This NVR has been built by people who know what they are about.
There are 3 cameras in the box, a bullet, a dome and a mini dome. There’s a 4th unit, an Eyeball, which I’ve not got for this demo but it shares the same fundamental specifications of the other cameras in this group, excepting the mini dome. And those specs are very solid as we’ll see later on when I start tormenting the cameras with too much light.
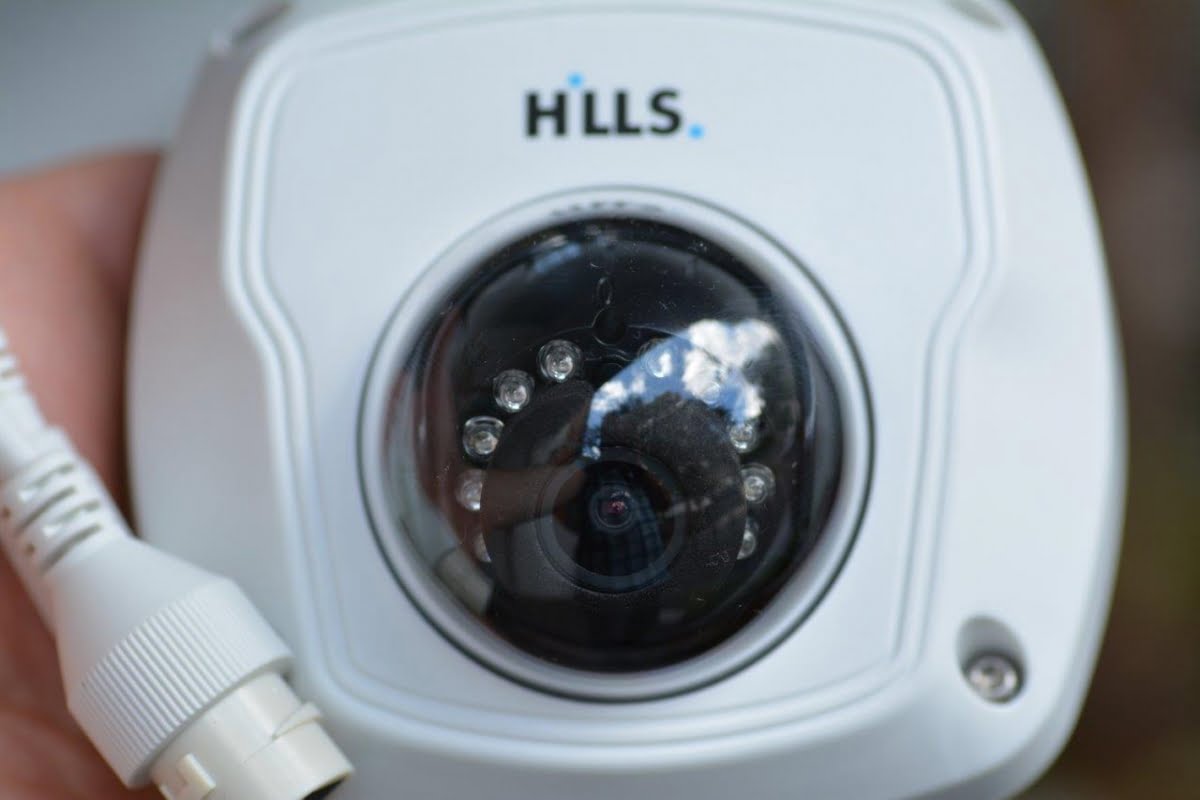
Continuing with the unpacking it’s all very simple. I put together my motley crew of Cat5 cables and unpack the 3MP HD cameras. They feel great in the hand. All are supported by IR. They’re all IP66 – and they feel it. Build quality is first rate and that 3-year Hills warranty on everything including the NVR is nothing to turn your nose up at. The cameras come with various brackets and fixings, though I’m intending to float mine so as to be able to move them around and outside the office as the light fades.
All but one of the cameras have the same 4mm focal length (the mini dome is 2.8mm), and the IR support ranges from 10m for the mini dome to 20-30m for the others. These cameras are optional 12V DC or PoE. And when it comes the NVR, it has 8 PoE inputs, 50Mbps throughput and 2 HDD slots, though it ships with just a single 3TB drive.
Now I put power to the NVR and…beep! – I get a heartbeat. The Hills Video Security logo comes up on my HP L244w monitor and the wizard sparks up and ask me the password, which I plug in and away I go. Entering the password without a keyboard is slightly harder than it might otherwise be but I get there in the end.
Once the NVR accepts my password, I’m into the video management system. Next, I plug in the bullet camera and take it out the front to monitor the street, which is about 12-15 metres wide, from house front to house front. There are leaves moving and various fence gratings in the foreground. It’s a bright-ish day but with thick clouds coming over. I measure 12EV out the front on the Sekonic and then a big cloud comes over and whoops, 7EV.
Once I’ve plugged the camera in I sit there for 10 seconds struggling to wait and then start trying to find the camera through the GUI functions but without my doing anything in particular, the camera has been registered by the NVR as D1 and up it comes on the screen. I jump in and set the camera to record on motion (it default records continuous on power-up. Then I sit back and take in the image.
And yeah, this is a fine image from the little bullet camera. No complaints with that at all. It’s not high end image quality but it’s very good nonetheless. It’s bright. There’s quite a lot of movement in this scene and think I can perceive some slight latency. I jump up and check the specs and sure enough all these 3MP cameras are recording at 20ips on the CH8. It’s only just noticeable if you care about these things but it’s very nearly real time. The mini dome, which runs at 2MP is the only member of this team that drives at full frame rate.
“I’m getting good colour rendition, good contrast, strong depth of field, there’s no visible distortion discernible without the lines of a test chart laid over the image”
I pull the bullet camera up to full screen and yeah, my first impressions were right. It’s a really good image. There’s no distracting motion blur with branches and cars and pedestrians, contrast is good, though while the image is strong in the background, it’s quite dark in the foreground. Time to play with some camera settings.
Across the top of the screen are dropdown menus including Playback, Export, Manual, HDD, Record, Camera Configuration, etc. I jump into the camera config drop down and have a fiddle with the sliders, lifting brightness and saturation from default. There’s just a bit of latency in the application of new settings and that leads me to go too far with the slider and once the new values arrive blindingly on-screen, I hop back in and drop the brightness setting to 160. I had considerable darkness in the foreground, given I’m looking from shadow into strong sunlight but the new setting has sorted it completely. Other functions in the camera config drop down are PTZ Control, Motion, Privacy Mask, Video Tamper, Video Loss and VCA.
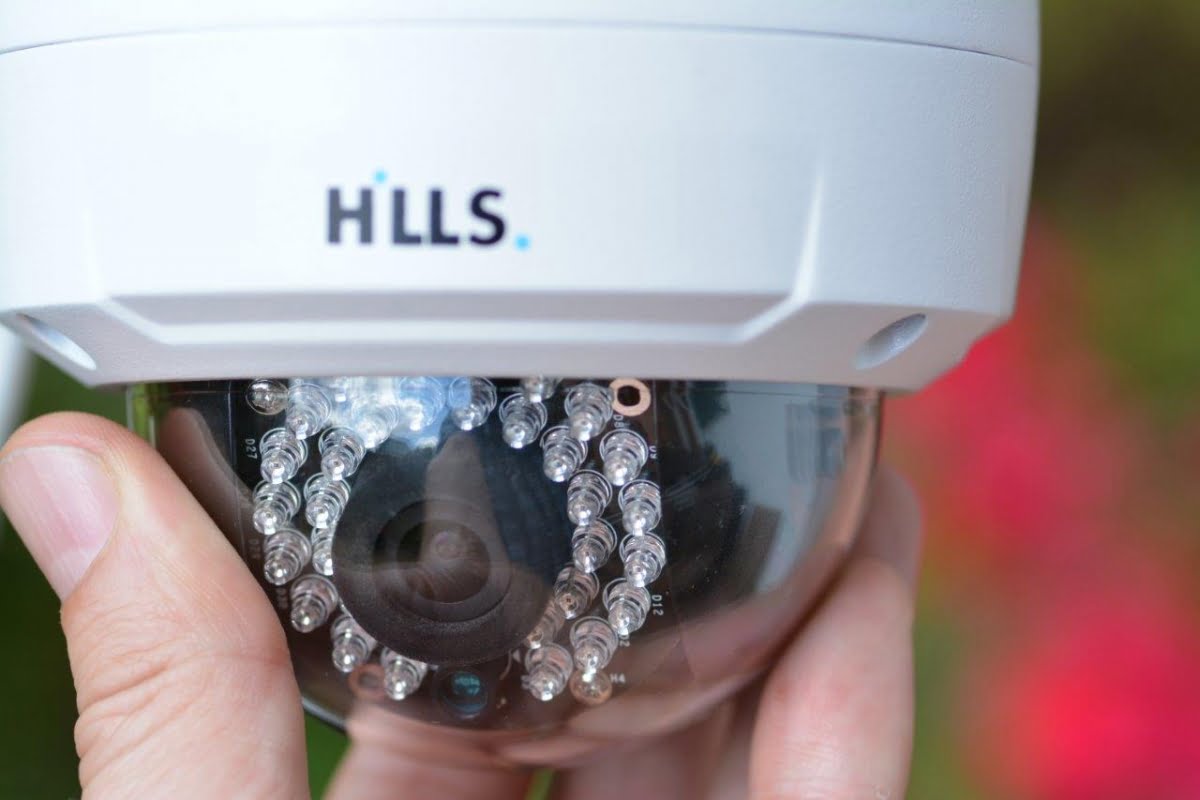
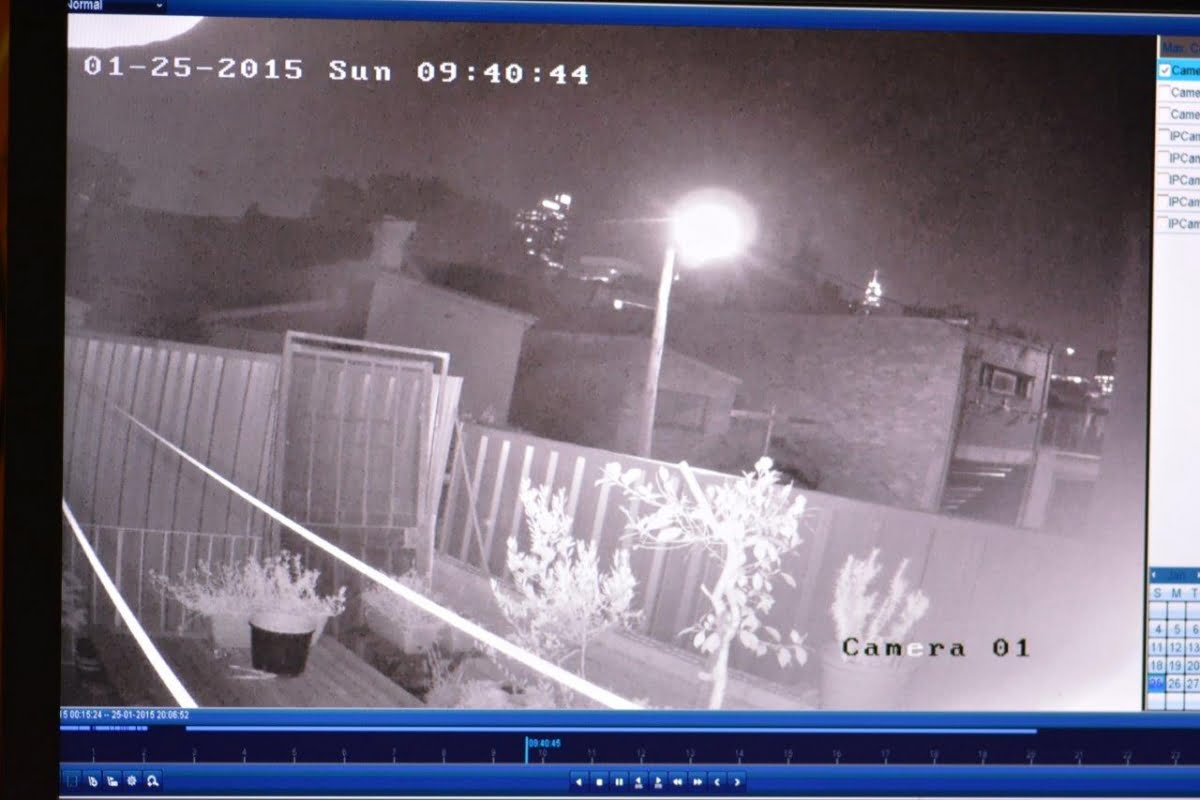
Now I pull out the other cameras – the dome and the mini dome and attach them to their respective Cat5 cables and set them up in the office. They handle conditions inside extremely well. There’s no drama there. Colour is good. The mini dome does find the intense WDR in the rear doorway too much to see through (it’s a challenging view from gloomy office into full Westerly sun) but it’s doing fine everywhere else. Now I take the little bullet camera out the back and point it away across Surry Hills towards World Square. Out comes the Sekonic and it’s a whopping 15.2EV out here, that’s around 83,000 lux. And the performance of the bullet at this price point is singularly good.
Clearly, lensing is the weakest point in any compact camera but I’m impressed. I’m getting good colour rendition, good contrast, strong depth of field, there’s no visible distortion discernible without the lines of a test chart laid over the image. There’s no weird colour shifts, no flaring off the lens – this might be thanks to the little sunshade on this camera.
Most important for the applications it’s going to find itself it, the close work – out to about 35 metres – is giving me excellent texture and detail. Because the last camera I viewed out here performed so well using a big tele lens (it was a 6MP full-body camera of super quality), I can see the compromises this compact unit is making in comparison, especially at longer ranges but it’s an excellent image all the same. I’m really pleased with it.
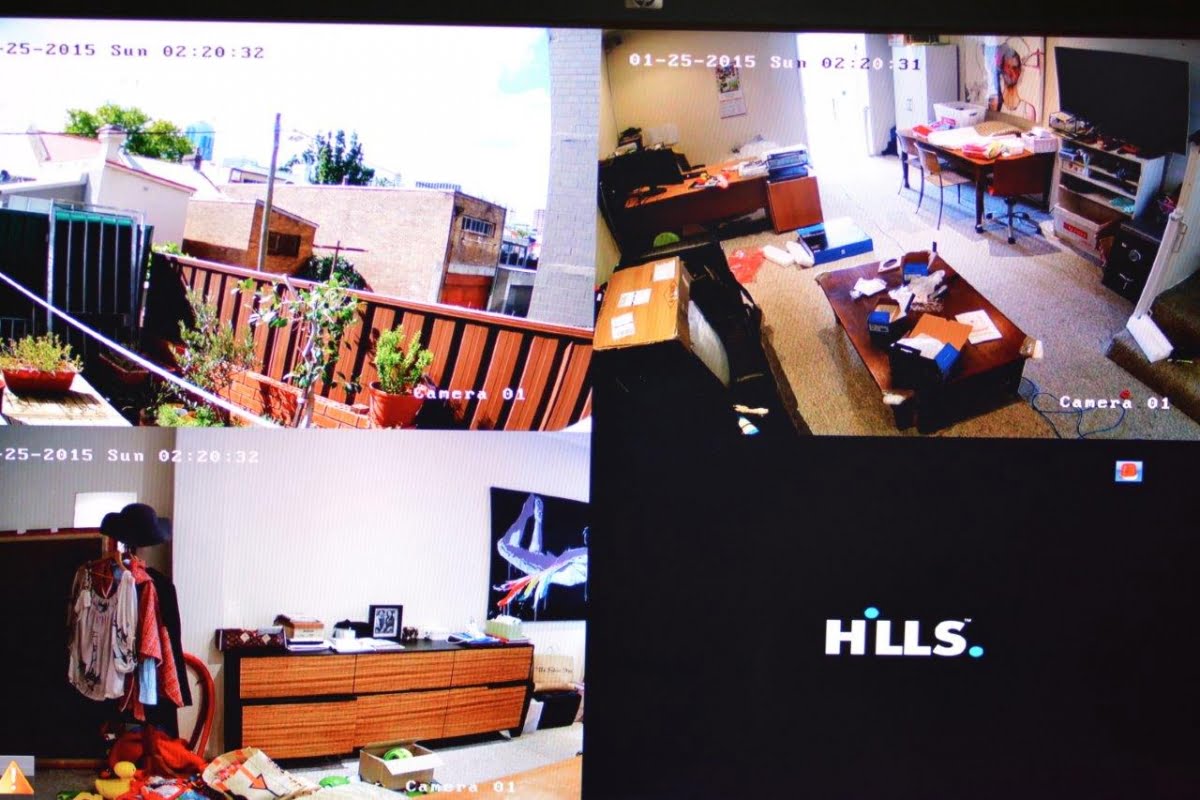
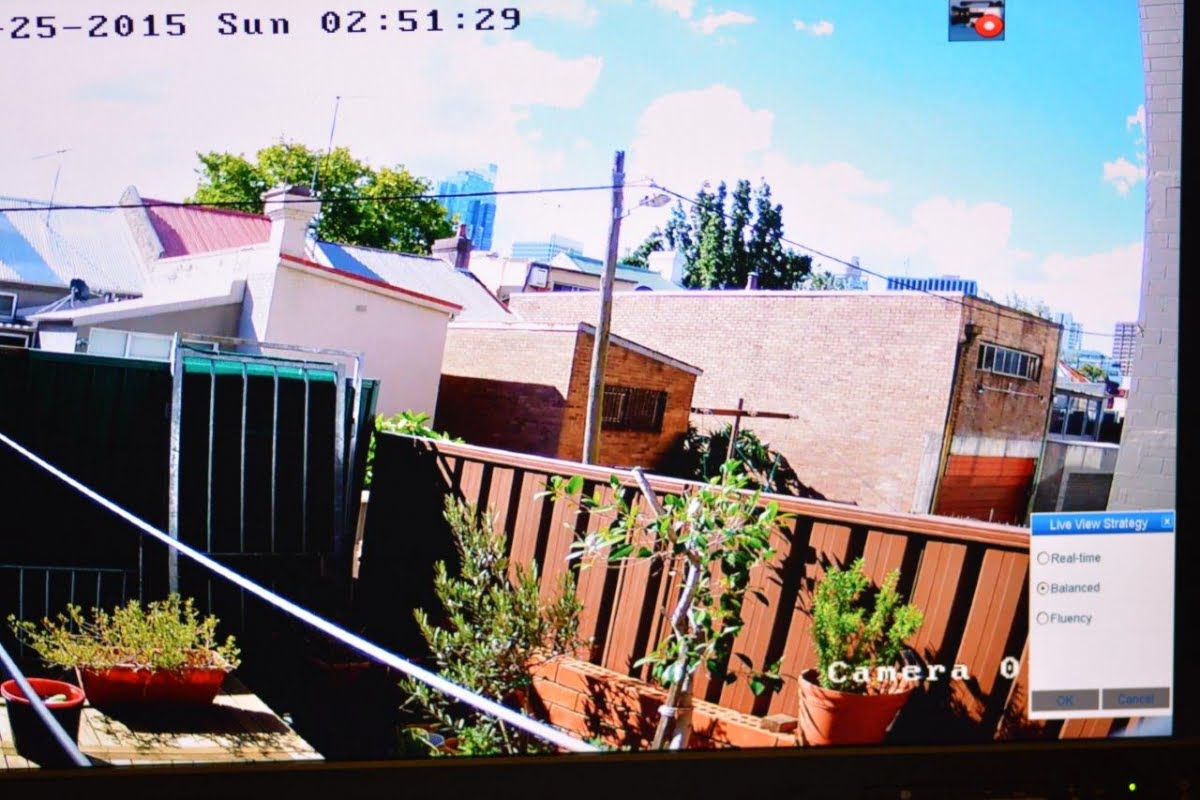
Split screen top and full frame at the bottom – these are photos of the screen, not grabs, and the jpeg file sizes are both under 150kb – on-screen the images are much less soft.
Running a monitor right off the NVR is fun, too. Australia’s internet speed came in at a blisteringly fast 40th place in global rankings recently and provided the empirical evidence to support my endless grumbling. If there’s one thing that makes quality surveillance gear look bad it’s Australia’s dismal internet performance. Not just in the regional towns where pigeons are now being used to carry packets of data but here in the city, as well. A couple of times I’ve underrated equipment that deserved more praise than censure.
“I timed myself bumbling around and getting the NVR powered up with the 3 cameras connected and being viewed on the VMS and it took just over 7 minutes”
When it comes to driving this system, GUI functions include live viewing, manual recording, event/motion triggered recording, playback, exporting of recorded files, camera management, privacy masking, system and log info and maintenance and upgrade management. There’s also web interface software and PC client software that mirror the onboard software capabilities. A mobile app compatible with iOS and Android operating systems gives live view, remote playback, alarm push notifications and alarm information.
The motion detection mask is beaut and very easy to use. You just grab a point and pull it across the scene to create areas you want to detect motion within. At the top of the screen there’s a little drop-down that allows you to select screen configurations, as well motion detection recording, playback, output, add camera, previous screen and more. You can also right click on an image and a small number of options come up above the frame. So, there are a number of ways to address the VMS, depending on where you mouse happens to be.
Ease of setup
I’ve talked about the cameras but the big deal with this new Hills Professional IP Series is ease of installation. Not physical installation, mind you. That still takes the same amount of time it always did, but getting the networking side up and running is a non-issue with Professional IP. I timed myself bumbling around and getting the NVR powered up with the 3 cameras connected and being viewed on the VMS and it took just over 7 minutes.
The reason it’s all so easy is that the SmartIP NVR’s automatically looks for and registers connected devices utilising the DirectIP protocol. This DirectIP protocol has been applied to the EVOnet range of IP cameras, keyboard and network switches as well as the Pacom NVRs and the RASplusIP remote software, ensuring compatibility, integration and functionality of the devices within the network.
Devices connected via the built-in PoE switch are automatically registered to the SmartIP NVR, with cameras showing live images on the main monitor and the NVR defaulting to recording continuously on all channels. You can’t get easier than that. Once everything is running, tweaking of views and recording schedules and whatnot can be handled through the VMS. Cool, too, the NVR can be remotely monitored and controlled via free RASplusIP software which comes with each unit, or monitored via smartphones and tablets using free mobile Apps.
Basically everything else relating to a CCTV installation, including thinking about the position of the NVR, locating and then installing the cameras, not to mention running the Cat cable, is going to be by far the time consuming part of your jobs. This is the easiest system I’ve ever set up. I’d like to credit myself with new-found technical ability but no, it’s the Professional IP series that’s doing the hard work here. I’m just a passenger.
According to Hills’ Fei Lee, there are a number of special features that deserve attention. Chief among these is the Hills Auto-Config – a P2P function that allows remote access of the NVR on smart devices including smart phones thanks to free free iOS and Android App download.
“To activate the Hills Auto-Config, you just connect the NVR to the Internet, download the Hills Video Security CCTV App to your smart phone, register an account under the Hills Auto Config table, sign in, and then click + to add a device,” Lee explains. “You then undertake the QR code process on the NVR and follow the verification prompts. Once the device is registered successfully, click on it to live view. It’s very simple.
“Something else that’s worthwhile is the Hills Firmware Upgrade which is in additional to the USB stick upgrade. User can connect the NVR to internet to do a one-click remote firmware upgrade. We also have a promotion happening now until 27th Feb 2015. Installers can buy 12 NVR and IP camera kits and get complete one free.”
Taken as a whole, Hills Professional IP CH8 NVR and its range of cameras make for an impressive solution and the smaller CH4 and larger CH16 will be no different. The hardware is well made, the performance vectors are more than good, not just in terms of the specification sheets but live performance in challenging conditions. For installers wanting to dip a toe into the world of IP video while maintaining their dignity and giving their customers a great solution, this is a quality place to start.♦
By John Adams


