IN this review we upgrade an existing DSC IMPASSA alarm and automation panel with an Alarm.com compatible controller, cameras and sensors, connect with the Alarm.com cloud service and spend some time living with a cloud-based security and automation solution.
Contents
Introduction
WHEN I installed DSC IMPASSA earlier in the year, I was surprised at the simplicity of enrolling devices and getting the system operational. This relatively easy process encouraged me to be positive about the prospects of upgrading the system with an Alarm.com controller, cameras and browser-based cloud account. As it happened, I had support from Hills’ assistant vendor business manager – Tyco, Matt Bailey and Alarm.com’s global sales engineer, Ian Law, and I was grateful for that as the process had multiple layers that would have confounded me.
The initial challenge was establishing whether or not my existing controller supported Alarm.com’s comms module – once we’d established it did not, the process involved replacing the main controller and re-enrolling all the devices in the system, establishing an Alarm.com account for the panel and enrolling the image sensor and Alarm.com cameras. These addressable network devices access the network via WPS through my home router. IMPASSA also wirelessly connects to a Z-Wave light switch, which is also controlled via the Alarm.com mobile app and browser interface.
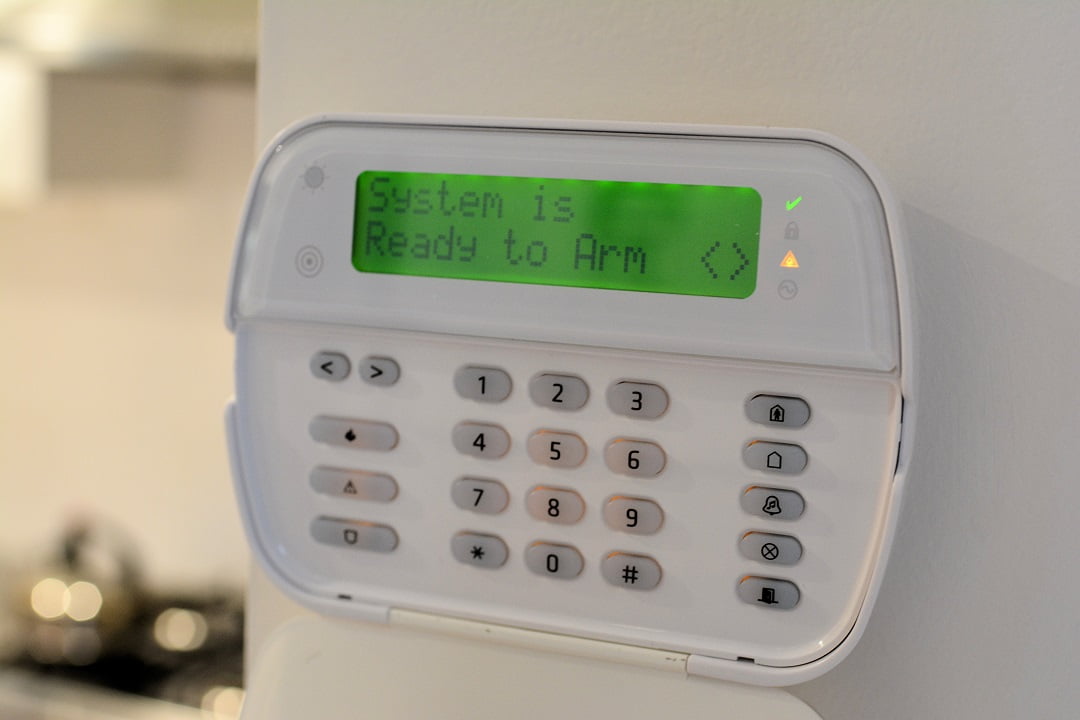
IMPASSA has a main wireless controller that is a user interface and control panel in a single housing. In terms of potential, the system supports up to 64 of DSC’s 433Mhz wireless devices, as well as 16 wireless keys (without use of a zone slot) and 17 user access codes. Backup power is a 3600Ma Ni-Mh pack. In this solution there’s a WT5500-433 keypad, 2 reed door contacts, a motion sensor, a smoke sensor, a glass break sensor, a vibration/reed sensor, an internal siren and an external siren. I also have a couple of remotes and a prox tag for arming and disarming.
Enrolling the devices
Aside from the process of hanging the gear onto the wall, the key thing with any wireless alarm panel is enrolling the devices and registering them into the controller. Because we’re starting again with a new controller as part of this upgrade process there’s a process of registering Electronic Serial Numbers for our wireless devices and assigning or confirming zone numbers and zone types.
This enrolment part involves fun things like installer codes and zone definitions but it’s a fundamentally simple process involving no more than a couple of keystrokes to enrol each device. To enrol wireless devices, you hit *8 to get into the installer menu, enter your installer code, then 898 to get into wireless enrolment mode, then the controller waits to get a tamper from a device (or a single on power up) and displays a device’s electronic serial number, which you check by sight to ensure its correct, then you hit * to confirm.
You then select a zone type for the device. The next step is to activate the device using the tamper, and the controller then tells you in plain English if the location is good or bad from a wireless connectivity point of view.
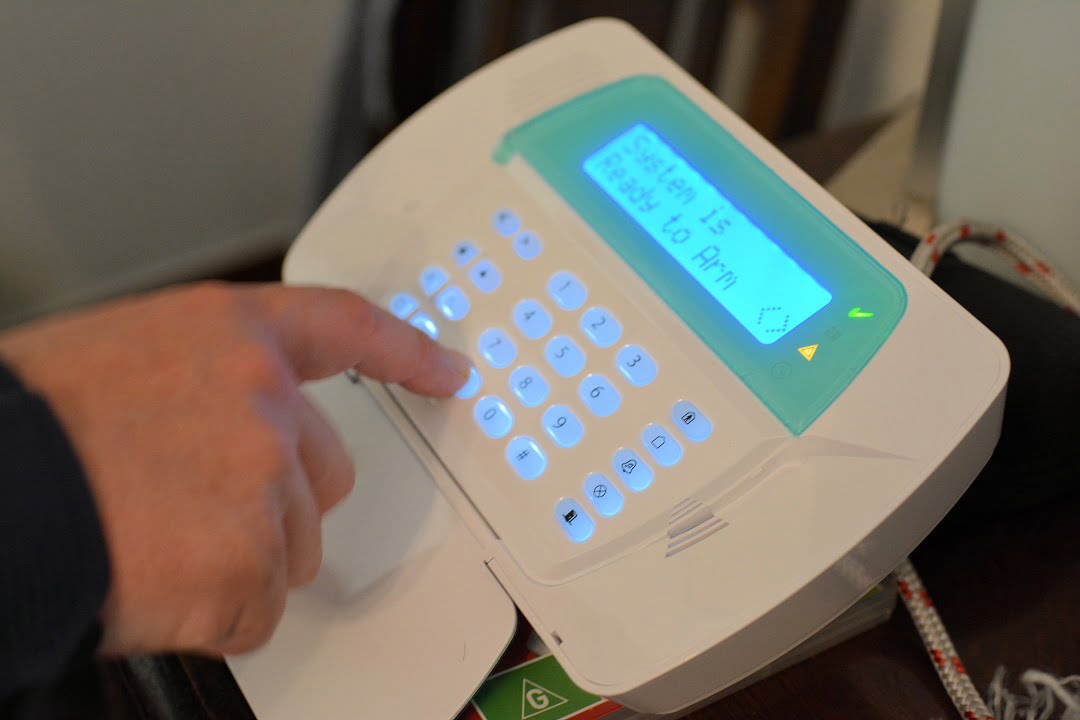
Making the installation simpler and kind of harder is that my devices are already installed. Of course, in this application I have Matt Bailey handling IMPASSA while Ian Law looks after Alarm.com, so my challenges boil down to making cups of tea and watching what the boys are up to. In terms of the process, we set up the new controller and do a comms test and connect the IMPASSA to the Alarm.com server.
Senors
Next we add all the sensors and finally, the image sensor and the cameras. The process of enrolling the cameras and existing sensors and registering them all with Alarm.com takes a little while to get through but there are no challenges in the process. As part of the overall process, Law has set up my account with Alarm.com and as we go along we register and name all the devices. Meanwhile, I download the app to my iPhone, iPad, and later on my workstation at the office.
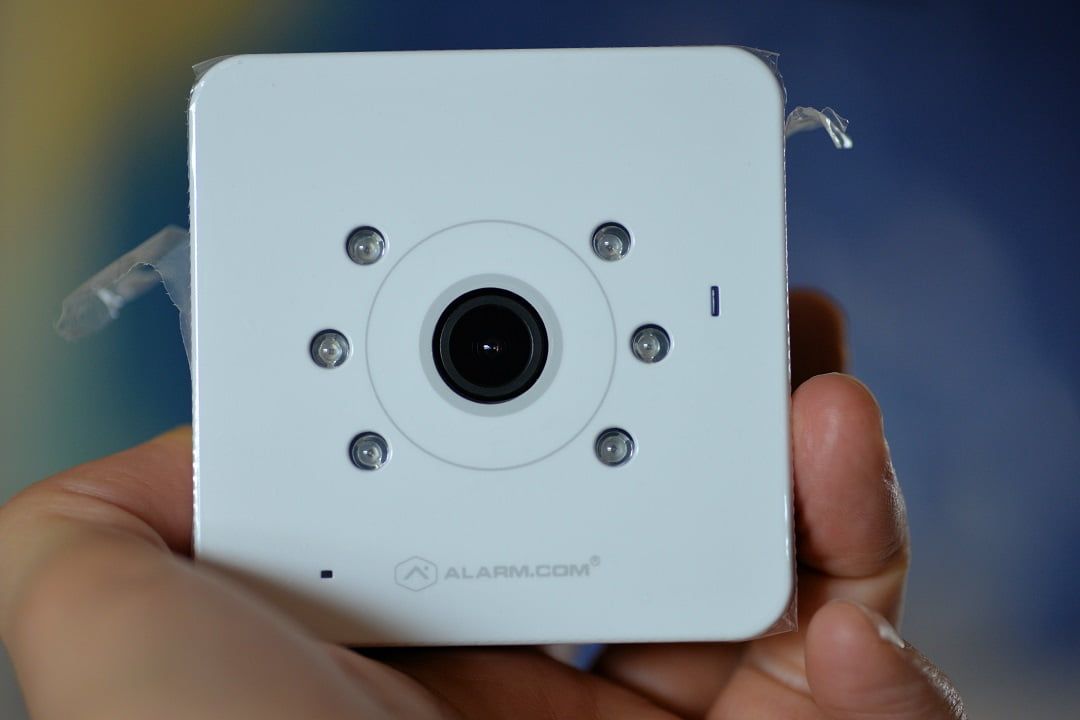
Setting up the cameras is managed via WPS on my router, which Law informs me is offering good support. You activate WPS on the router and then press the WPS button on the camera and the router finds the camera.
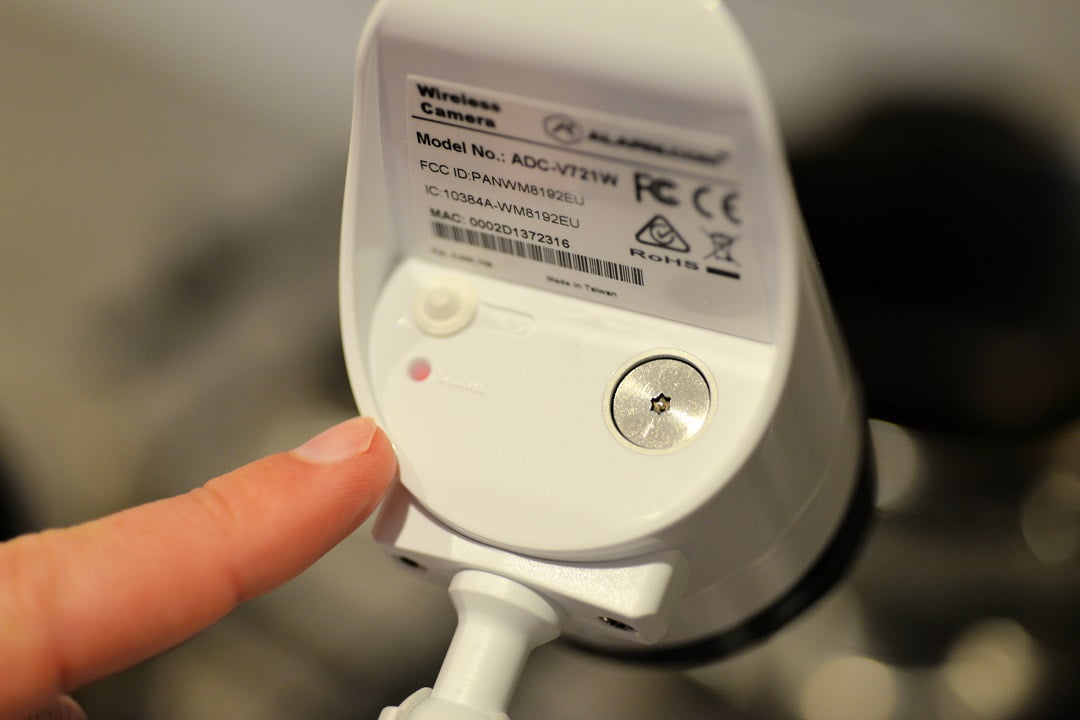
Importantly, once the system has learned the camera, the home owner can move the camera around to cover different areas by simply unplugging it and the plugging it back in elsewhere. We then add the cameras into my Alarm.com account and the system links them together in the app.
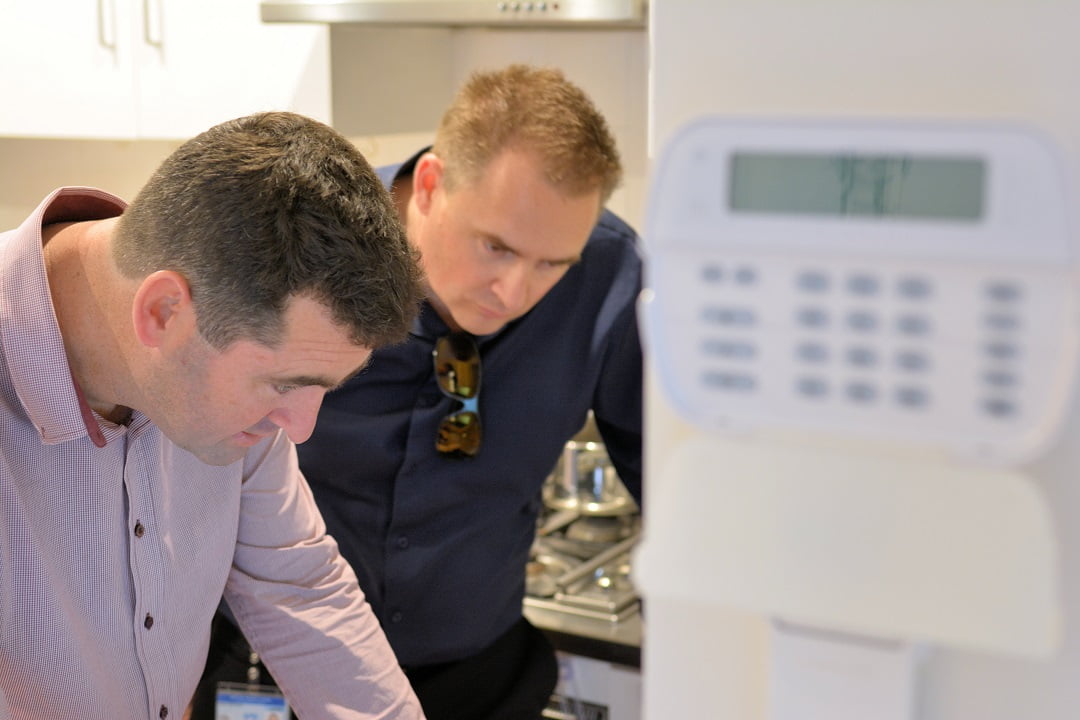
Finally, we install the Z-Wave switch, which is another relatively simple process. There were concerns my narrow 3-storey house would make it hard for the top floor panel to communicate with the bottom floor switch – but no problems at all. With the switch enrolled into Alarm.com, the system is completed and ready to roll.
Living with the Alarm.com app
My Alarm.com footprint includes my smoke sensor, PIR, 2 reeds, 1 vibration/reed combo, a glass break, a camera sensor, an external camera and an internal camera. My system is set up differently than it would be for a domestic or small commercial end user. In this case, the system is not being monitored by a central station – that’s not how the system would operate if a user approached an Alarm.com dealer and obviously, Alarm.com only works through its dealers. However, for the purposes of reviewing system functionality, this set up is fine for me.
Along with the app (available on iOS and Android devices) that lets me control all my devices, I have the option of away and stay arming and disarming the system using the controller keypad, the remote wireless keypad and a prox keyfob I carry on my keyring.
However, all the flexibility of the system’s functionality is delivered to my smart devices and workstation and I find myself using the app regularly – not just while in Australia but when overseas. You can also access the system via browser and when it comes to playing with the system, I find I use the browser on my workstation fairly often, too. It’s not as sleek as the app but makes management of functionality very simple indeed.
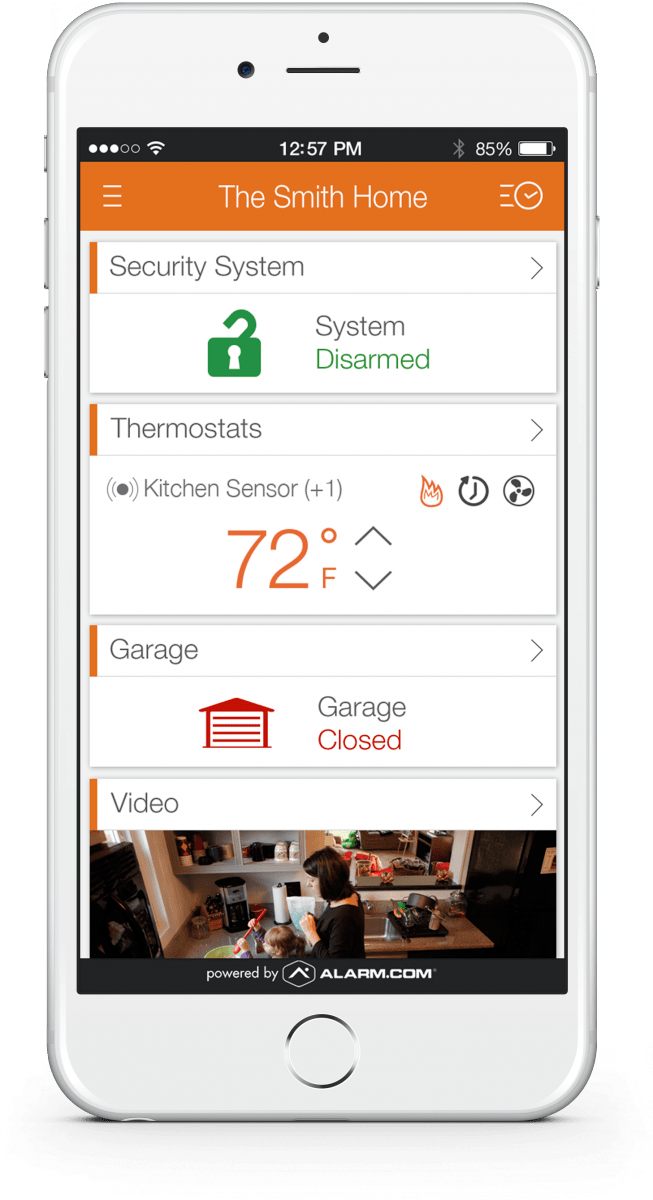
Once you’ve accessed the app, you only noticed a short delay when it comes to video surveillance performance or when turning on and off the light switch – it’s a few hundredths of a second – nothing to worry about. I find the process is always slightly faster at the office, although my service at home has solid specifications with my mobile devices all running on Wi-Fi.
Software
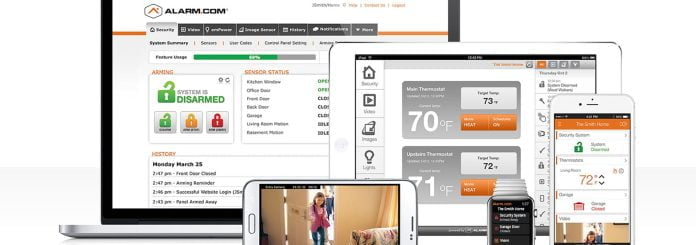
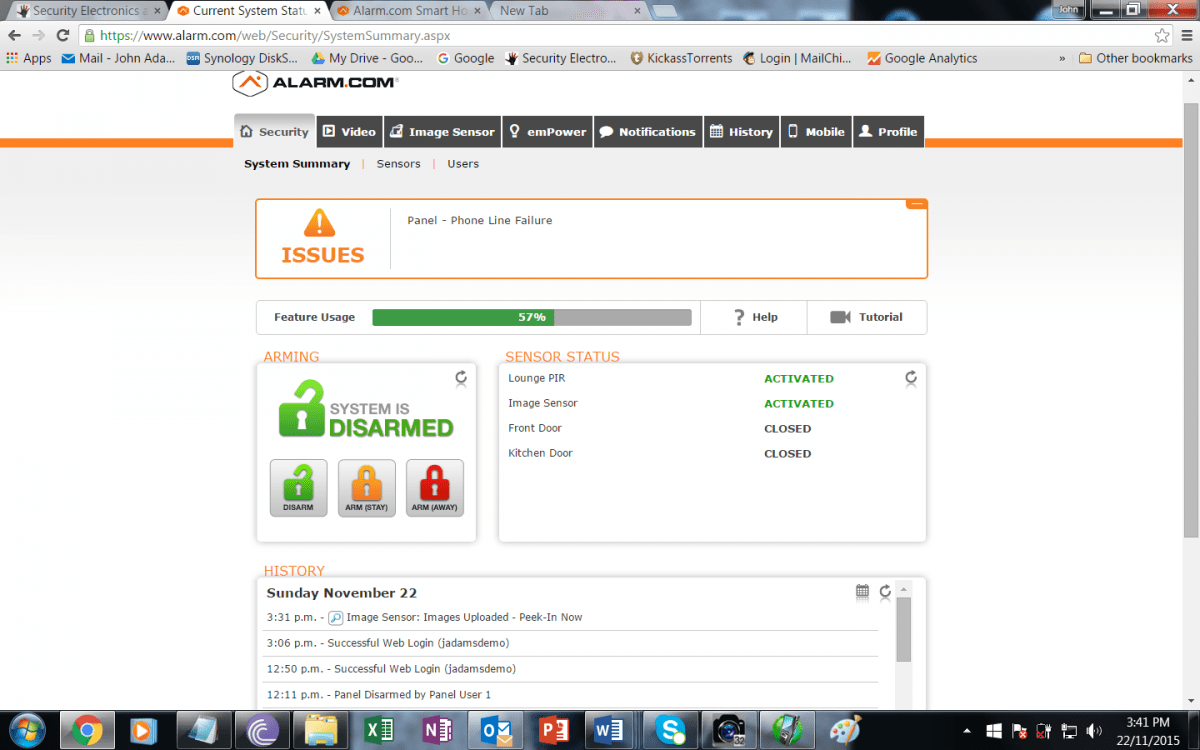
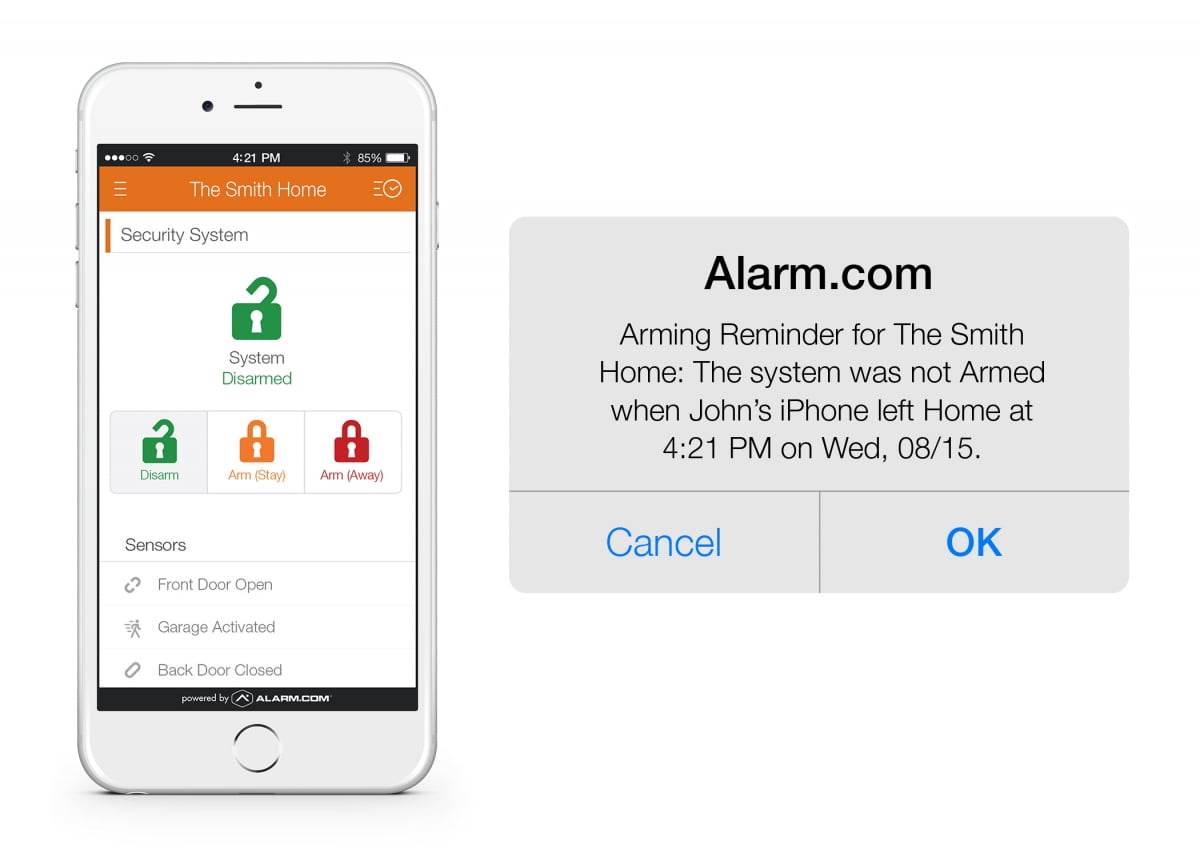
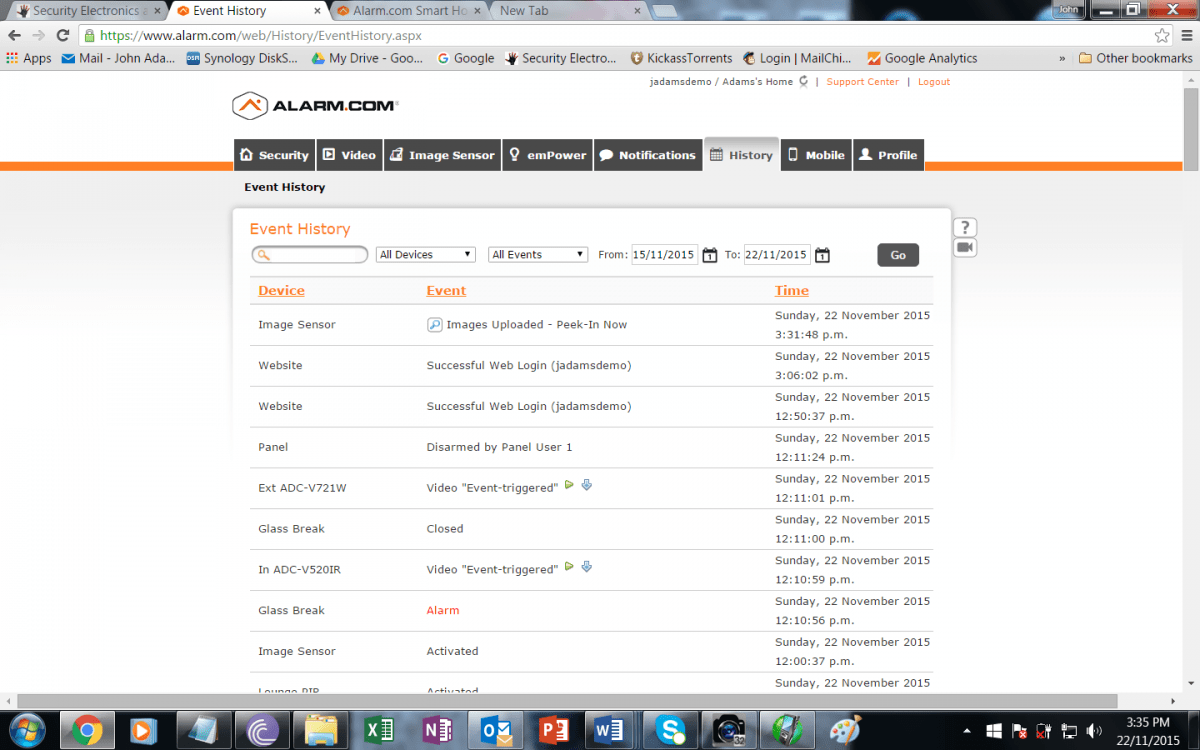
Alarm.com’s app is simple and easy to use. There’s smarts under the surface as Alarm.com’s software combines your alarm panel inputs and events with video streams and presents them in a seamless dashboard. Layout varies between the app and the browser interface – in terms of the latter, there are a series of tabs along the top of the home page which include Security, Video, Image Sensor, emPower, Notifications, History, Mobile and Profile. Importantly, from the point of view of installers, you can include your company’s brand in the design of your clients’ pages so communications come from your own business.
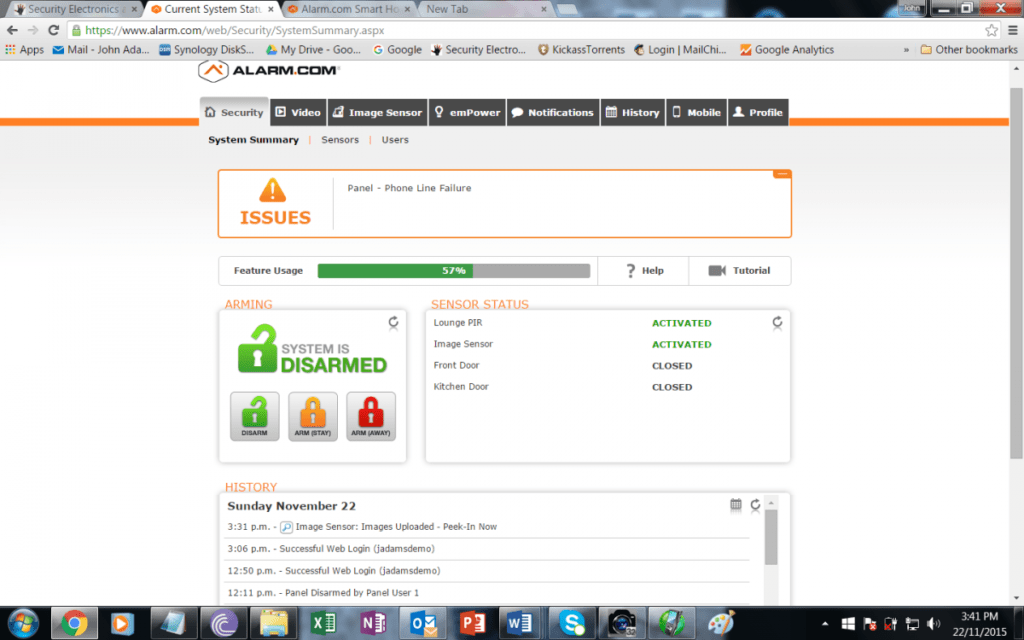
The first tab, Security, has 3 drop down tabs including System Summary, Sensors and Users. On the Summary page there’s a panel for issues the system might be having – camera power loss, or monitoring comms failure, etc – next comes a bar indicating how comprehensively the app’s features are being used, as well providing access to relevant tutorials, then there’s an icon group showing current system status and underneath all this, the event history with a slider for scrolling. Under each of the other tabs along the top of the page is a similar group of drop-down tabs that allow you to access relevant functionality. It’s very easy to manage.
In typical usage, I spend most my time between the Security Summary page and the Video pages, with forays into Image Sensor, emPower, Mobile and History. I also check out the Sensor subnav, which gives a snapshot of system setup, including the status of sensors and the nature of activity monitoring being undertaken.
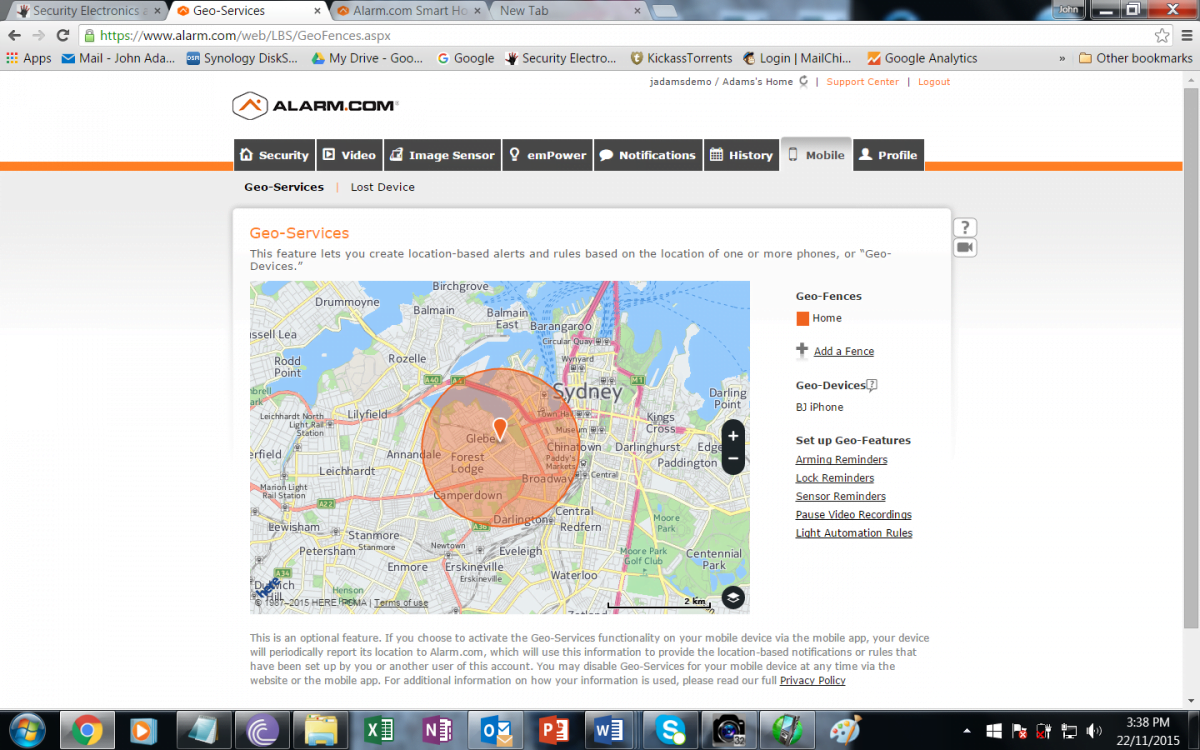
But because of the level of control I have over system setup, I find myself quite regularly fiddling about with settings. I’ll muck about with the GeoFence rules in the Mobile tab, change the automated settings of the lounge room light in emPower and adjust reporting in multiple ways. Finding all this functionality is very simple – it’s a matter of selecting options.
This is primarily a security system – I’ve only got one Z-Wave switch programmed and it’s driving a lamp. Having more switches – perhaps another 3-4 to manage other lights and the washing machine and dishwasher cross my mind at various times. A wired-in Z-Wave switch for air conditioning is probably the one extra thing I really wish I had – the ability to program lights and air conditioning to switch on when you cross a GeoFence is one of the coolest things about Alarm.com – the smallest GeoFence is 1.5km, which I find to be ideal. Alarm.com calls this feature Geo-Services and it can control a range of devices automatically.
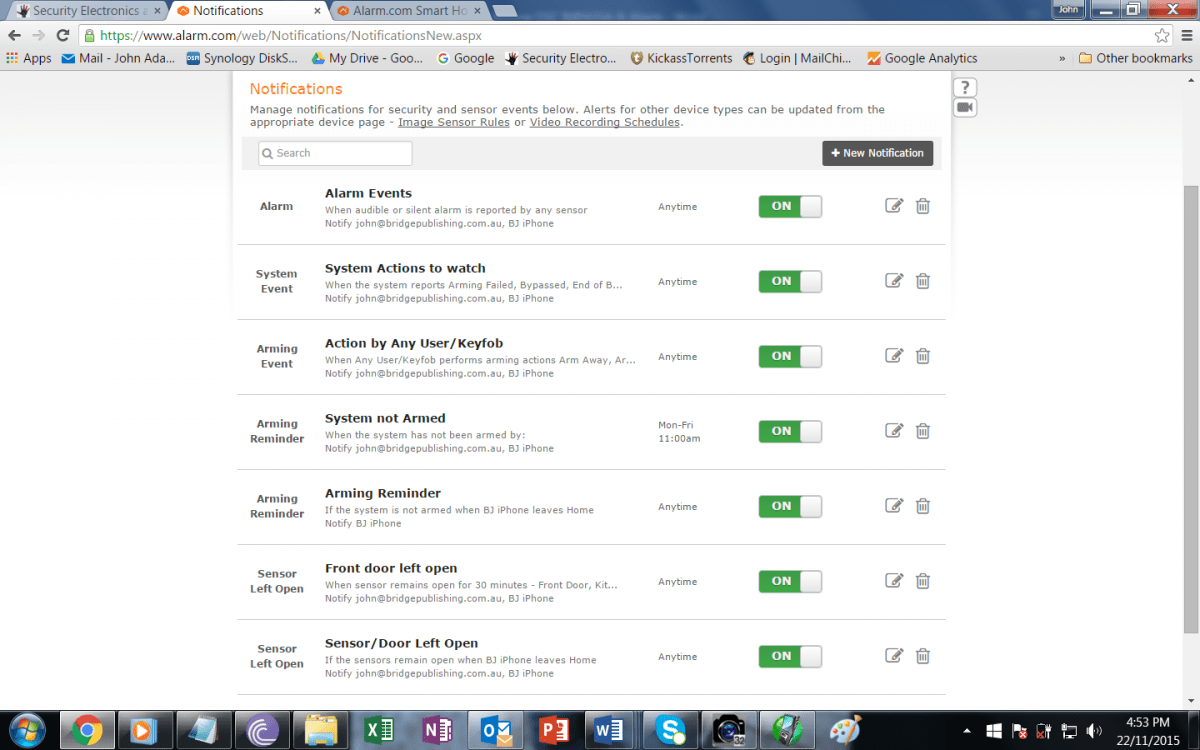
There are other nice thing about Geo-Services is that you can have the system notify you if there’s a door open or if you forget to arm your system as you pass a particular distance from home. Notifications are an especially good feature of the system and they are sent as emails, text messages or push notifications.
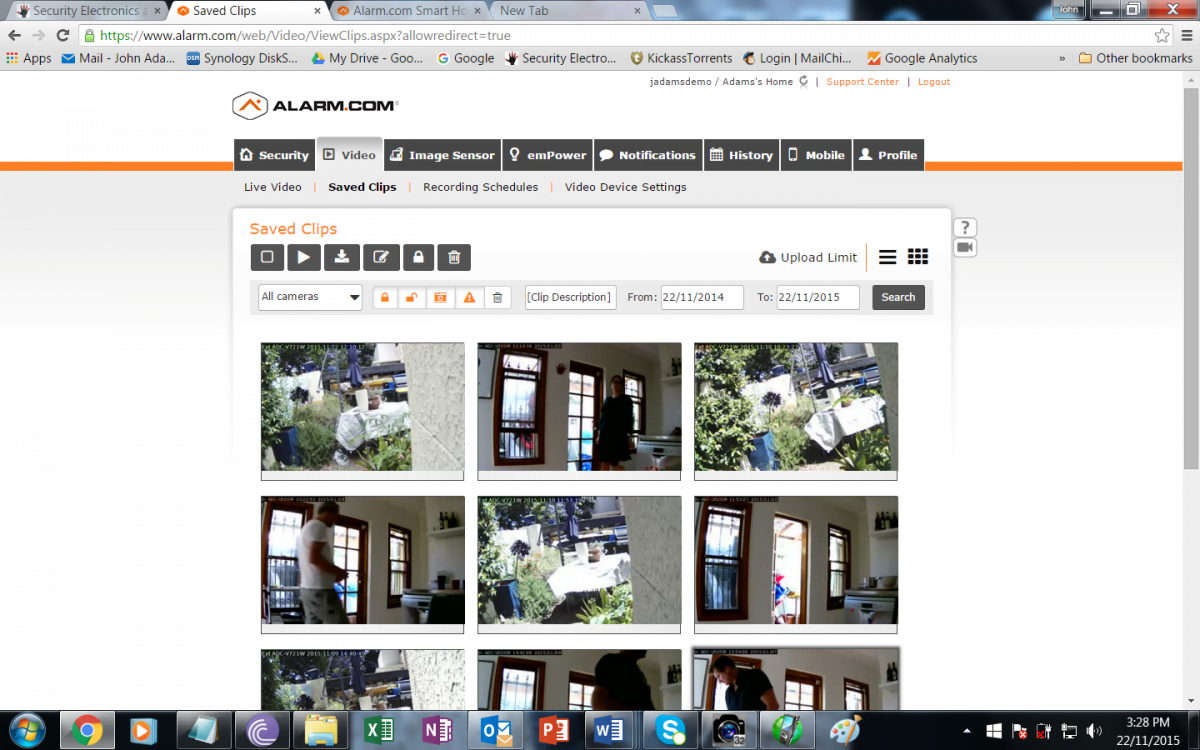
There are layers and layers of functionality in Alarm.com – I found myself surprised by the simplicity and usefulness of it and surprised by my desire to know more about the things going on at home, to have more sensors and more cameras. In my case, the cameras are located in areas where there are multiple doors and greatest vulnerability, as well as looking across a rear courtyard. CCTV cameras are powered by a DC plug pack – that means you need an AC outlet somewhere nearby.
Quality
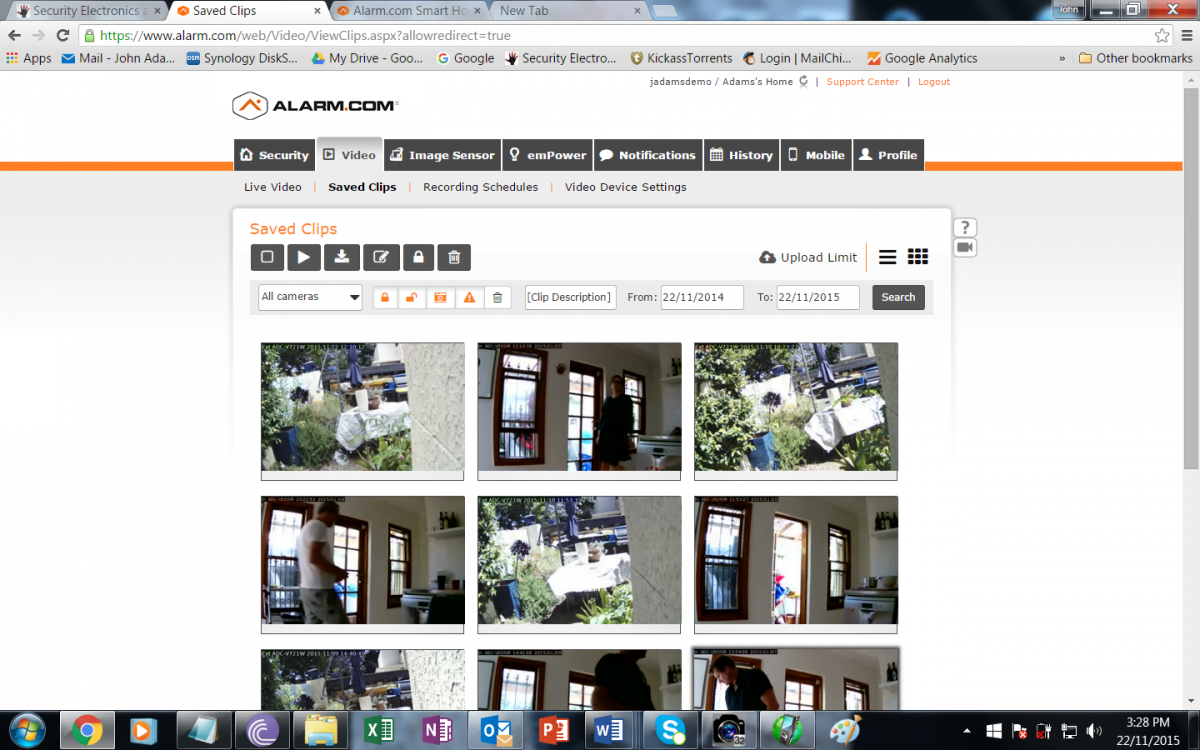
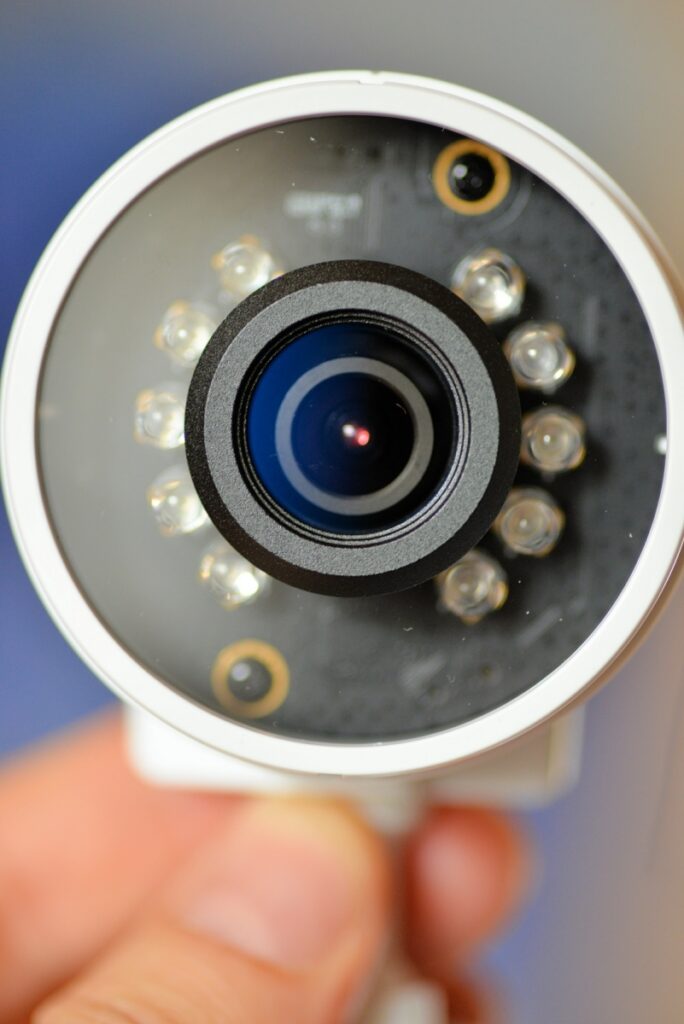
The image quality of the cameras is reasonably good, all things considered. There’s barrel distortion and with my cameras set to find the best balance of image resolution and frame rate, both resolution and frame rate are modest. Alarm.com optimizes live video for quality real-time delivery to a browser or mobile app, and recorded video clips are delivered in higher quality HD. I try the HD setting for real-time streaming but the pay-off in improved image quality is not worth the loss of frame rate and I switch back.
These cameras are fit for purpose – they’re not meant to be high resolution and their modest levels of detail – 4CIF-ish on the HD setting – is clearly optimised for low bitrate. This is only present when viewing live view, and not in the recorded clips or SVR playback.
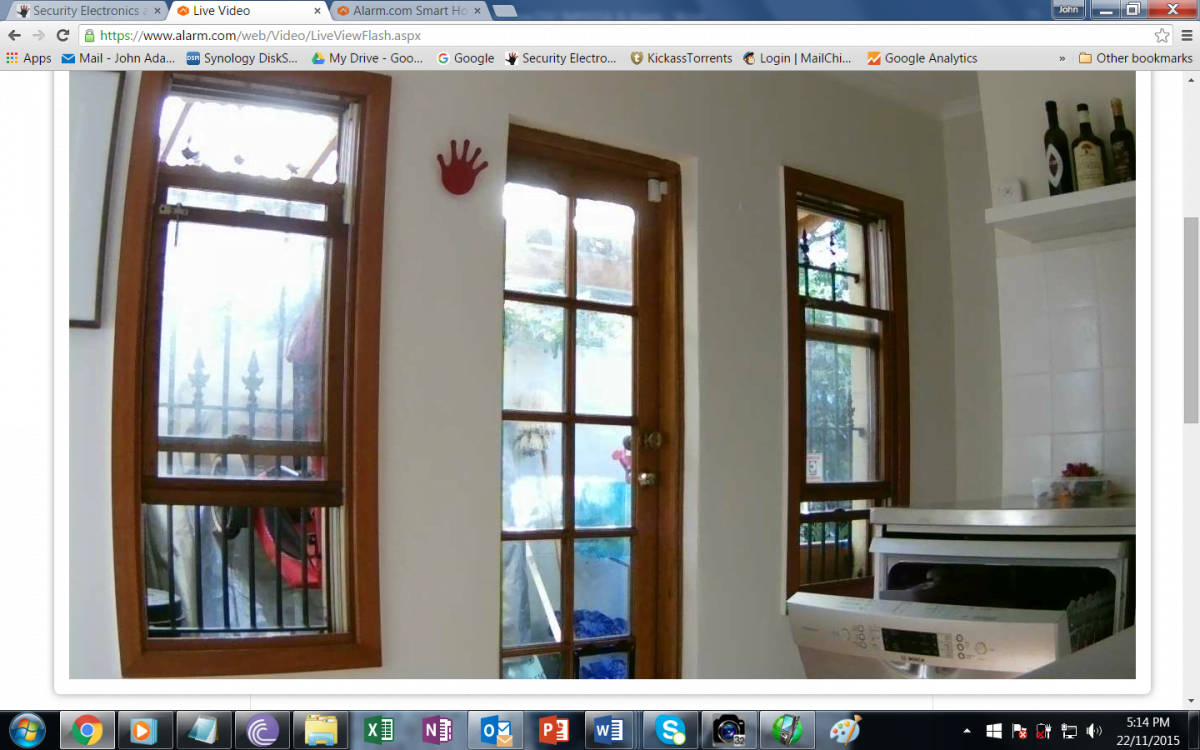
Regardless, I never have any drama with the internal and external cameras in terms of situational awareness. Integrated IR means you get useful images at night at close ranges, too. As well as viewing cameras directly through the Video tab, the History tab’s huge event list can also include video if cameras are set up to record on movement. I simply click an icon in the event list to access the 2 minutes of footage my cameras are set up to record. This is another feature I find myself using and appreciating a lot.
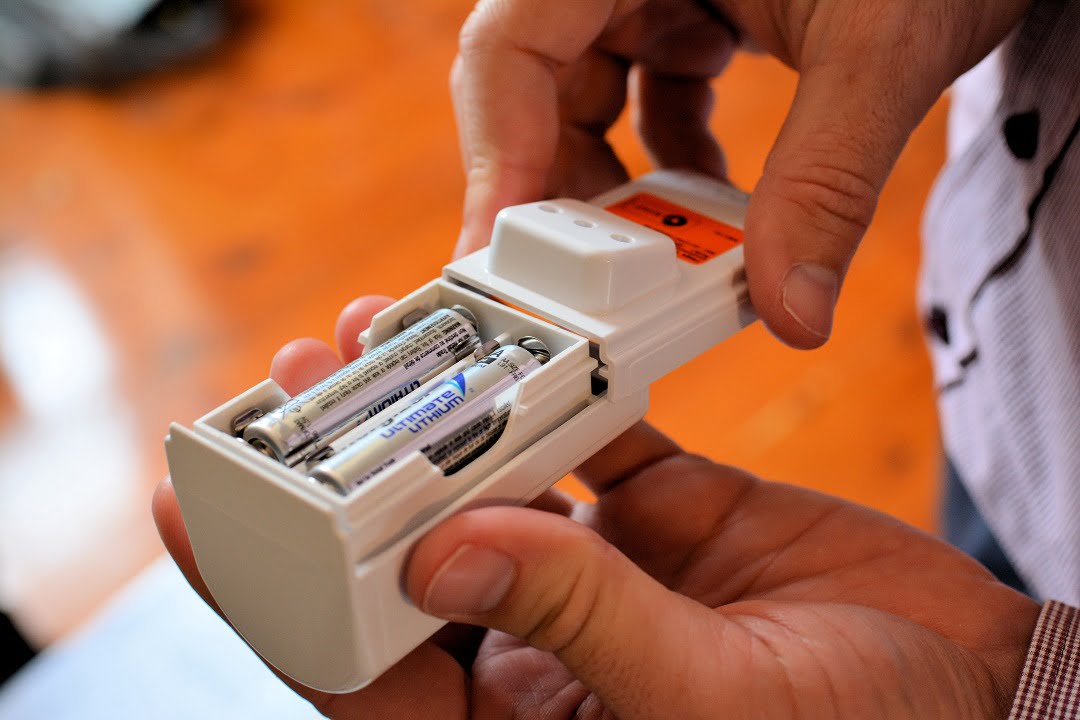
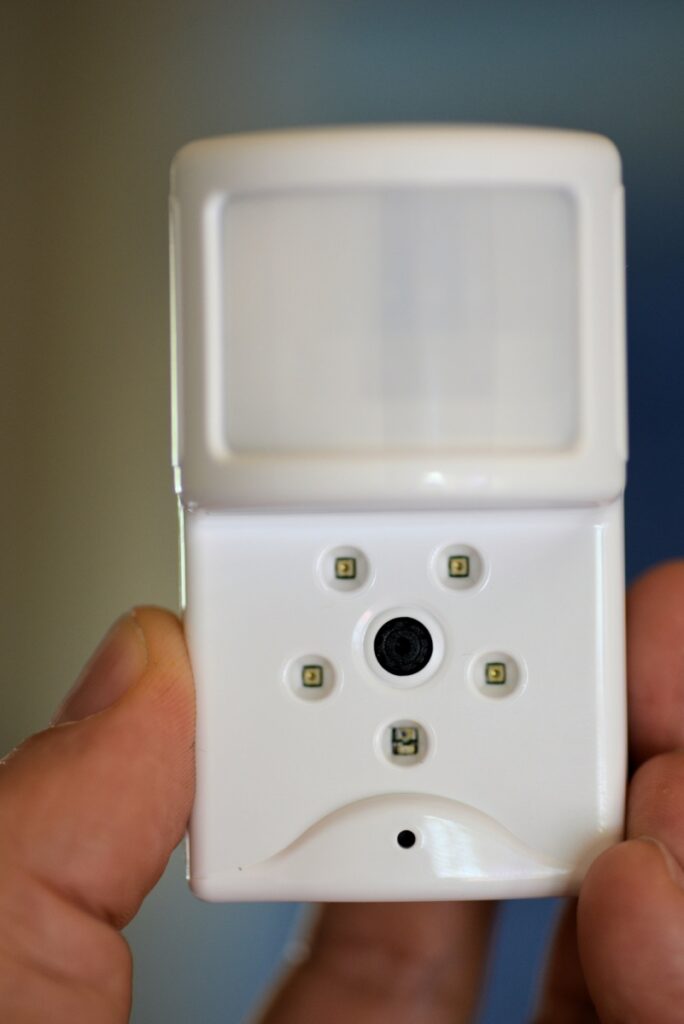
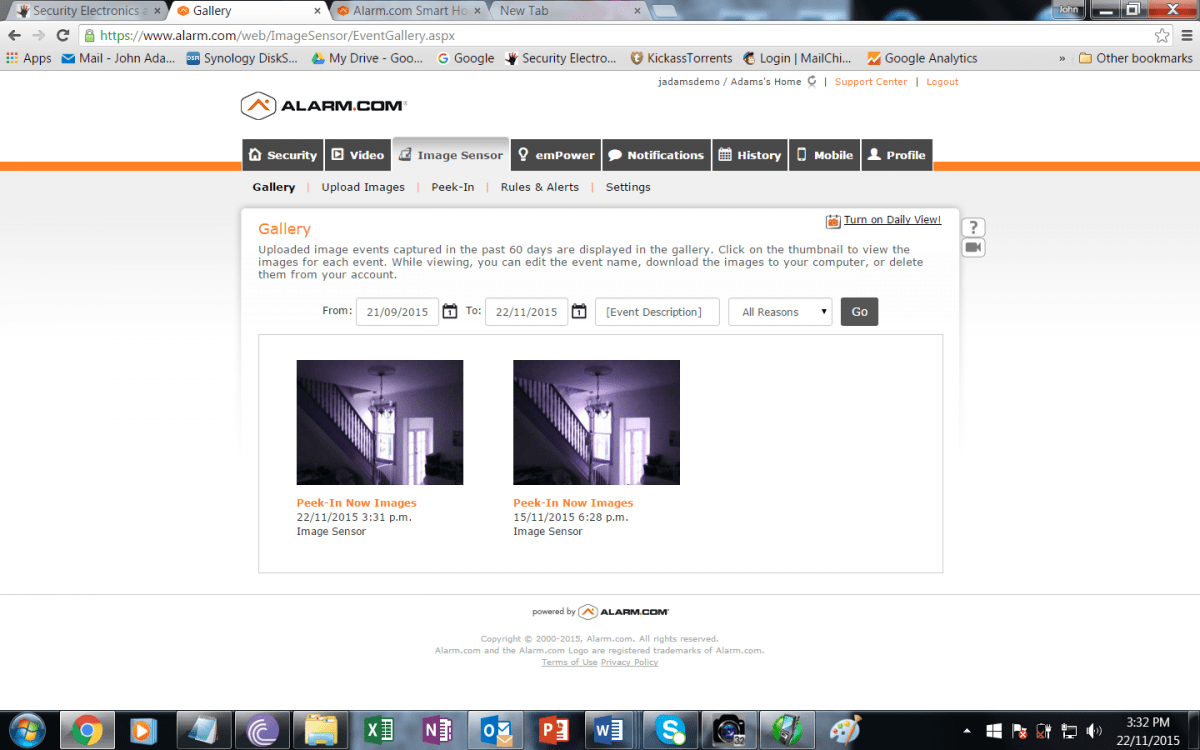
The image sensor, which is a PIR with an integrated camera, is a different thing. It’s designed to grab a snapshot in the event of movement so as to give visual verification of alarm events. Resolution is perhaps QCIF and resistance to backlight is minimal. This said, it’s a compact wireless sensor that can be located anywhere – mounted fixed or moved about as you like.
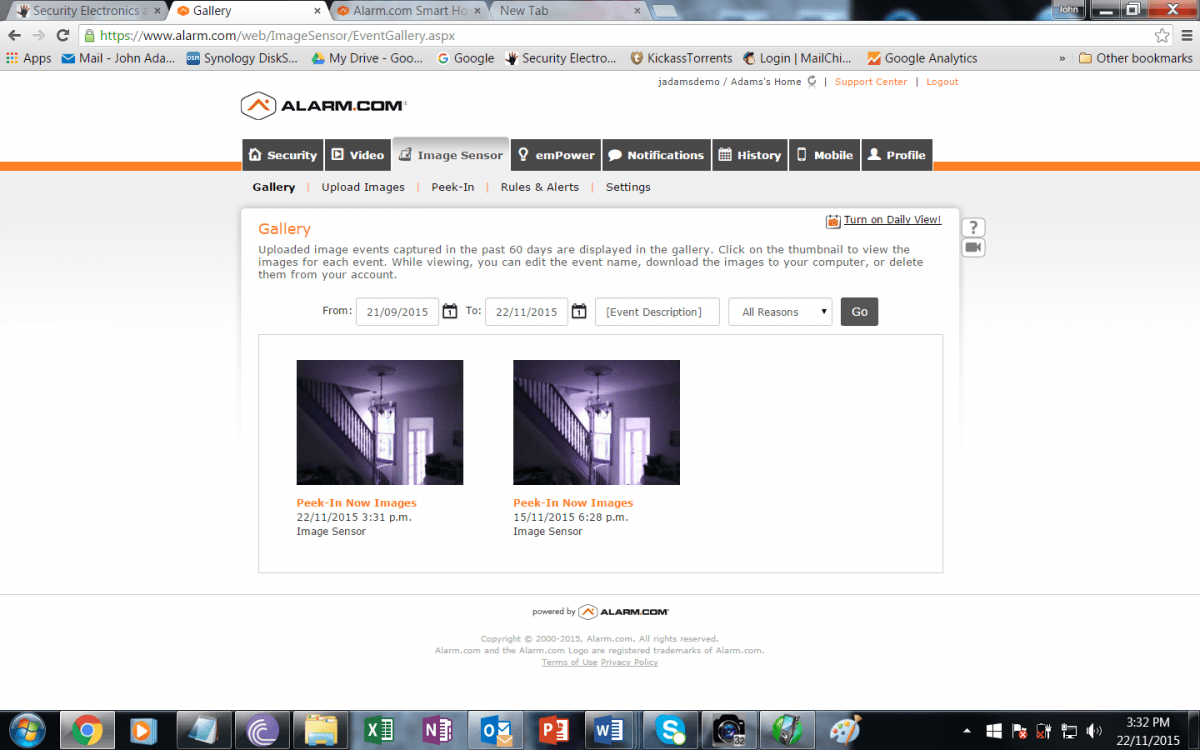
The image sensor is designed to handle the task of confirming an intrusion, which it does. Mine is set up to snatch a shot if it detects movement only after an alarm event.
Automation
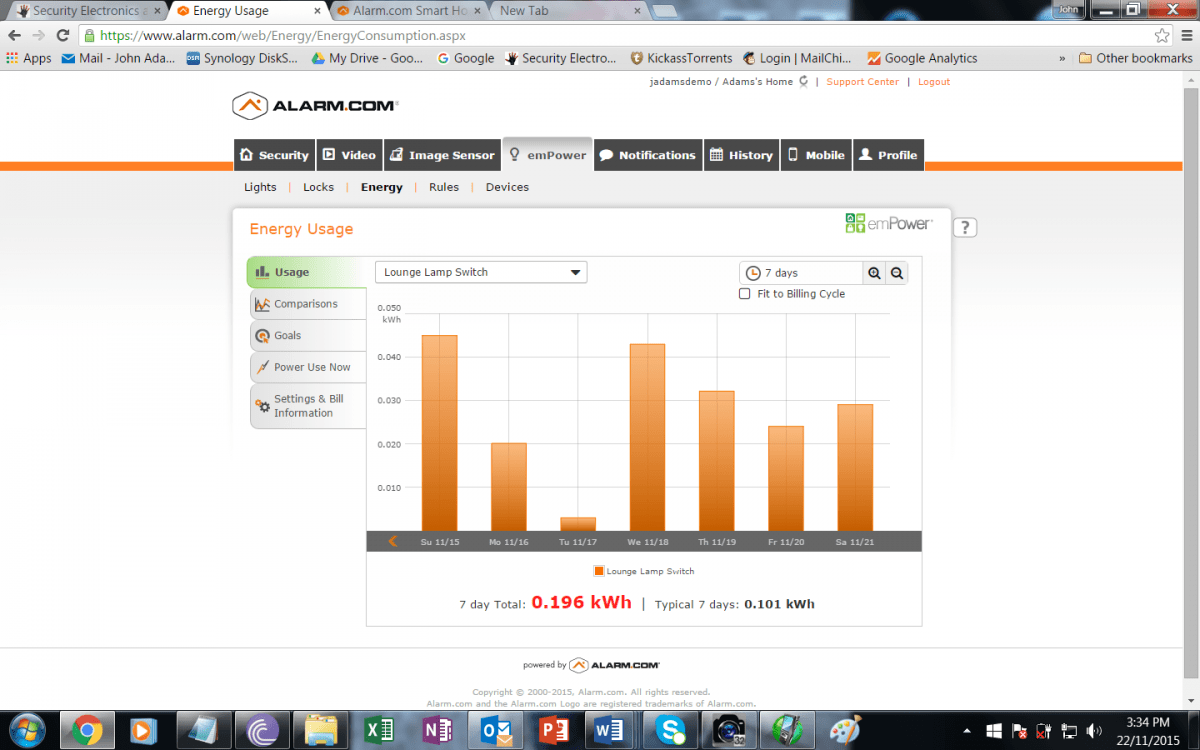
Of course, it’s not only about security. There’s automation. Open the emPower tab and there are multiple additional tabs for Lights, Locks, Energy, Rules and Devices. The level of remote and automated control the functionality contained here is profound but there’s also power management capability – the ability to monitor power use, compare it to different time periods, set up goals and look at current usage. The more Z-Wave switches you include in the system, the more useful this functionality becomes. Something I don’t have in the system is locks but these can also be included, monitored and controlled remotely.
One of the great things about a system that has remote accessibility is that you can hop in and check events you are notified of – even just simple domestic things. Alarm.com is nothing if not communicative and the system will keep you endlessly posted of happenings. Depending on how much communication you program the system to give you in the Notifications tab, you can be notified of every instance of arming or disarming, doors opening or closing, as well as sensor triggers.
You can also have a camera record a clip of footage if there’s an alarm event, or record a clip on movement after a period of no movement, or always record on movement but only when your phone is outside the GeoFence (as my system is set up to do) and to notify you each time. The DSC IMPASSA system will text or email notifications of events and event data is stored online for 60 days in the History tab.
Do I find myself taking advantage of the ability to sneak a look at my house while I’m away – yes, absolutely I do. And while I don’t want video covering living or sleeping areas – you can program the system not to record when the system is disarmed, remember, I find myself wanting more coverage not less and moving cameras to try to satisfy this demand. Every time I start wondering what’s happening at home, or worry whether or not I closed the back door, I just duck into Alarm.com and reassure myself. Interestingly, this happens multiple times every day. I did not expect that.
Would I want to return to a security system that did not allow remote access and video coverage? That did not actively notify me of events. Not a chance.
I really appreciate the control and the video capability. Do I find myself self-monitoring the IMPASSA using the Alarm.com app? Sometimes if I’m at work with nothing vital to do I’ll take a look at door open too long events (mine are set to notify me at 30 minutes), or activations of glass breaks or smoke sensors, or instances of recorded movement. But I find there are simply too many times self-monitoring is impossible – there’s so much else going on. You need the 24-hour support of a serious monitoring station – preferably with video verification.
The DSC product is robust, with plenty of really useful security devices to choose from that are manufactured by a company which knows intrusion detection solutions. Meanwhile, the Alarm.com app is as seamless as a third party cloud-based management app possibly can be, offering simplicity and depth of function at the same time. Latency is never an issue once the app is open. Setup is intuitive and re-tuning setup is so simple I find myself doing it all the time. In short, I like IMPASSA with Alarm.com a lot and take advantage of its cloud management capabilities multiple times each day.


