A FEW months ago we reviewed Risco’s new LightSYS alarm panel and in the course of that review mentioned the video verification capability offered by the panel’s big brother, Agility 3. Now Agility 3 is available to users in Australia it’s impossible to resist taking a closer look at what is essentially a very big wireless alarm panel with the bonus of home automation and video verification.
Risco, which is the manufacturer of the highly regarded Rokonet sensors, has put plenty of thought into Agility 3 and the company’s engineers have come up with a solution that’s easy to install and easy to use while offering the alarm industry’s gold standard for intrusion detection, video verification (VV). In fact, this is the first affordable domestic alarm panel that does VV.
Interesting to me is the fact that Risco’s corporate self awareness highlights 4 key areas of business – integration, integrated video, access control, and intrusion. As we ran through the demo of Agility 3, I couldn’t help feeling all these areas were represented in this single domestic alarm product.
It has alarms, integrated video, integration of home automation via I/O and X-10 modules. Access control, you ask? Well – not exactly – but the prox-enabled keypad does allow arming and disarming of the system by presentation of key fob to keypad. And little jewels of functionality like this are strewn throughout the system.
In terms of specifications, Agility has 32 wireless zones, 8 of which can be wireless PIR cameras, as well as supporting up to 3 bi-directional wireless LCD & LED keypads, one for each of the 3 possible partitions. There’s also bi-directional audio, 32 user codes, as well as a 250-event log. There are also cool modules like PERS, and there’s a wireless home automation module with 4 wired zones and 4 outputs, which includes an X-10 transmitter.
Sensors – well – these include all the intrusion wireless sensors Risco makes from internal PIRs to external multi-technology sensors, as well as safety detectors that include smoke, gas, CO and flood detection units. Support for wireless sensors is backwards compatible, too. Meanwhile, panel comms options include any combination of PSTN, IP and GSM/GPRS.
I got a demo of Agility 3 at the SEN office with Risco Australia’s Tim Prag and after we stop talking about the upcoming Ashes cricket series, Prag opens up a sales case and pulls out the system’s module components.
First up there’s the panel housing which contains the control board, battery and comms modules. Once I get it into my hands I find the housing relatively heavy and this is mostly thanks to the weight of the large 3.2 Amp battery as well as the heft of the polished polycarb bodywork.
The housing has some telltale LEDs located on the face, including an LED ‘tick’ icon which allows installers to check system status at a glance. If the icon is green, woohoo, if it’s red, then there’s a problem. Connections to the panel itself are simple as can be. There’s power through the usual plug pack and there’s RJ-45, allowing the panel to clamber onto a network via a local router so as to gain access to the Web for management and alarm reporting.
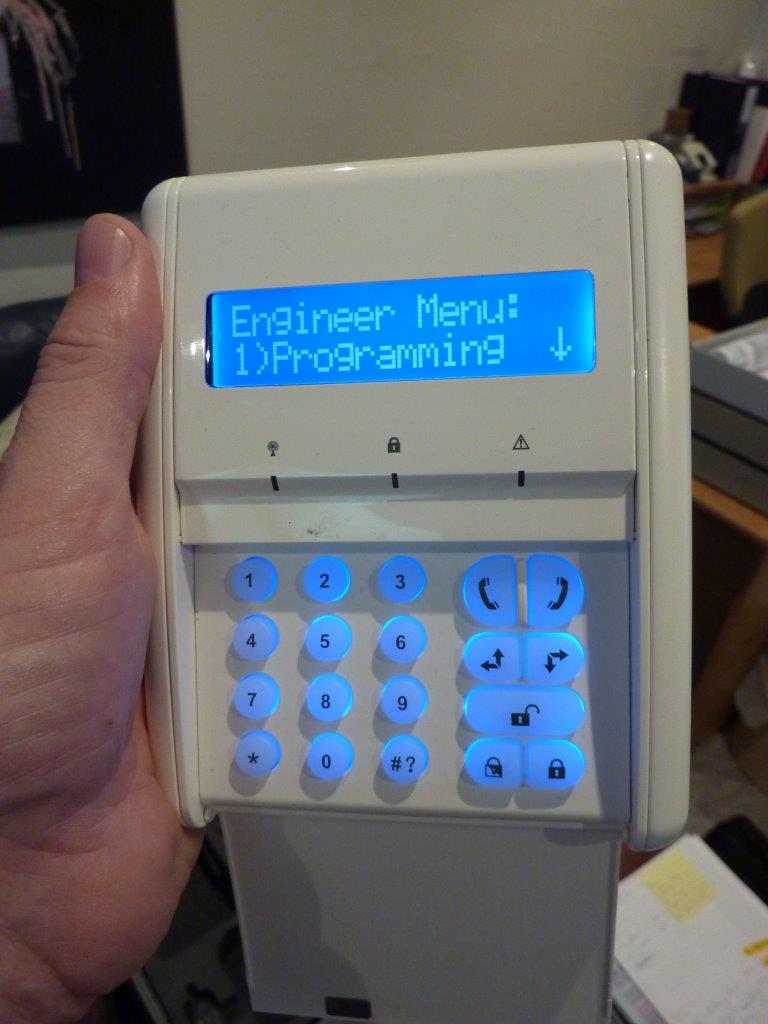
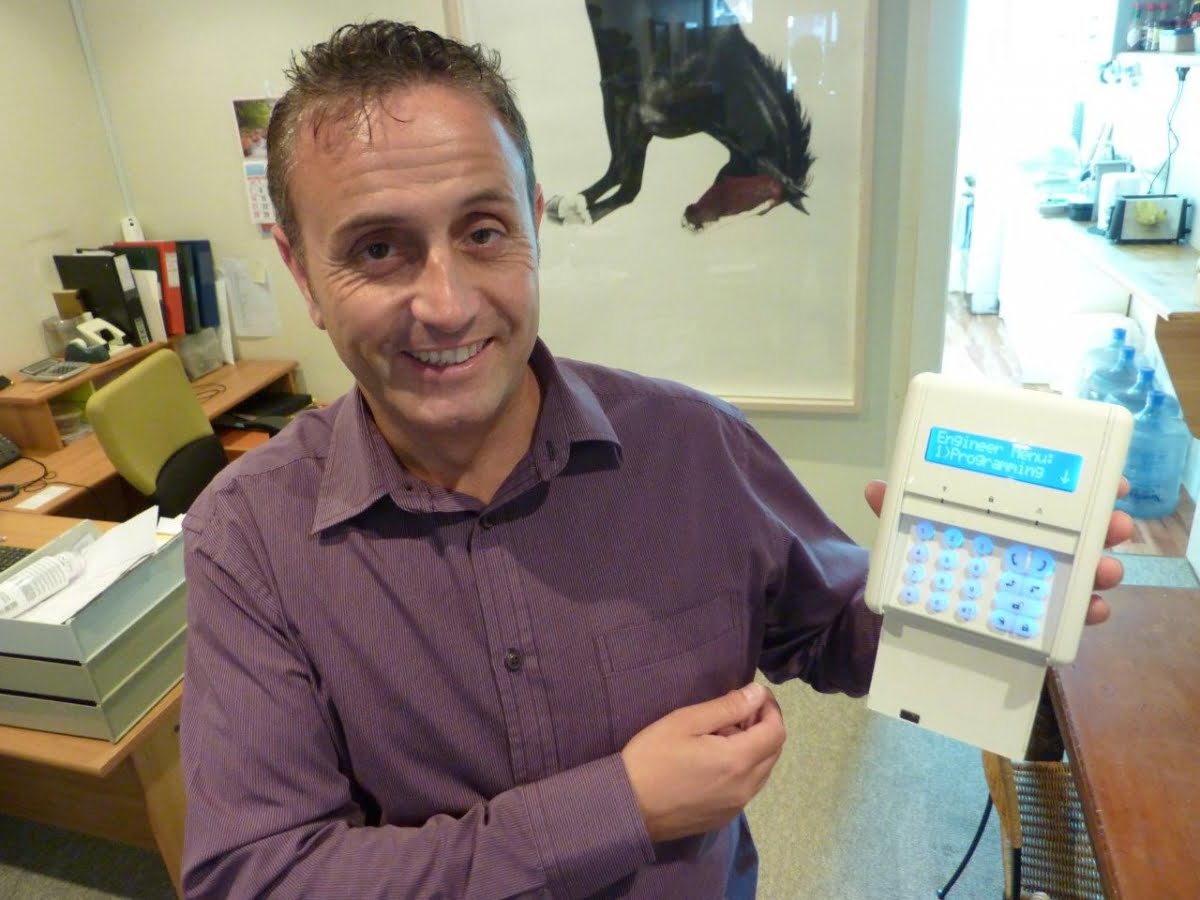
The keypad comes out next and powered up is blue backlit. It’s a nice looking interface in shiny white poly with a 3-line LCD display. Cool too, the keypad can be removed from its bracket and installers or users can tote it around for convenience of operation and programming.
The standard Agility 3 panel comes with keypad, 2 PIR cameras and a pair of remotes for $A500. I’m impressed with the remotes. I have a habit of judging tech by its ancillaries and these remotes have great size and hand feel. They’re a wee bit bigger than normal but are still compact. The plastic is light charcoal yet has a ferrous glint to it that’s distinctly upmarket.
As if to prove their beauty is more than micron-deep, Prag tells me the wireless fobs not only manage the security system but can also be used to drive a remote I/O module and handle cool stuff like lights and air conditioning. These fobs can also drive the system wirelessly (up to 8 keyfobs can be assigned to a single system) or you can enter a PIN into the keypad.
Everything I get my hands on is well made with no nasty gaps, bulging seals or rough cut-offs that might suggest poor quality manufacture. Same as LightSYS and all the rest of Risco’s gear, Agility 3 is manufactured in Israel and quality control there is obviously tight. Risco’s warranty is 2 years, which is on the better side of industry standard.
According to Prag, nothing compares to Agility 3 when it comes to video verification – in part because there’s very little competition in this area. In fact, Agility 3 is the only domestic and small commercial alarm system that sends images direct to the end user.
Given the fact the new Agility system owns this part of the market, it’s worth spending a bit of time getting a handle on just what the VV component of the system actually is. For a start, you don’t get video clips with Agility. Instead you get snapshots, one pre-alarm and 6 post-alarm.
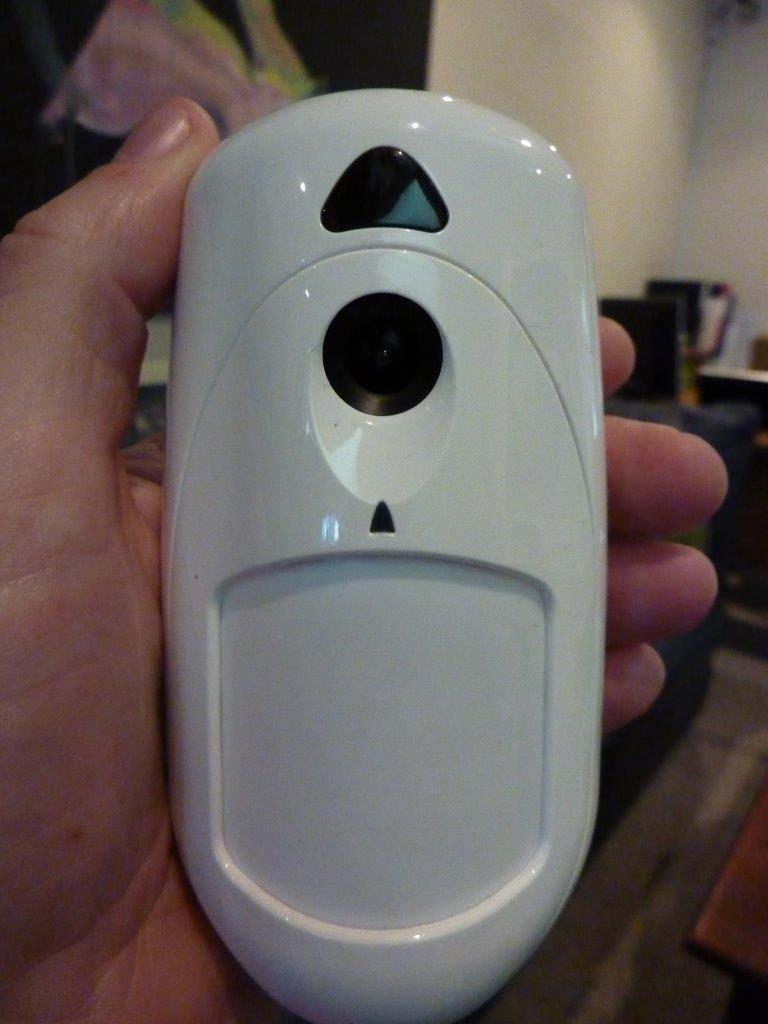
The eyeWave PIR camera responsible for video duties incorporates a QVGA (quarter VGA) board camera with 320 x 240 pixels and an 85-degree field of view. Neat, there’s an IR flash that pulses on detection giving the camera the ability to capture images in total darkness with a depth of field of 10m (the PIR component offers wide angle detection up to 12m). Something else that’s thoughtful is that images are stored locally on the camera until they are entirely transmitted to the panel. The eyeWave PIR camera is available in both wide-angle and pet-immune versions.
Video verification is driven by a GPRS unit built into the control panel that transmits images to Risco’s secure cloud server. From here images can be passed on to users via the smartphone app and to monitoring stations including 1 pre-alarm image and up to 7 post-alarm event images.
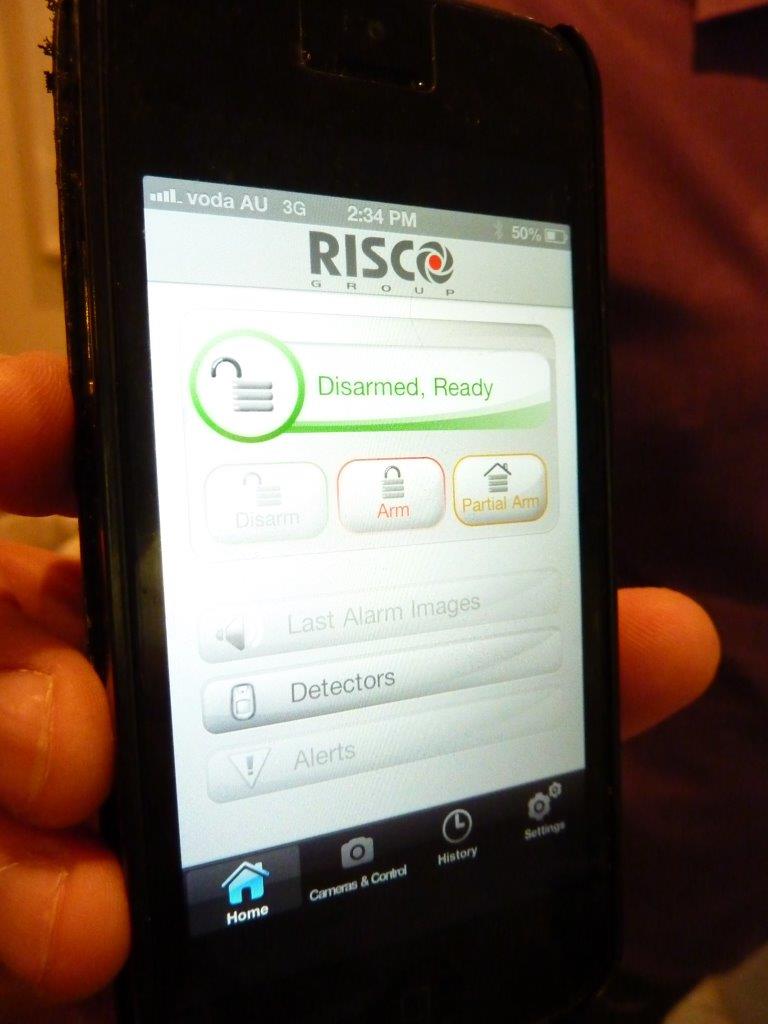
The system sends an alarm message and 2 snap shots at intervals after an alarm event, with the intervals programmable between 0.5-2 seconds. If users want to check images from the cameras during the day to see if kids are home, for instance, they can just jump onto a camera via a smart app that runs on mobile phones and tablets or web browsers. The app lets authorised users management alarm systems remotely, as well as viewing real time images from PIR cameras or checking up on alarm activations.
While the Risco Cloud is proprietary, it’s free of charge so there are no hurdles or odd complexities to navigate here. Yet at the same time, enterprising installers can supply panels with SIM cards already registered and up-sell users to advanced services that generate RMR as part of monitoring services.
Important for video and intrusion alarm functions, Agility’s wireless is dual core, and there are 2 channels, each with its own antenna. One of these channels handles control and diagnostics, while the other takes care of video transmission.
Part of the thinking behind this division of responsibility is quicker response times for video transmission but perhaps of more importance given the modest file sizes of the snap shots taken by the PIR cameras, is extending battery life as well as anti-collision between wireless devices.
Separating video and alarm management allows the PIR cameras’ optical assembly to go to sleep when the system is disarmed, which is important in battery-powered wireless sensors. Other features of the 2-way wireless include a technique to reduce signal contention between devices, synchronised comms and encryption of signals to improve security. Like keypads, system keyfobs can also report system status and receive request confirmation.
The 2-way wireless supporting the remaining 24 alarm detection sensors is 433MHz FM with an output of about 10mW and Agility 3 supports all Risco’s wireless sensors – indoor PIR, outdoor multi technology detectors, flood, smoke, CO detectors and more. The breadth and quality of Risco’s sensors is a great strength of the product, in my opinion, and they’re priced pretty well, considering the quality.
While this is an all-wireless system there is the ability to port in a 4-input wireless I/O module allowing the integration of existing wired alarm sensors. In such a case an old alarm panel would be removed and key zones terminated to the remote I/O module which would then report zone status to the Agility 3 panel via wireless. The I/O module also has an X-10 adaptor so you can do incorporate extensive home automation as well.
Management of automation is mirrored through the management app where there’s ability to toggle I/Os for home automation. There are full logs so you can see who armed the system and when. And as you scroll through events, anything with a camera icon next to it is an alarm activation with associated captured images.
Installing the system
Once we’ve pawed over all the bits and pieces we go through the process of installation which is a simple. Interaction with the panel is by voice audio and the messaging is straightforward and easy to follow. All events are acknowledged by the panel’s annunciator.
“First up, you put power to the panel and if the system is healthy a pair of LEDs on the fascia glow green and there’s a ‘tick’ that indicates all the zones are clear,” Prag tells me.
“When it comes to the SIM card, all the installer needs to establish, aside from ensuring the SIM is supported by a carrier, is the APN – that’s the code for the relevant network provider. It’s an unlock code that allows the panel to get through the SIM providers servers. The panel has a unique ID number that allows the Risco cloud to identify it.”
By now Prag is hard at work programming zones in the system.
“As soon as we power the system up we take it into engineer mode, go into the communication function and we enable what features we are using – say it’s an alarm receiving censor, we enable configuration software so we can dial in remotely to do upload and download,” he says.
“I’ve got the Follow Me function enabled – that allows us to send text messages to up to 16 mobile phone numbers or emails to 16 email addresses. And I’ve enabled Cloud – we always activate that. Next we go to Communication and we chose the method of alarm reporting, which is GSM, and we then go to the GPRS section and put in our APN code.
Prag says once this is done, the panel will make a connection to Risco Cloud.
“The default IP address is www.riscocloud.com so once comms are powered up Agility 3 immediately connects to our server, the server recognises the panel ID and says ok, I know you and here’s a permanent connection to the Risco Cloud.
“Now, depending on your business model, a monitoring station might change the default IP address to the monitoring station’s proprietary server IP address which would handle the video verification on behalf of their customers.
“From an installer and monitoring station point of view, if they control the SIM they control the video verification service to the client through their own server. The panel ID is also locked to a SIM so a panel can’t be re-registered to another SIM.”
Prag says there are a number of ways to install wireless sensors. Firstly remotely from config sotware, the installer connects to panel, programs the device code into the system so the panel is expecting the device to be enrolled. When the sensor is installed on site and the lid is closed after the installation, the sensor sends a signal to the panel and the panel recognises its code. The second option takes place on site.
“If this button on the panel housing is held down for 5 seconds it puts the panel in learn mode and I can then go around with all the devices, in the order I want them enrolled in the system and install them. When the batteries are installed and the lids put on the tampers will close.
“Instantly, the sensors will send a message to the panel which will know what kind of device they are based on the code. The first sensor detected will be zone 1, the second will be zone 2, etc. Each detector is recognised according to type and is automatically assigned.
“Something neat the keypad can do as you go around is check background interference – this ensures the installer is not installing the sensors in an environment where they will false alarm,” Prag says. “You check background noise then add 10 per cent on to it so there’s some room for more interference without the sensor signals disappearing beneath the noise floor.”
Prag goes through the process of testing the noise level at the SEN office.
“Look, you can see in this office we only have 10 per cent background noise,” he says. “In this case a careful installer will change the 10 per cent to 20 per cent just to build a buffer into signalling in case of an increase in noise in the future.
“Subsequently it is necessary to check the signal strength received from the installed accessories, which ideally should be 10 per cent above the assigned threshold. A weaker signal strength will require a relocation of the accessories in order to improve communication quality”
As a former installer, Prag never gets too far away from the process of installation and his observations are insightful.
“The first thing I would do if I was installing the system is find the best location for the main panel and its integrated transmitter and receiver,” he says.
“Wireless systems are a beast of their own. A solution is only as good as the design of the installation.
“The best location for the control panel is going to be somewhere central and as physically high as possible. Not necessarily on the second or third floor but up high in an access controlled or secure room. Just make sure it’s not in the basement or the cellar.
“It’s a real problem with hybrid systems or systems that are retrofitted with wireless capability. With retrofits the wireless modules are always installed alongside the original hardwired modules in a steel reinforced concrete room in the underground carpark and people then wonder why they are having signal trouble! The wireless receiver must always be located in the place that suits the system.”
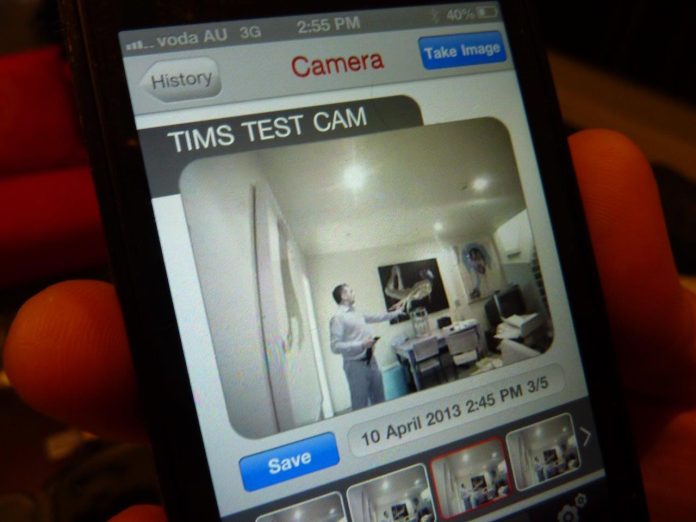
Given Agility 3 is all about video verification, what are the images like? Well they’re surprisingly good given they’re 320 x 240 pixels. You get decent colour in daytime and good monochrome in the dark thanks to that clever IR support. We view the images on an iPhone5 and they’re quite clear – small, as you’d expect – but definitely very useful.
There’s no pinch/spread zooming or rotation with these images but what you get is what’s important. These scenes are fine for general identification of known individuals and they would give a good idea of the appearance of an unknown intruder. You can clearly see details like clothing colour and hair colour. Overall viewing angle is good, too – you’re not peering through a keyhole.
As regular readers would be aware, SEN is a strong advocate of video verification. We think it’s the way of the future and Agility 3 is a reflection of that future. And because it’s new, smart alarm installers are going to find it an excellent way to spice up their worn and weary sales pitches.
By John Adams

